Stencil a Concrete Floor
When you decide to rip out your grubby carpet and find the concrete slab below, here's how to paint a concrete floor to add wonderful detailing on a budget.
13/05/2018
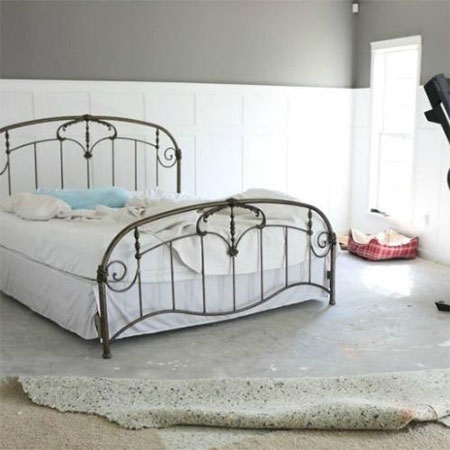
When you reach the stage where you want to rip out the carpet, chances are you will find the concrete slab underneath. If you're lucky, this should be in good condition and easy to paint over. Sometimes the floor may need a bit of touching up to fix up hairline or slightly larger cracks.
Working on a tight budget, Coco from The Crowned Goat made the decision to rip out the carpet and add a painted stencil to the concrete floor. This is an affordable option that you can consider if you don't have the funds right now to install new flooring, and when done properly it should last a few years.
Painting a concrete floor with paint and stencil design will allow you a couple of years to save up and splurge on luxurious flooring - or you may like it so much that you decide to keep it that way!

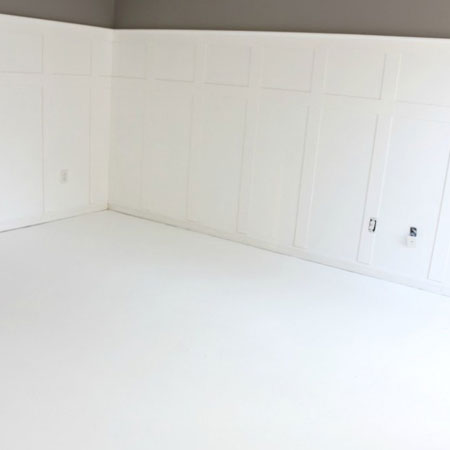
One step that is important when painting a concrete floor, after fixing up any cracks, is the foundation or base coat. The floor needs to be absolutely clean and dry before you apply either a water-based or oil-based enamel paint. Apply two coats, allowing the recommended drying time between coats - and drying time before you apply the stencil design.
GOOD TO KNOW: If you apply water-based enamel you can only apply water-based paints over the top of this. If using oil-based enamel then only apply oil-based paint over the top. Bear in mind that oil-based paint takes far longer to dry.
For a longer-lasting finish for floors, although a lot more expensive, you could consider an epoxy paint finish. This will give floors a tough, durable finish that won't easily wear off.
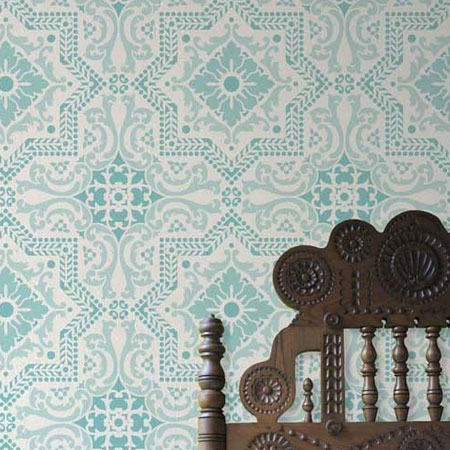
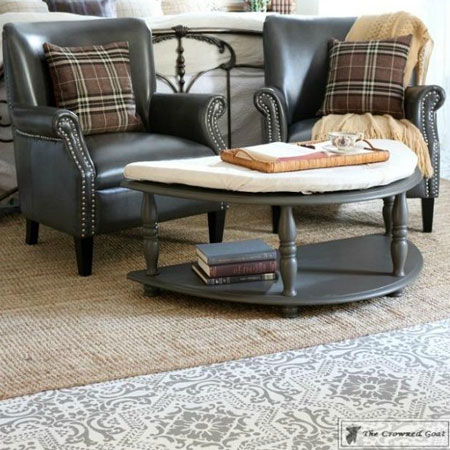
Choose a colour for the stencil design that complements colours already in the room, or that takes its cues from items you will be adding once the floor is finished. For this project, the colour chosen for the stencil design is the same colour used on the walls above the white wall panelling.
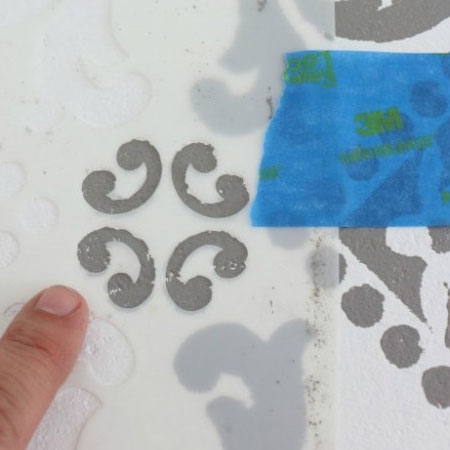
Once the base colour is thoroughly dry, you can use masking tape to start painting the design onto the floor. It's easier to apply the paint using a foam paint roller, making sure not to overload the roller with paint, as this will cause the paint to bleed underneath the stencil. Coco's tip was to place an old towel next to the tray and use this to roll off excess paint.
If you only buy one stencil you will need to move this around and stick down as you work around and across the floor - making sure to align the stencil correctly for a smooth follow on for the stencil pattern.
The best starting point will be determined by the shape and layout of the room. In some cases it's best to start in a far corner, and for others it's best to start in the centre of the room. Stand outside the door - or area to be painted - and determine what will work best for your particular situation.
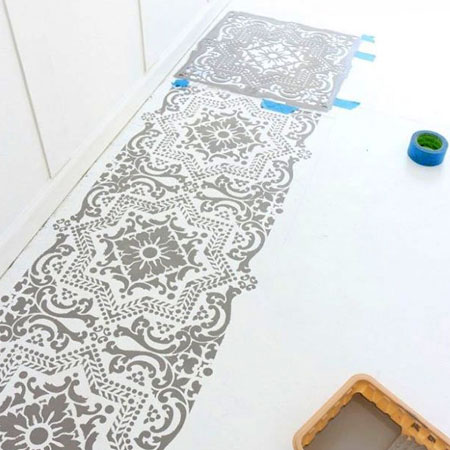
The stencil used for this project is the Royal Design Studio Lisboa tile design for walls and floors. You can order this and other designs from the supplier and have shipped locally.