
Resurface a Face Brick Fireplace Surround
Not everyone looks the rustic look of face brick, and we show you how to resurface a brick fireplace surround using porcelain, ceramic or natural stone tiles.
23/07/2022
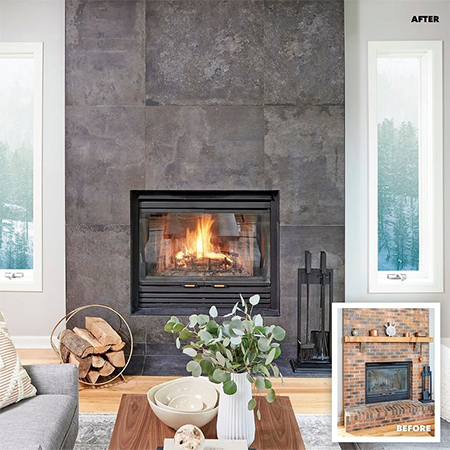
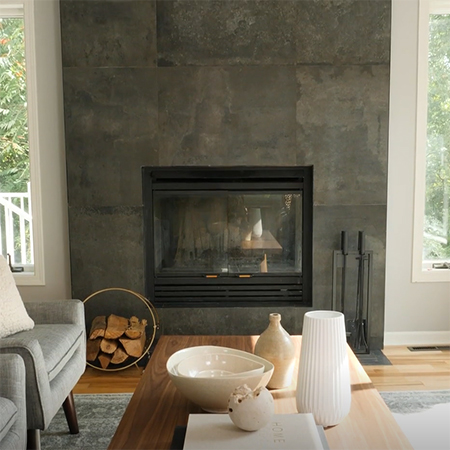
If you are not in love with the face brick surround in your home, there is a way to fix this and transform it into a more modern focal point. Cladding the face brick wall with large-format porcelain, ceramic or natural stone tiles will give the fireplace surround a modern look that will also add value to a home and produce a stunning feature.
Large-format tiles are an easy solution for cladding a brick wall and it will take less effort to clad an entire wall than it would with smaller tiles. However, you will need someone to assist you with installing the tiles, as these can be heavy to handle, especially natural stone tiles. The trick is to make sure you buy the right adhesive and mix it to the correct consistency. It must have a good amount of tack to hold the tiles securely in position.
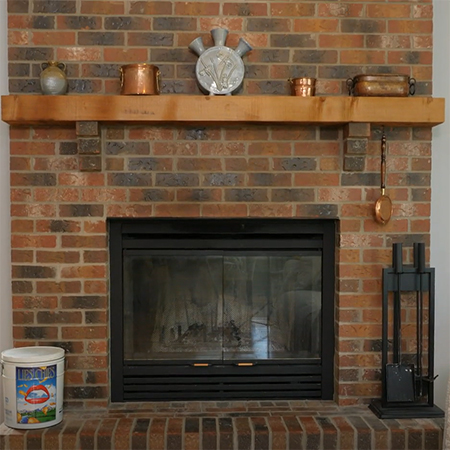
Some homeowners love the rustic look that a face brick fireplace surround adds to the home but if you are tired of the look or not in love with that face brick wall, there is a solution to cover up the face brick and give the wall a modern finish that mirrors your style. The face brick fireplace surround (above) does have its own appeal. Face brick brings warmth and texture to a room but can look old fashioned in a more modern and clean setting. Cladding the wall with large-format tiles is a quick project that will yield instant results in a modern or contemporary home.
YOU WILL NEED:
Tiles
High-tack tile adhesive
Sponge
Buckets
Drop cloth
Tile edging strips
Materials and supplies to cover fireplace and/or any openings to be covered
TOOLS:
Brick bolster chisel and hammer
Sledge hammer
Impact or hammer drill
Chalk line
Spirit level, long or combine with a straightedge
Notched trowel
Wet or tile saw (hire for the day)
Angle grinder or Dremel DSM20
Tile nippers
Tape measure and pencil/chalk
Safety gear
HERE'S HOW:
Step 1
Cover the existing fire with hardboard, thick cardboard or masonite. The cover can be taped around the edges to hold firmly in place and forget the fire from damage.

Step 2
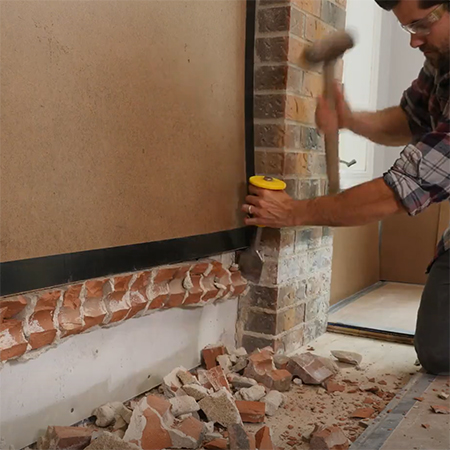
Put down a drop cloth to cover the entire surrounding floor before you begin with this step. In this project, the brick hearth at the base of the wall was removed with a hammer and chisel. It is also a good idea to empty the room of furniture or at least cover it up to prevent damage from flying debris.

Step 3
If you have or hire an impact or hammer drill, removing any brickwork will be a faster process.
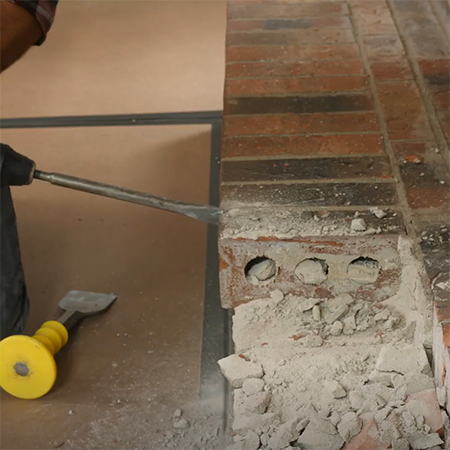
Step 4
Chip the bricks as far back as possible so that they will not extrude out of the wall and hamper the installation of the tiles. You can remove smaller bits with a hammer and chisel.
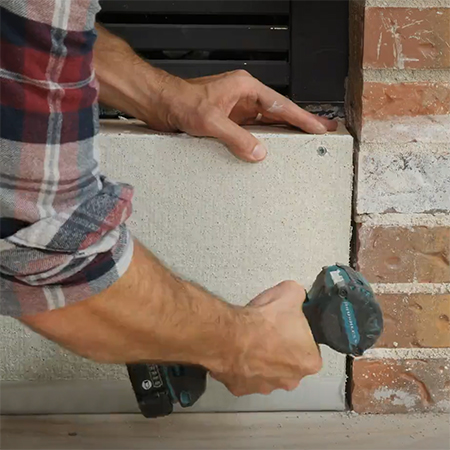
Step 5
If any openings are revealed after removing brickwork, use cement-fibre boards to fill this in and prepare the wall for resurfacing.
Step 6
Measure up the total surface area of the brick wall to be surfaced, including edges if there are any. Work out how many tiles you will need to cover the entire area and allow 1 or 2 tiles extra for just in case you break them or need in the future. Use a wet saw or tile saw to cut straight lines to fit around the edges and to trim any tiles to fit. More complicated cuts can be done as you add the tiles to the wall. You can use an angle grinder or Dremel DSM20 to cut small or angled sections to fit.
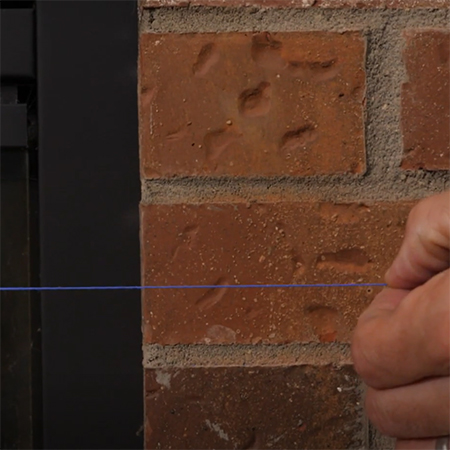
Step 7
Using a chalk line will help to keep the lines straight and level. You will also use a spirit level when installing the tiles to make sure everything is perfectly aligned.
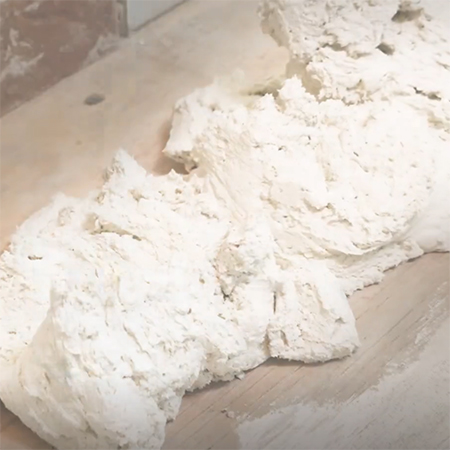
Step 8
Getting the mix of adhesive 100% correct is imperative. Follow the manufacturer's instructions to the letter to obtain the maximum tack or grip on the heavy tiles.
TILING TIP
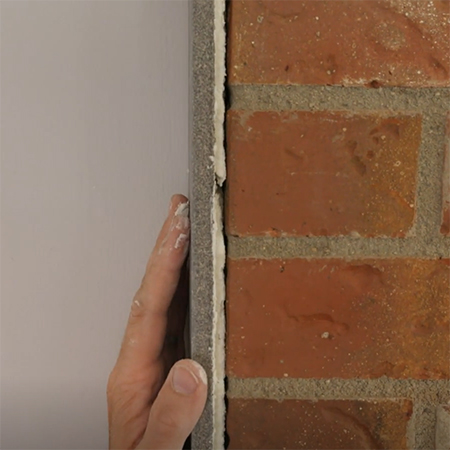
Place the bottom of the tile close to the wall and then slowly angle the tile forward to press against the wall. Tap lightly with a rubber mallet if required to further press the tile surface flat and level.
Step 9
If you have removed a brick hearth, tile this area before moving on to cladding the wall. If you need to work over this area, allow at least 48 hours for the adhesive to set. Start tiling the wall along the edges. Apply a liberal layer of adhesive to 'back butter' each tile completely making sure that the natural edge of the tile faces the front and the cut edge is at the back. Spread a layer of adhesive over the wall surface using the notched trowel.

Step 10
If you back butter the surface of the tile and wall and press the tile firmly against the wall, the tile should grip sufficiently to hold it in place. Constantly check with a spirit level while the secure the tiles to all edges.
Step 11
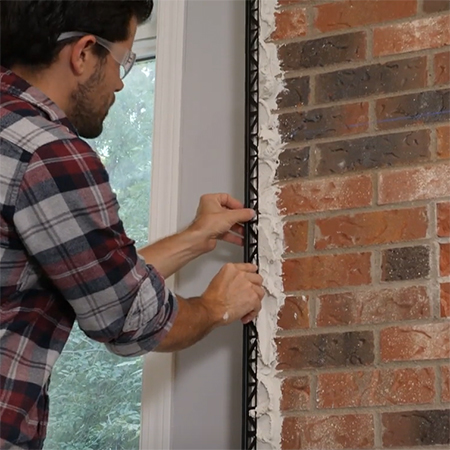
Use a tile edging strip along all raw edges as a finishing touch. This is optional and can be left off if you prefer. Apply a liberal layer of adhesive to bed the edging firmly in position.
Step 12
Back buttering the entire back of the tile and laying adhesive on the wall, both with a notched trowel, will ensure that the tiles grip onto the surface and bond together.

Finishing
Use a damp cloth to wipe away any excess adhesive that has oozed between the tiles and then use a sponge and clean water to rinse the surface of the tiles. You might need to do this a couple of times until the surface of the tiles is clean. After that, you can leave the finish natural, or you can apply a stone sealer if you are resurfacing with natural stone tiles.

credit: family handyman magazine