
How To Easily Transform A Home With DIY Wallpaper Installation
With so many different designs to choose from, installing wallpaper on the walls in your home is a good way to bring personality into the space while updating the look.
29/07/2021
Wallpaper has been used for centuries to decorate our homes. It is available in a wide range of designs and styles and has the ability to transform any room or space or room in the home or office. You can use wallpaper to bring interest and add a feature wall or focus point or to express your individuality and personality while still being able to update any room in the home.
But before you rush out to buy wallpaper for installation in your home, there are a few things to keep in mind once you have decided upon your personal favourite. For this reason, Builders has compiled some easy-to-follow tips to highlight any room and give your home a fresh new look with wallpaper:
YOU WILL NEED:
Fired earth wallpaper in your favourite design
Wallpaper adhesive
Extra-large paintbrush and it must be clean
Spirit level
Steel rule or straightedge
Paint scraper
Squeegee
Sharp utility or craft knife
Heavy-duty scissors
120-grit sandpaper
Interior crack filler
Tape measure and pencil
GET INSPIRED
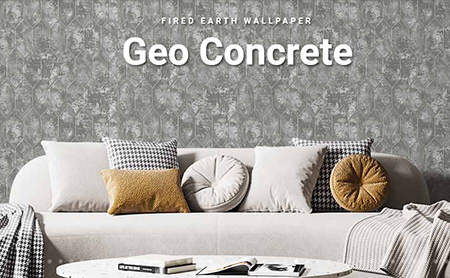
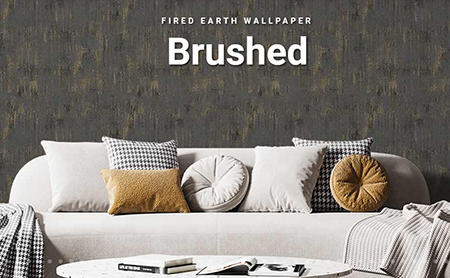
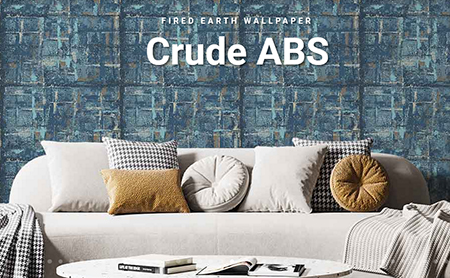
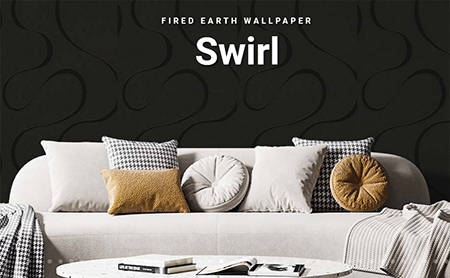
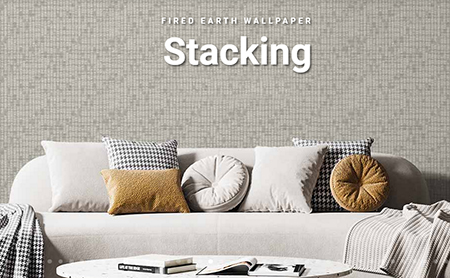
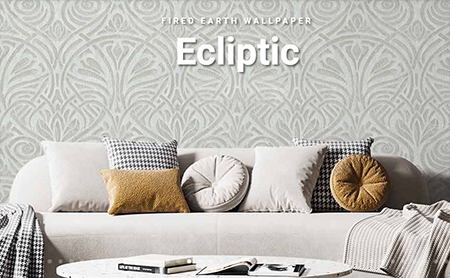
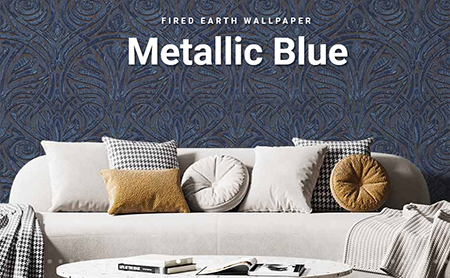
With help from the Builders newly introduced interactive visualizer, you now have the ability to visualize how Fired Earth’s selection of patterned wallpapers look on the walls of your home. The Fired Earth range of wallpapers is available exclusively at Builders stores around the country.
Explore the Fired Earth’ range of patterns and designs to complement the style of your home, your furniture and decor and be able to infuse your home with trendy colour palettes and patterns. The wallpaper explorer also links easily to shopping the range - making it easy to select and shop all in one.
If you want a more visual guide to installing wallpaper, click here to view the video.
HERE'S HOW:
Tip 1 – Make sure the surface is smooth
Before installing the wallpaper you need to prepare the wall for wallpaper. This step is an important one as it ensures that you have the best possible installation and are not wasting your time and money. The more preparation work you do beforehand, the more you prevent things from going wrong.
Use interior crack filler and 120-grit sandpaper or a sanding sponge to fill in any holes or cracks and smooth uneven surfaces. You want to sand away any bumps or textures to ensure you get rid of any screws or imperfections leaving the wall smooth.
After fixing and sanding use a cloth to wipe down the walls and leave for 24 hours to dry before installing the wallpaper.
The next step is determining where to start with the installation of the wallpaper.
Tip 2 – Don't try to cut corners
We all know that walls and corners are very rarely straight and square, so don’t rely on them as a guide for hanging the wallpaper. Some decorating enthusiasts like to start the installation of wallpaper in a corner, but that doesn't make sense if your wall is not straight and will result in hanging the wallpaper skew.
The centre of the wall should be your starting point and you need to measure and mark with a tape measure and pencil and check everything with a spirit level. The centreline will dictate the way your wallpaper should lie across the wall.
Tip 3 – Measure twice and cut once
With the measuring and marking done, you can begin cutting the wallpaper. Use a tape measure and steel rule or straightedge to cut the wallpaper and be sure to leave an extra 50mm at the top and bottom of each cut piece of wallpaper. You can cut this away once installed on the wall.
GOOD TO KNOW: It is always in your best interests to measure twice and cut once. Mistakes made with cutting too short can be costly.
Tip 4 – Mix the wallpaper adhesive
Follow the instructions on the pack for mixing the wallpaper adhesive in a suitable container - an old paint container or HTH bucket is great for this. One packet of wallpaper adhesive makes approximately 3 to 5 litres. Allow the paste to sit for around 15 minutes before applying to the back of the wallpaper with a large paintbrush. You also need to apply the wallpaper paste directly onto the wall, making sure to apply on either side of the width of the paper to ensure the edges of the wallpaper stick down firmly.
GOOD TO KNOW: Should the side edge of the wallpaper start to lift, press these firmly onto the wall.
Tip 5 – Ready to install
Now everything is ready to install the wallpaper on the wall. You need a long tabletop or surface on which to place the wallpaper. Place the cut and pasted sheet of wallpaper up against the line marked on the wall.
Keep a slightly damp, clean cloth at hand as well as your squeegee. Use the squeegee to smooth the wallpaper over the surface of the wall by pressing against and running this over the length of wallpaper in gentle, even strokes. Always work from the centre towards the side edges making sure that the wallpaper is bubble-free and smooth and that it is also perfectly aligned. When on the wall use the damp cloth to remove any excess wallpaper paste that has oozed out along the edges.
GOOD TO KNOW: If the wallpaper is not applying smoothly, pull it away from the wall and go back to your centre point. Remember that this job does take some time and a lot of skill but it is worth the results in the end.
If you want a more visual guide to installing wallpaper, click here to view the video.
