
Quick and Easy Tassel Chandelier
This quick and easy tassel chandelier will introduce an interesting element to any bedroom.
29/11/2018
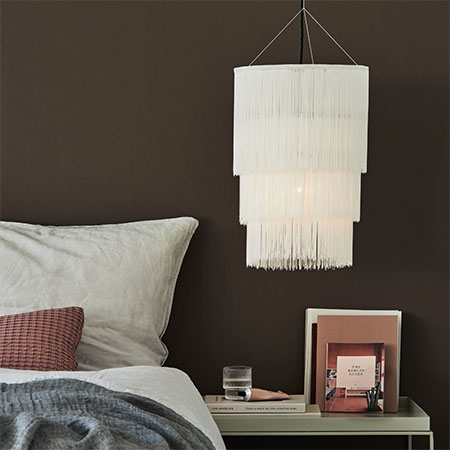
This tassel chandelier is so easy to make, you'll wonder why you never thought of it yourself! Make the tassel chandelier using tassels or fringe that you can buy at larger fabric stores and mount on embroidery hoops.
YOU WILL NEED:
Embroidery frames, 3 sizes
Tassel or fringe for the trimming
Craft glue or hot glue gun
String or nylon line to mount
Lamp holder, lamp and electrical cable, or use as a shade on an existing lamp
Scissors
TOOLS:
Laser measure or tape measure
HERE'S HOW:
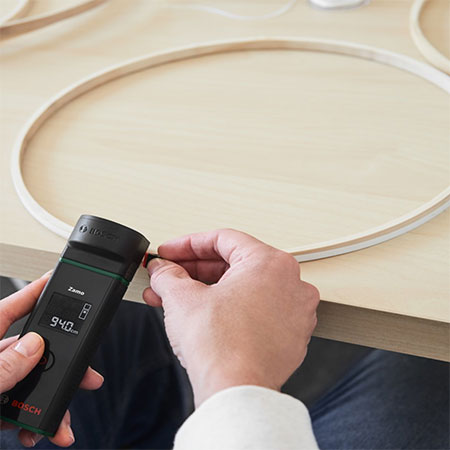
1. Determine the size of your embroidery hoops. Measure the circumference so that you know how long to cut the tassel or fringe.
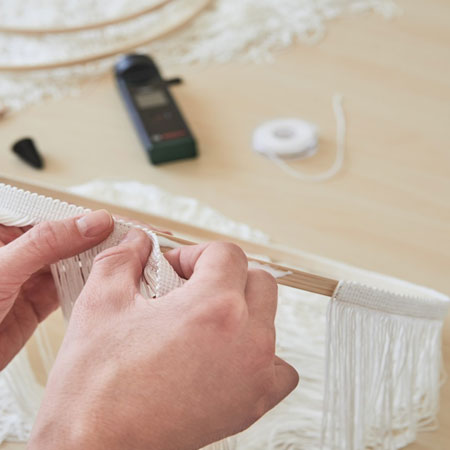
2. Cut the tassel or fringe to the correct length - enough to wrap around each frame.

3. Attach the tassel or fringe to the edge of the embroidery frames with craft glue and put aside until the glue dries.
GOOD TO KNOW: A hot glue gun can also be used to secure the tassel or fringe around the embroidery frames - and you don't have to wait for the glue to dry!
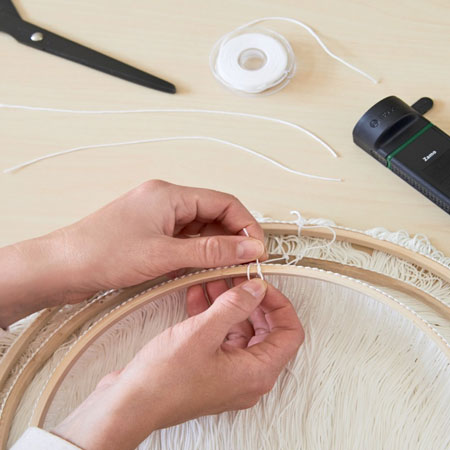
4. The most difficult part of making this tassel chandelier is to tie the hoops together. Cut [6] 200mm-long pieces of string and [3] 300mm-long pieces.
5. Place the embroidery hoops inside one another and work either from the innermost frame to the outermost one or vice-versa. Tie the frames together in three places. These points should be equal distances apart. Use the 200mm-long pieces of string for this.
6. Secure the 300mm-long pieces of strings to the frame that is on the outside in the picture – also equal distances apart. Bring the loose ends together via the middle and loop them together into a knot. Now, when you lift the fringe chandelier up, the frame should expand downwards. Attach the fringe chandelier to the lamp of your choice.
GOOD TO KNOW: The tassel chandelier also looks brilliant without a lamp - just for decoration!
all about diy