
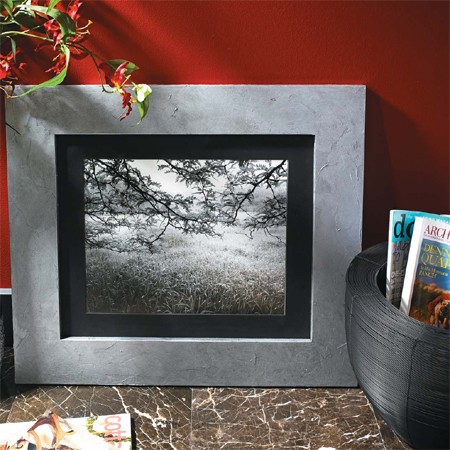
Make your own faux metal picture frame
Making a plain picture frame is simple, but adding texture transforms a plain picture frame into a stylish frame that would normally cost big bucks. Use offcuts or PAR pine to make these picture frames and then add a distinctive faux finish.
This basic picture frame is made using SupaWood cut to size, with simple butt joints glued together.

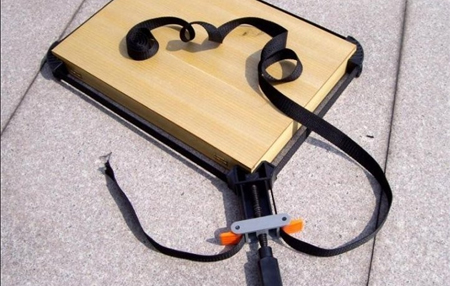
Glue and clamp the sections together until the glue dries. Glass pins to hold the glass, mats and picture in place at the back of the frame. For secure holding while the glue dries,
use a strap clamp like the one shown from Gator Clamps.
You can buy at your local
Builders Warehouse, and you can use strap clamps for a variety of gluing projects.
The finish on our faux steel frame is easy to replicate and readily available at your local Builders Warehouse.
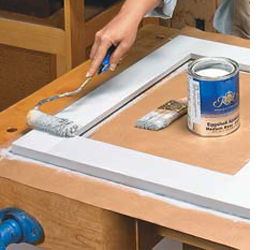
The first step is to prime the frame by applying a basecoat of paint. The colour should complement the finished colour you want for your frame, be it steel, copper, or bronze, etc.
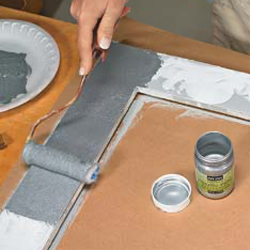
Now you are going to apply a thin layer of ready-mixed interior crack filler. Use a paint scraper to apply the filler over the surface of the frame. Load the knife with filler and begin applying a thin layer of it to the frame.
As you apply, turn the knife to create lines and texture across the surface. Also, leave parts of the frame bare to add depth. Do this on both the face and edges of the frame.
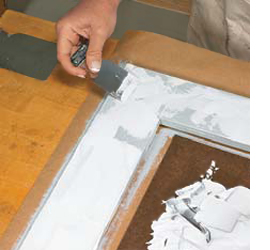
If you’re not happy with the look - you can always scrape off and re-apply parts of the frame after it has dried.
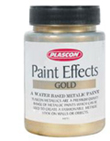
For the top coat use Plascon Metallic paint in gold, silver or bronze.
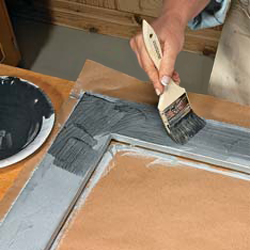
Use a foam roller to paint the coated surface and an artist's paintbrush for the outside edges. Coat a soft, lint-free cloth into the paint and dab randomly over the finish. This reflects light differently and creates more depth.
If you want even more effect, mix 2 parts paint to one part scumble glaze and brush this over the surface, using a soft, lint-free cloth to dab off and create a multi-toned finish.