Make a Mirror Wall Feature for a Living Room
You might think that mirror walls are old fashioned, but this project puts a new spin on a plain mirror wall design for a modern touch.
17/06/2020
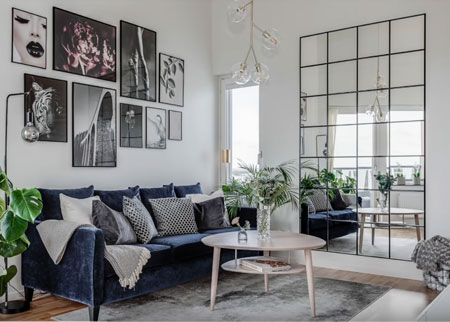
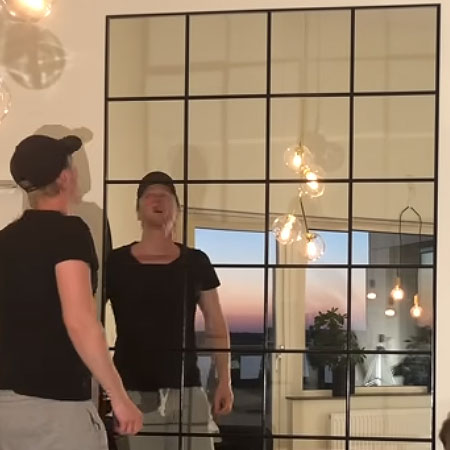
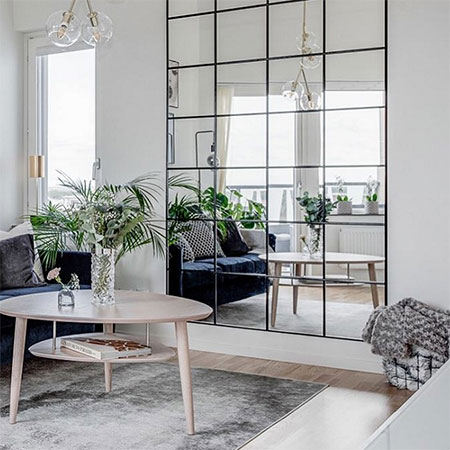
Many mirror walls are considered a tad old fashioned but this do-it-yourself mirror wall puts a new spin by adding a contrasting black trim between and around the mirrors for a sophisticated look perfect for a modern interior.
Mirrors are excellent for opening up a room and making it appear larger than it is, but they are also ideal for making a room feel lighter and brighter by bouncing light around the space. I have always said that every room should have a mirror or two and this mirror wall feature adds a touch of sophistication to a room as well as creating an eye-catching feature.
You can find more details on this mirror feature wall at home of frith on Instagram and Living DIY on Patreon, or watch the video. The process for setting up and finishing the mirror feature wall is shown below and it's an easy project that you can complete in a weekend or a few evenings during the week.
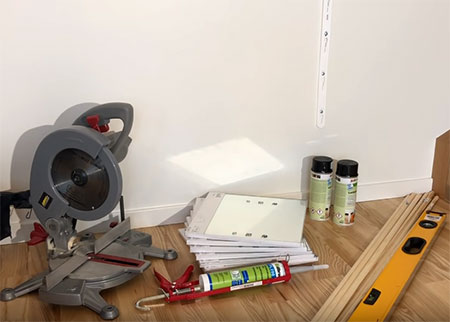
YOU WILL NEED:
Mirror tiles, approximately 300 x 300mm size*
Adhesive suitable for mirrors
Pine or meranti dowels
Rust-Oleum 2X Satin Canyon Black spray paint
TOOLS:
Mitre saw, jigsaw or mitre box and backsaw
Spirit level
Tape measure and pencil
*Buy mirror tiles are home decor and hardware stores, or have them cut to size at glass and mirror suppliers.
HERE'S HOW:
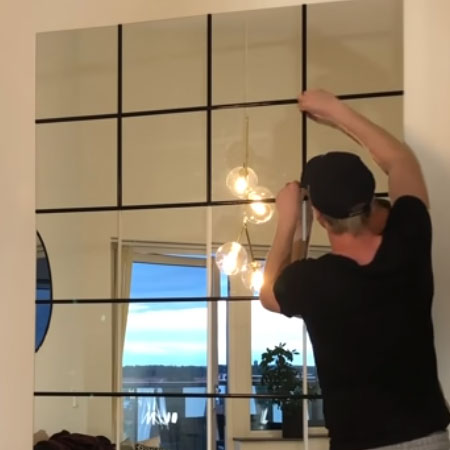
1. Begin by measuring up the area where you want to install the mirrors. Mark and measure the total width and height depending on how many mirrors you want the feature to be. The mirror feature wall shown in this project is 4 mirror tiles wide x 7 mirror tiles high, but you can adjust this according to the space you have available. Remember to factor in the width of the pine mouldings you will be placing between the mirror tiles.
GOOD TO KNOW: Use a spirit level to check that the lines are square and level, both vertically and horizontally. even a few millimetres out can throw the entire design off-balance.
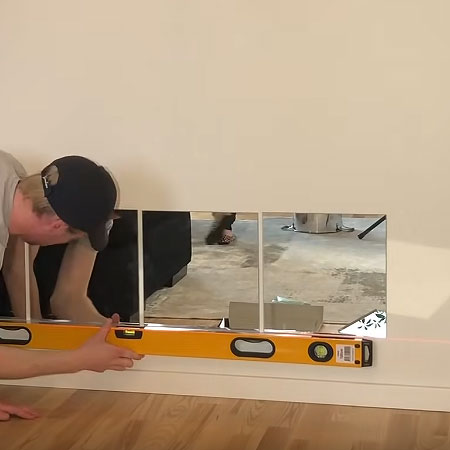
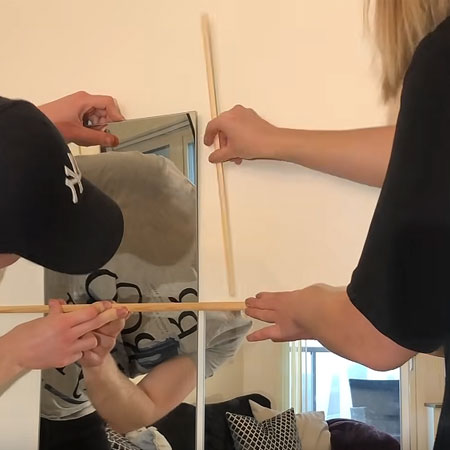
2. As you add rows horizontally and vertically, use one of the strips of pine moulding to ensure an accurate spacing between all the mirror tiles. Continue to check with the spirit level to ensure you are staying straight.
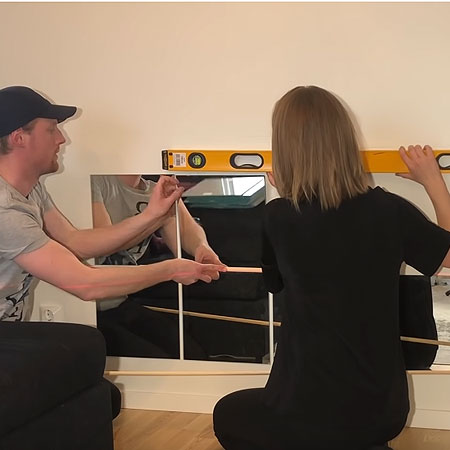
3. Continue to add more rows and ensuring an equal spacing between all the mirror tiles. Complete the feature.
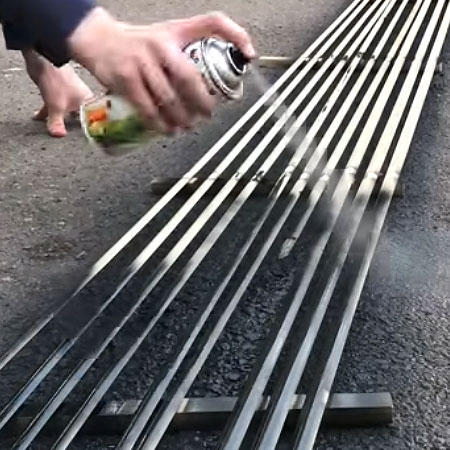
4. To add a sharp contrast to the mirrors and make them stand out, the pine dowels were sprayed a satin black.
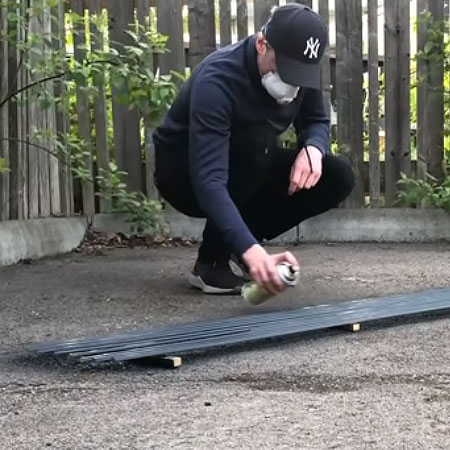
5. Spray on the one side and around the edges, let this dry and then flip over to spray the other side and edges.
GOOD TO KNOW: Place the moulding on a few scrap pieces of wood to make it easier to spray them all at the same time.
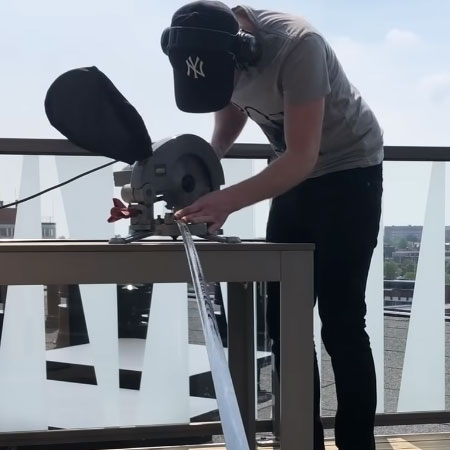
6. Measure the exact lengths to trim the moulding to size. When applying these to the feature wall, the horizontal sections are complete from the start of one tile to the end of the last tile in the row. The horizontal strips are cut to fit between each tile. Complete strips are cut with mitred / angled corners to fit around the perimeter of the feature tiles.
7. Having sprayed and cut all the moulding to size, apply a thin bead to each individual strip to start mounting these onto the wall.
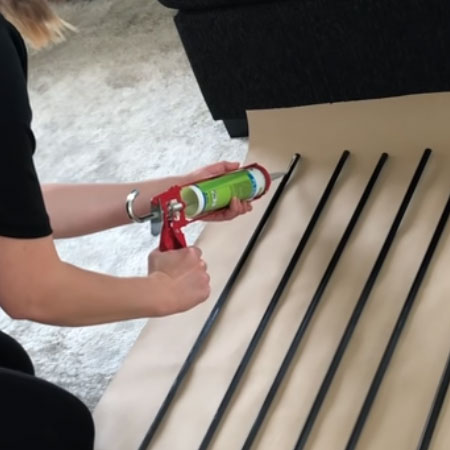
8. Fit all the horizontal strips first, making sure to press them firmly onto the wall. Immediately wipe away any excess adhesive that oozes out.
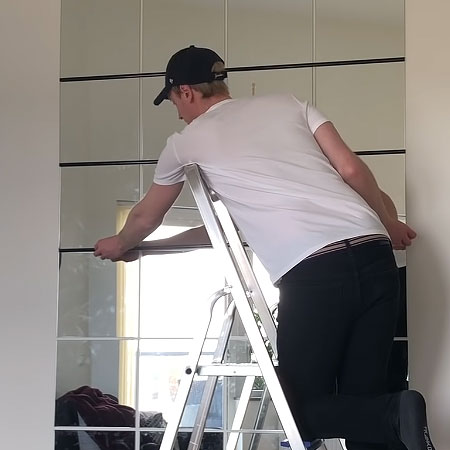
9. After fixing the horizontal strips, add the vertical pieces.
10. After that, you can add the long strips that fit around the entire mirror feature.