Make a fabric room divider
In a small home or studio apartment there isn't always enough room for a solid room divider, but here's how to make a fabric room divider that can be hung from the ceiling.
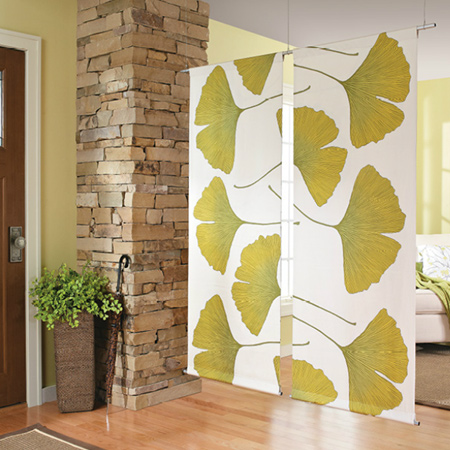
You won't find fabric room dividers in home decor stores, but they are such a great idea if you need to add more privacy in an open space. And in smaller homes where floor space is already limited, a fabric room divider won't take up any more and still offer the ability to create zones.
With this easy fabric room divider you can pop into your local fabric store to select bold patterned prints or muted neutral fabrics to complement your home decor. While you can use almost any fabric to make your own divider, heavier fabrics will hang better once mounted.

YOU WILL NEED:
Fabric - enough to make 2 panels*
Chrome rods(22 - 25mm diameter to fit width of your finished panels (top and bottom)
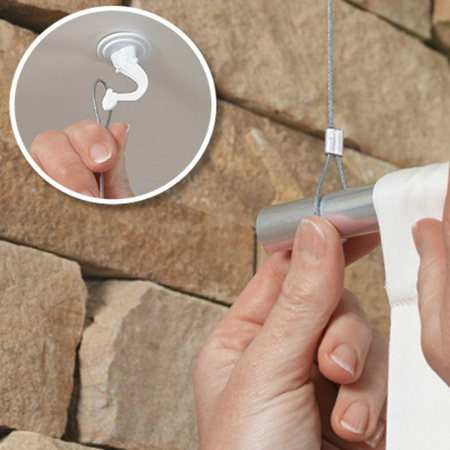
Steel lighting wire crimped with loops at both ends, or threaded through the pipe and looped to hang
Sewing machine and accessories
Ceiling hooks
Iron
Buy the hardware required for this project at your local Builders store.
HERE'S HOW:
1. Cut four pieces of fabric for the front and back of each of the two panels.

2. Place two pieces of fabric with faces together for each panel.

3. Pin the layers for each panel together around all four edges, making sure that the two panels are perfectly aligned.
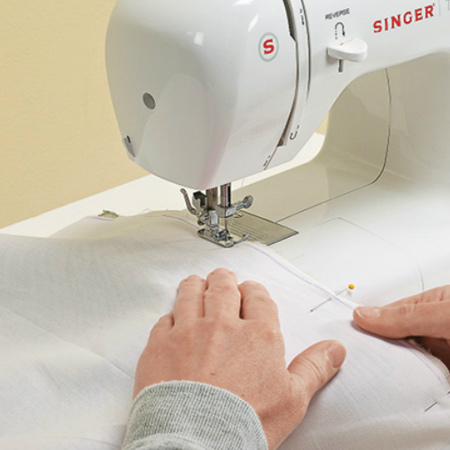
4. Sew a 12mm seam along the sides and top - leaving the bottom unstitched for turning the fabric right side out. Finish off with a zigzag stitch around all side to prevent the fabric from fraying.
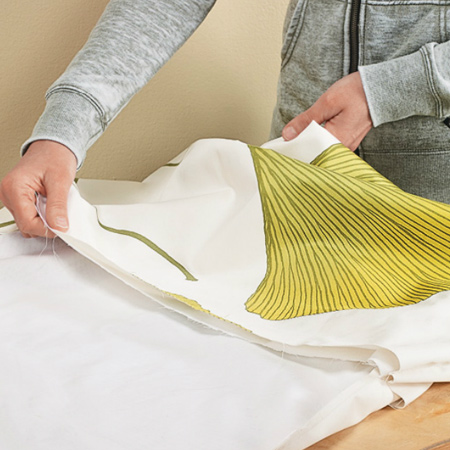
5. Turn the fabric right side out. Push out the corners and then stitch to close the bottom edge.
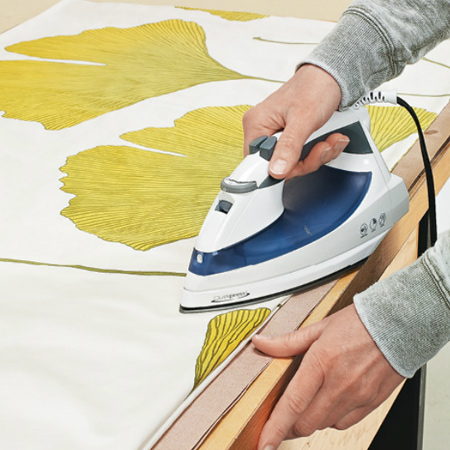
6. Use a warm iron to press the edges flat for a clean finish. Use a running stitch 12mm in from the edge around all sides.
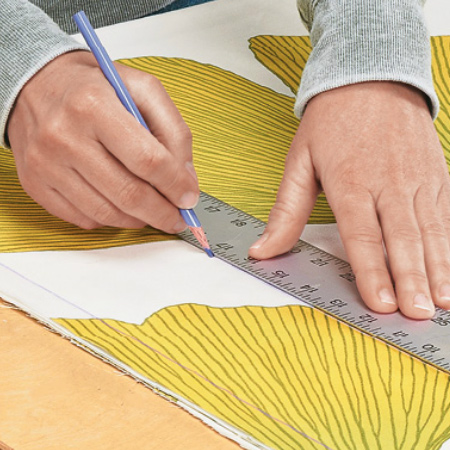
7. Measure and mark with chalk for the rod pockets at the top and bottom of each panel. Chrome rods vary in diameter from 20 to 25mm, so double check this for the size of the rod pocket you need to sew.
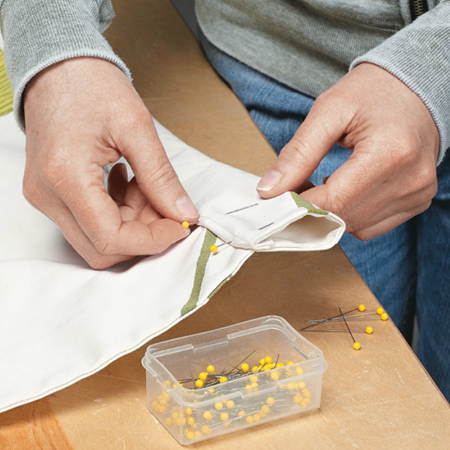
8. Allow double the diameter of the chrome pipe (25mm diameter = 50mm pocket), plus an extra 15mm for folding over at the top of each pocket for the hem. Pin this in place and press flat with an iron. Test fit the chrome rod and adjust if necessary
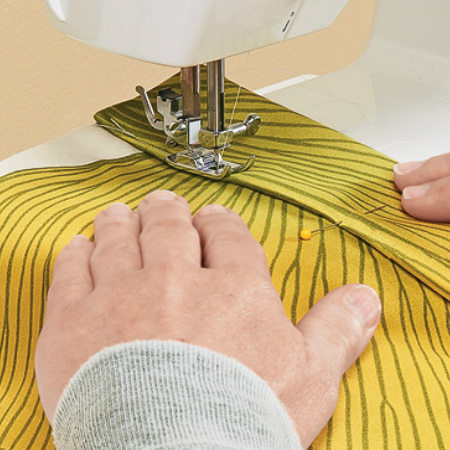
9. Sew the rod pockets with a 12mm seam and a running stitch close to the edge of the folded over section for a nice finish. Press again.
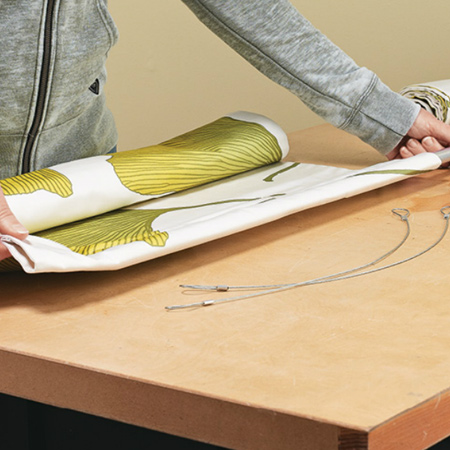
10. Use a hacksaw or jigsaw with metal cutting blade to cut the chrome rods to width, allowing 20mm at either side for adding the wire for mounting.
11. Whatever hanging method you use to hang your panels, make sure that each is identical in length. Slip a cable loop (or drill holes to thread wire through the chrome rod) and hang on securely mounted ceiling hooks.
GOOD TO KNOW:
Ceiling hooks must be screwed
and secured in ceiling beams that can support
the weight of the panels.