Make your own Affordable Designer Mirrors
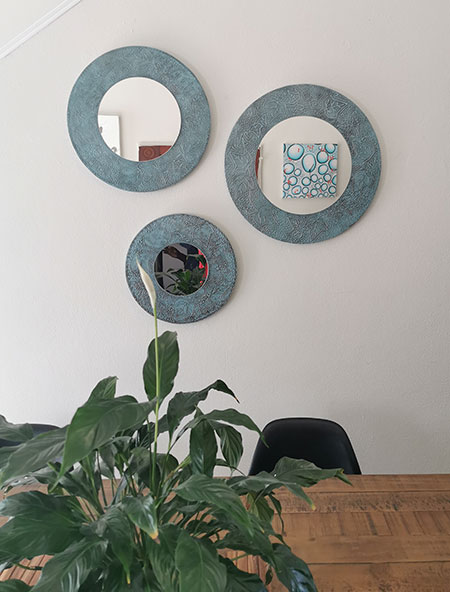
Wanting to fill a blank wall, I decided to add some decorative mirrors with a vintage effect to hang onto the wall.
04/09/2019
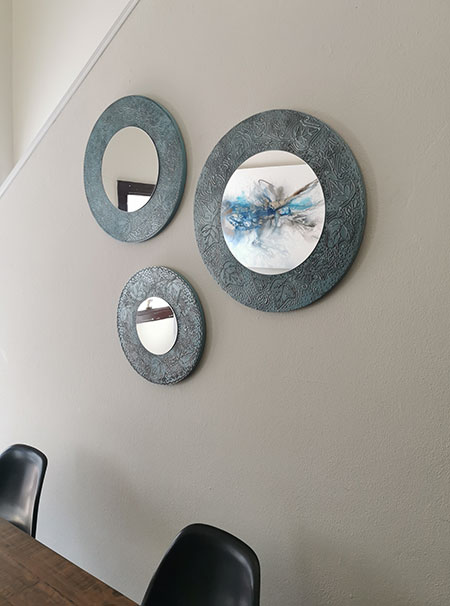
After shopping around for decorative mirrors for a blank wall, and having seen the prices for these, I decided it would probably be better (and cheaper ) to make my own. I purchased a set of 3 circular mirrors at Builders Warehouse and used a few pieces of scrap 16mm SupaWood to make the mirrors.
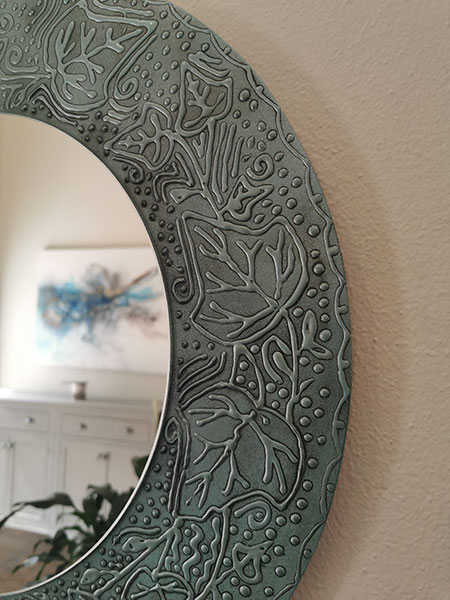
To finish off the decorative mirrors, I didn't want to just paint them a colour to match other accessories in the room, I wanted to add a vintage finish around the actual mirror that is fitted in the centre. The effect I managed to get was simple and I used puffy paints (or a paint that isn't too runny) to outline the design.
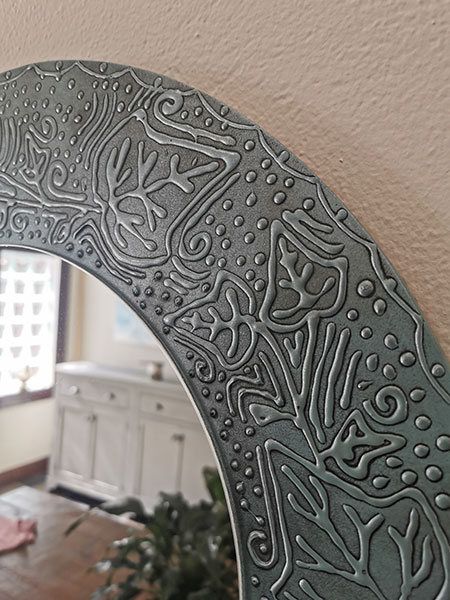
The design is one that I like to use occasionally for this type of project and I used ivy leaves cut from the garden to draw the design onto the SupaWood backing board. I explain how to achieve the same effect in the article below.
YOU WILL NEED:
SupaWood boards cut to size to fit around your mirrors.
Set of 3 circular mirrors in different sizes
Bravo Power Blue spray paint
Spray primer
Puffy paint
Acrylic craft paint, black
Old paintbrush
Rags
No More Nails adhesive
Picture hangers to mount onto a wall
TOOLS:
Drill / Driver plus assorted bits
Jigsaw
Tape measure and pencil
HERE'S HOW:
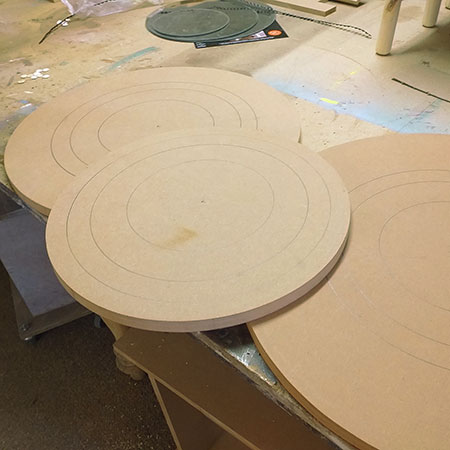
1. Cut [3] circular boards with a jigsaw as the backing frame for your mirrors. I allowed an 8cm border around each one.
2. After a light sanding around the edges, I primed the cut circular boards with [2] coats of grey primer.
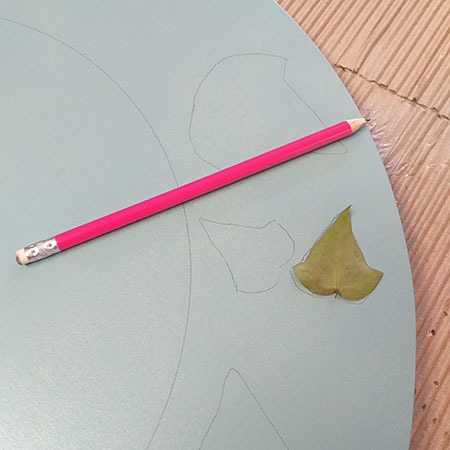
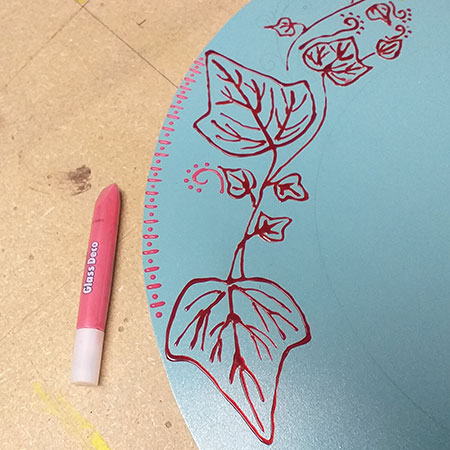
3. Once the primer was completely dry, I marked the location for mounting the mirror and started to draw the ivy leaves onto the border.
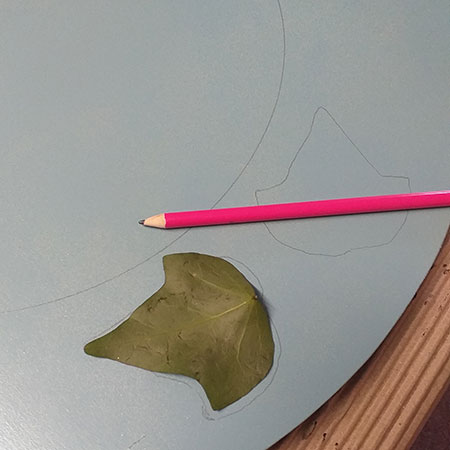
GOOD TO KNOW: If you have ivy growing in your garden, pick off a small, medium and large leaf to use as a template. If you don't have any ivy in the garden, the Internet has hundreds of designs you can choose from and print out.
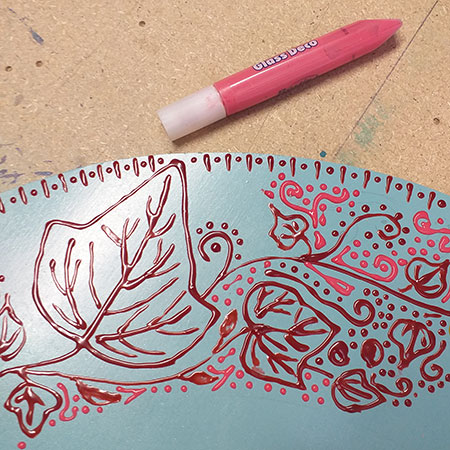
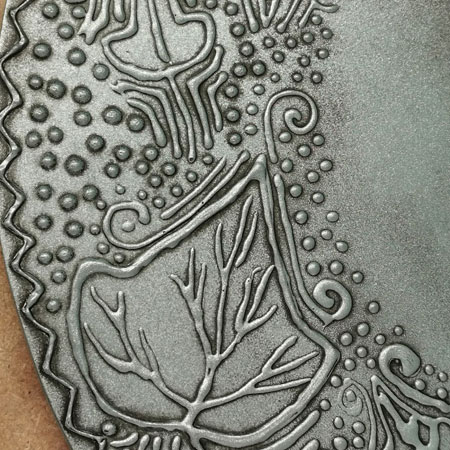
4. Once the design for the ivy leaves was done, I outlined these with puffy paint, adding a few extra details and flourishes as I moved around the border.
GOOD TO KNOW: As you add more to your design, allow the puffy paint to dry before moving on to the next area, or coming back to add more detail.
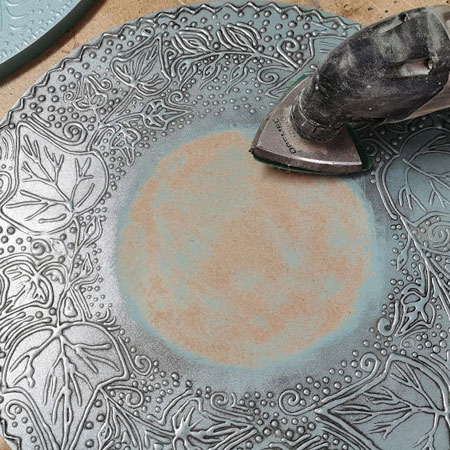
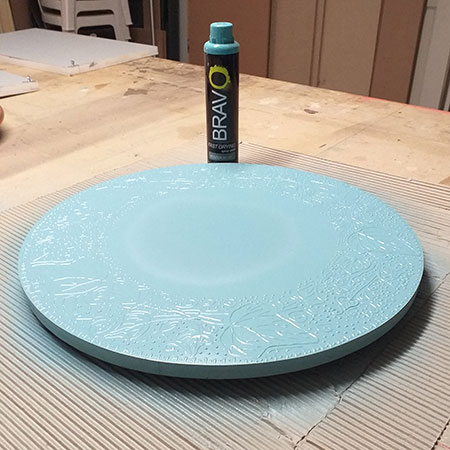
5. After letting the puffy paint dry overnight, I applied [2] coats of Bravo Power Blue over the top of the design. Let the paint dry before applying a second coat and then put aside to dry thoroughly overnight before continuing on to the next step.
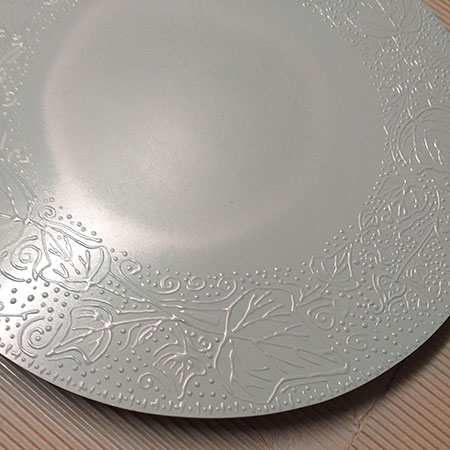
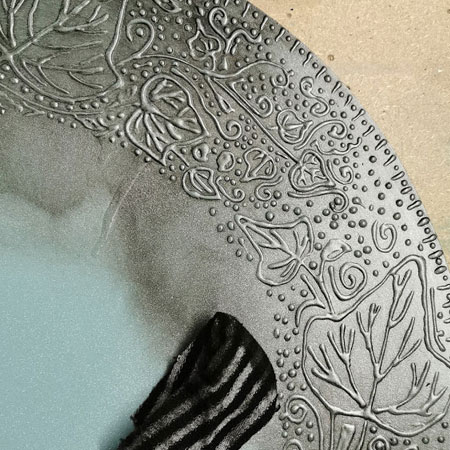
6. Now it's time to add a vintage / antique effect that allows the design to stand out. For this I used plain acrylic craft paint in black. I applied with an old toothbrush, working small areas at a time...
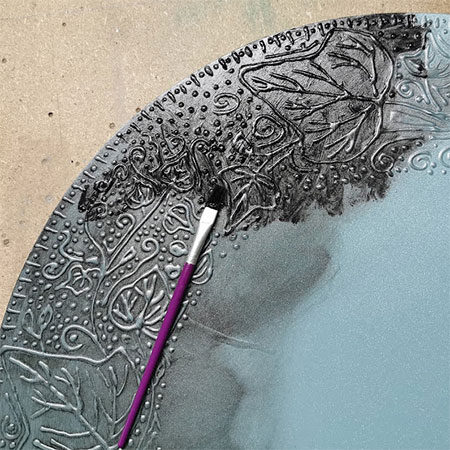
... And then wiped off the paint with a clean rag. As you can see in the image below, the effect is still very light and I will repeat the 'apply paint and wipe clean' until I'm happy with the result.
7. Before you can stick the mirror in the centre of the board, you need to remove the paint. Most adhesives require at least one surface to be absorbent in order to the adhesive to bond properly. The mirror was stuck down with No More Nails adhesive (which specified that it was safe for use with mirrors), and a picture hanger screwed to the back.