Create your own copper pendant lights
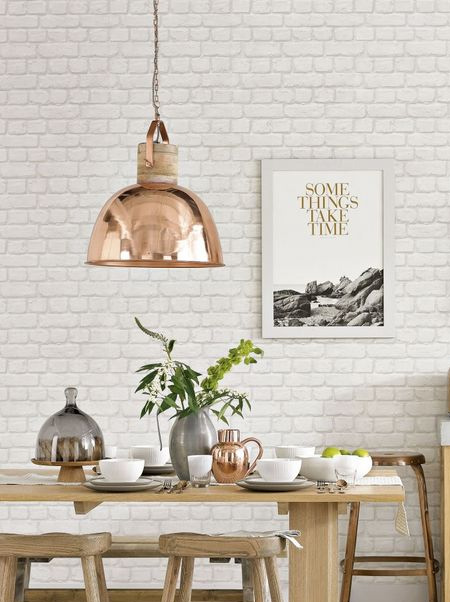
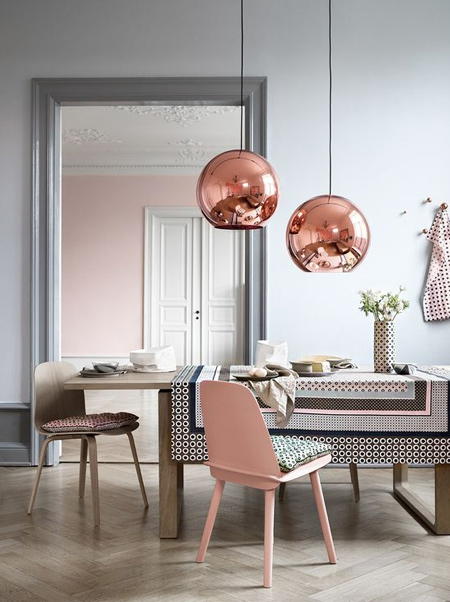
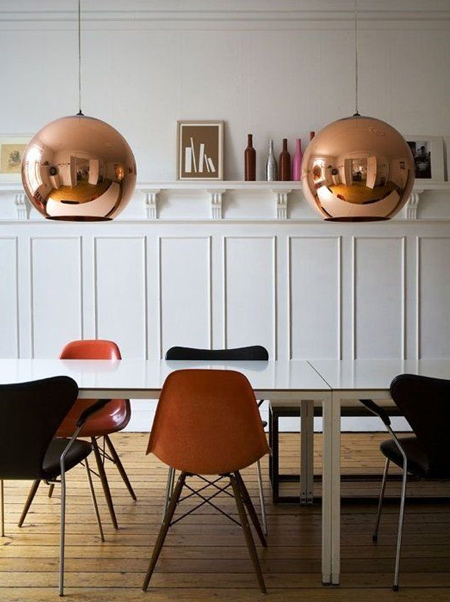
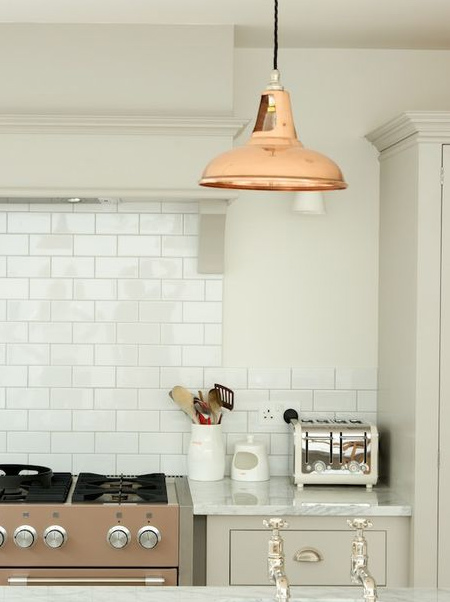
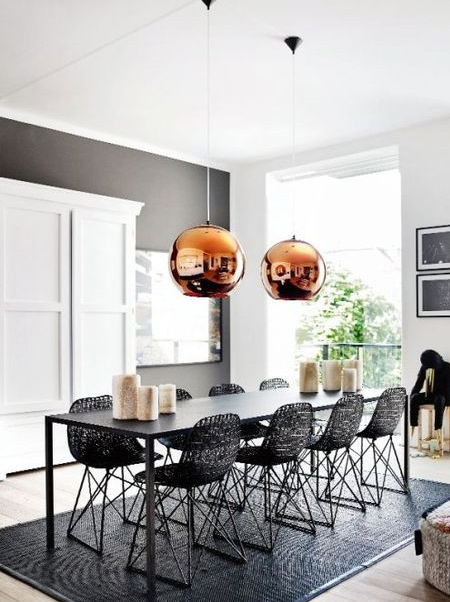
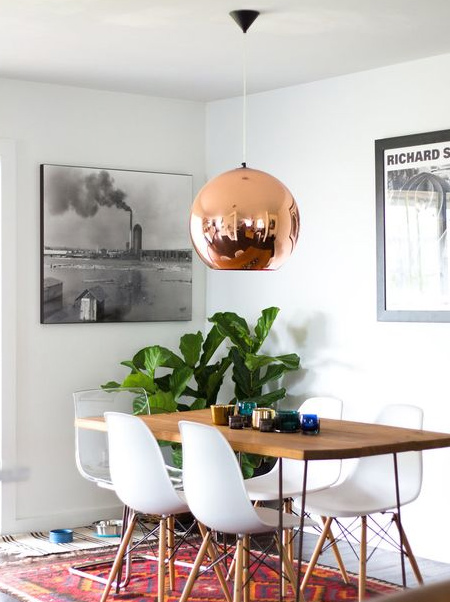
Copper decor is one of the hottest trends this year. We show you a stunning selection of copper pendant lights and show you how easy it is to make your own.


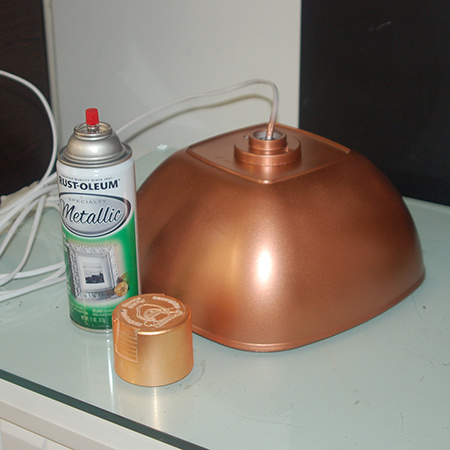
Below you will find instructions on how to make your own copper-look pendant light, using any type, size or shape of plastic container and Rust-Oleum Metallics - copper. You can buy the entire range of Rust-Oleum products at your local Builders Warehouse, or get in touch with www.spraymate.co.za to find your nearest stockist.
Make your own copper-look pendant light
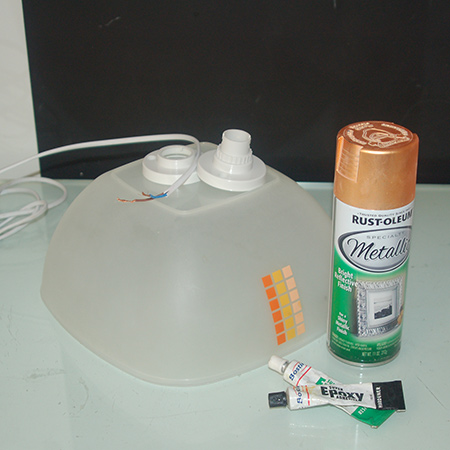
YOU WILL NEED:
Plastic container for the light shade, any shape or size
Rust-Oleum Metallics spray - copper
Lampholders [2] and 20mm screws [2]
Epoxy adhesive
Electrical cord
Drill / Driver and assorted bits, plus 25mm spade bit
HERE'S HOW:
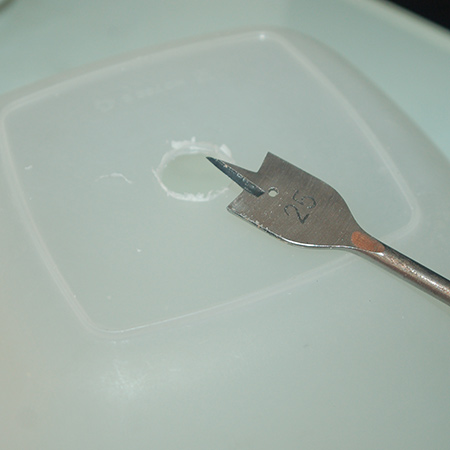
1. Use the 25mm spade bit to make a hole in the centre at the top of your plastic container. It needs to be exactly in the centre if you want your light to hang properly.
2. Take apart one of the lampholders and thread the wire through the drilled hole in the container. Disassemble the lampholder and wire up. Make sure that the wires are tightly secured before putting the sections back together.
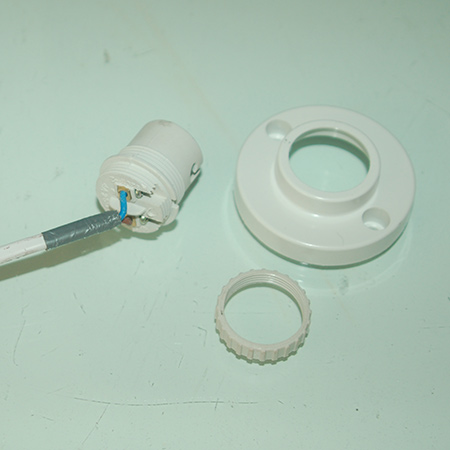
3. From the second lampholder you only need the outer ring, and this will be placed on top of the drilled hole.
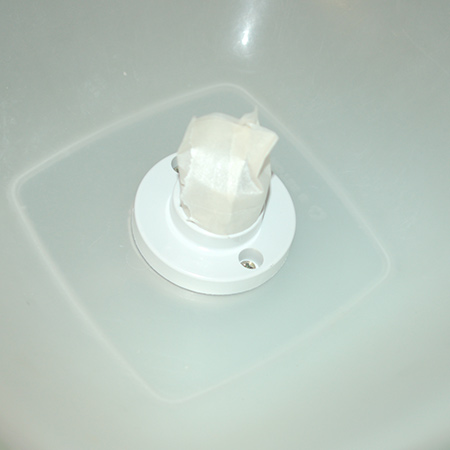
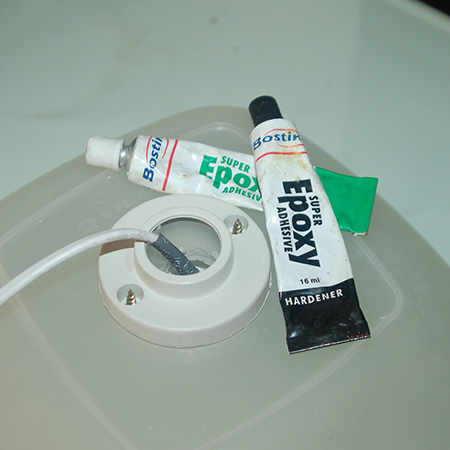
4. Have someone help you with this step, as it can get a bit messy. Mix and apply epoxy glue to the rim of the lampholder inside the container. Make sure it is centred before using a couple of screws to hold in place.
5. Place the lampholder ring on top over the screws, also using epoxy adhesive around the rim to secure. Also apply epoxy adhesive to the screws that come through the top. Leave the adhesive to cure for about an hour.
6. Cover the inner lampholder with masking tape to protect from overspray and apply two, light and even coats of metallic copper spray paint. I found the easiest way to do this was to hold the light by its cord and twist the cord around to cover both inside and outside the container. DO allow each coat to dry before applying the next coat.