Finishing Touches aluminium Venetian Blinds for Bathroom
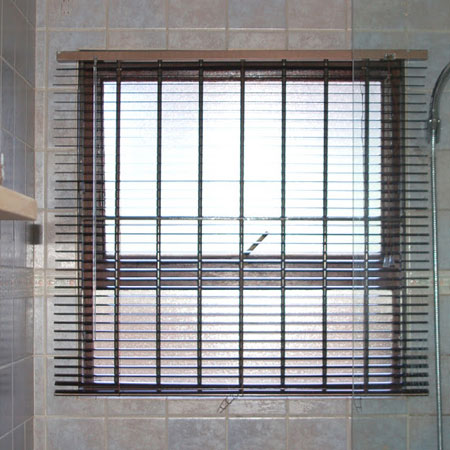
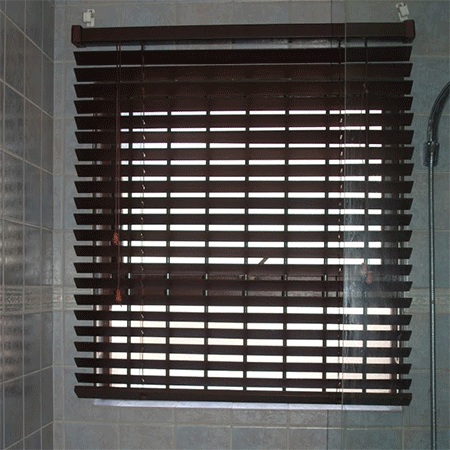
Some years back, before turning the bath into a bath/shower combination, I fitted basswood blinds to the bathroom window. These have started to fall apart and replaced with aluminium Venetian blinds from Finishing Touches.
17/01/2019
Quite a few years back, even before turning the bathtub into a bath/shower combination, I fitted basswood Venetian blinds to the bathroom window. They looked great in the beginning but have become quite grubby over the years. It's also not ideal having them so close to the shower. Another problem I noticed with these blinds is that, because the slats were so wide, they made the bathroom quite dark.
After shopping online at Builders Warehouse I managed to find a blind that would just fit the window, in fact it could be a little bigger. The size of the window is 900mm high and the blinds are 900mm length, but it doesn't leave much room at the top for mounting (something to take into consideration when fitting blinds). Since I didn't want to go to the expense of buying the next size up, which was 1600mm length - at almost twice the price - a plan was made to fit these blinds to fit the window.
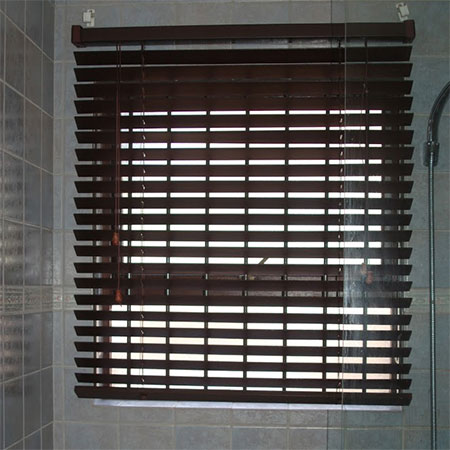
The new Finishing Touches Venetian blinds are so much better. Not only is aluminium ideal for a bathroom environment, the thinner slats of these blinds let in so much more natural light and the bathroom feels much brighter. When I next need to fit blinds I think it might be a better option to pop into the Finishing Touches store (inside Builders Warehouse) and have the blinds made to measure for a perfect fit.
While it would be nice to have a Roman blind made up to fit this window, I don't think that's a good idea in this particular area. Aluminium won't rust and it's easy to keep clean, whereas fabric will continuously get wet and may go mouldy.
HERE'S HOW:
1. The first step is to remove the old blind. There will be holes left behind from the fittings and I will fill these up with Alcolin QuikMend epoxy putty with a little paint added for colour to disguise the holes.
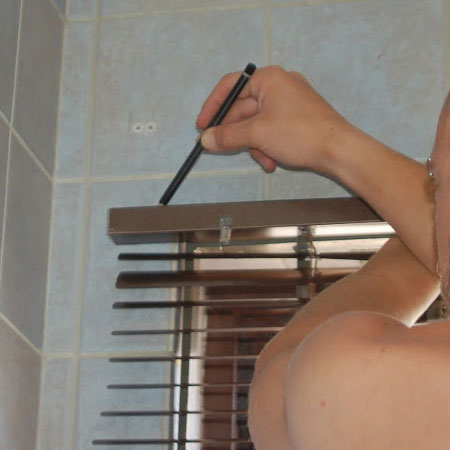
2. Place the blinds against the window and mark the positioning. These blinds had to be mounted in line with the top of the window in order for the bottom to hang nicely.
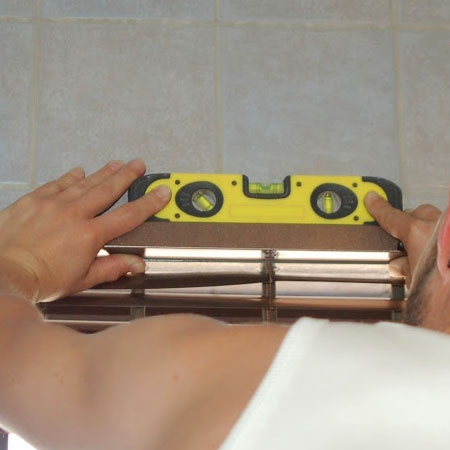
3. Always check with a spirit level that the blinds will be mounted perfectly straight.
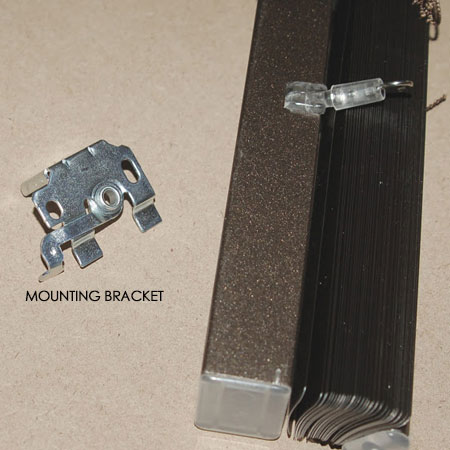
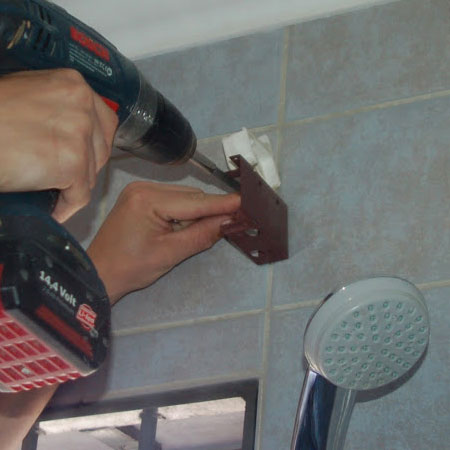
4. Take the wall-mounting bracket that clicks into the top of the blind to mark where to drill holes for mounting.
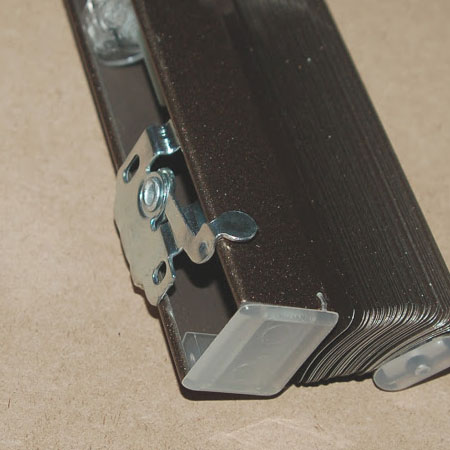
GOOD TO KNOW: Mark on a piece of masking tape so that you drill bit won't slide around when drilling the holes.

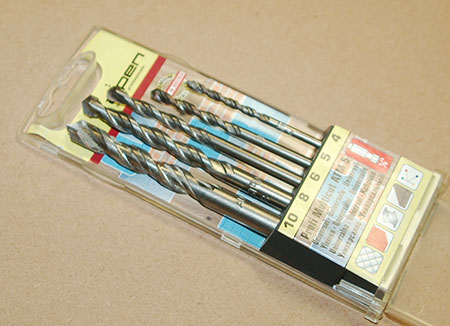
5. Use a suitable Alpen drill bit to drill a suitably sized hole for the wall plugs and screws.
GOOD TO KNOW: We didn't use the plastic wall plugs supplied with the blind, but substituted with Fischer nylon wall plugs.
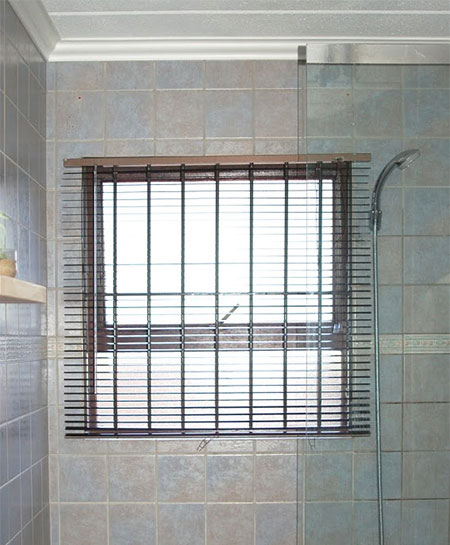
It was a tight fit to mount the blind onto the window and I'm not completely happy with the appearance of the top, so I will be adding a small pelmet over this to cover up and add a finishing touch to the window. Will post details on this once I get round to it!