
Revamp old furniture with Rust-Oleum
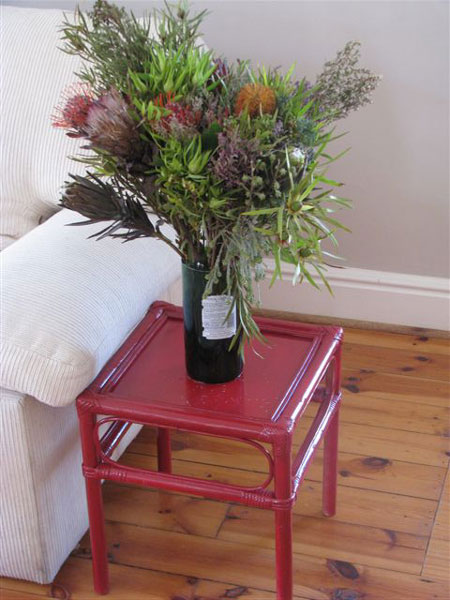
Colette Molenaar, our DIY Diva in Port Elizabeth, recently revamped an old wicker table. The result is stunning - and all it cost was a couple of cans of Rust-Oleum 2X Painters Touch.
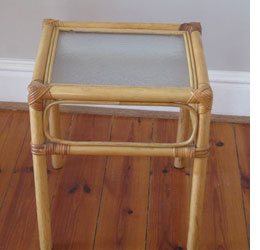
I have these two little wicker tables that have been with me since, probably the poorer part of my student days – calendar counting many moons ago, but for the eternal optimist, ‘just the other day’. Well, they got the better end of my itchy fingers and I decided they needed a colour upgrade.
Step 1
The wicker has quite a glossy varnish, so it needs to be sanded down slightly. I used 120-grit sandpaper to do this. Make sure you have completely removed all the dust before you start as you are most likely to end up with a dotted look from dust particles.
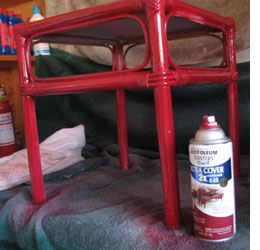
DIY Tip: Because you are spraying legs, etc, as you spray your project, make sure you have a backdrop or you will most likely spray more than just your table. And of course – you will be doing this in a well ventilated room (but not outside on a windy day as it will influence the spray effectiveness).
CONTINUES BELOW

Step 2
For good measure I prefer to add a coat or two of primer. I found it better to do two thin coats that one thick one. Remember to spray the back corners – not that anyone is likely to look under your table, but if you want to brag about your item it is always good to have all areas nicely covered. No matter how eager (aka impatient - in my case) you may be make sure your primer – coat one and two is completely dry before applying your colour. In all honesty – at this point I almost changed my mind about the colour – the white looked great. Decisions, decisions ...
Step 3
But I had my mind set on the Rust-Oleum Painters Touch – Colonial Red. I only applied one coat but as this was an ‘I just had to finish it today’ it ended up a late night project and I found that I had to do a couple of touch up sprays for all those spots I slightly missed.
And viola!!