
Make a basic upholstered ottoman
A basic square upholstered ottoman and a circular ottoman. The ottoman design featured below is the easiest ottoman to make and you can easily assemble and upholster in a day.
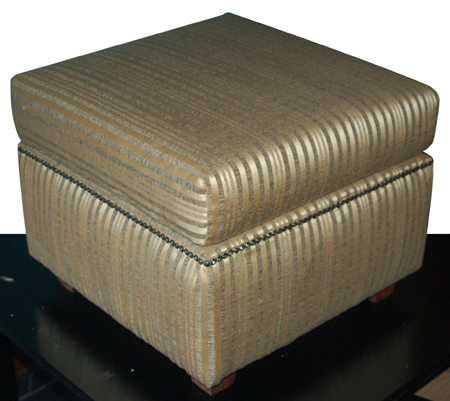
Let’s start off with a basic square or rectangular ottoman. The ottoman shown above is assembled as two separate sections; the cushion is simply a piece of foam wrapped in thin batting and covered in your choice of fabric. The ottoman in this project is 500 x 500mm wide and 400mm high. You can easily adjust the width measurement to make a larger ottoman.
YOU WILL NEED:
1 of 16mm BisonBord 500 x 500mm
2 of 16mm BisonBord 200 x 500mm
2 of 16mm BisonBord 200 x 468mm
1 of 1,8 metre PAR pine 44mm wide
Pack of 16mm screws
Pack of 4 x 40mm smooth shank cut screws
Piece of high density foam 100mm thick
and 500 x 500mm - if you can’t find 100mm
thick foam, use two pieces of 50mm thick
Thin batting
4 feet - or make your own with blocks of pine
Drill/Driver plus assorted bits
Staple gun and 6 or 8mm staples
Scissors
Hammer
CONTINUES BELOW
HERE'S HOW:
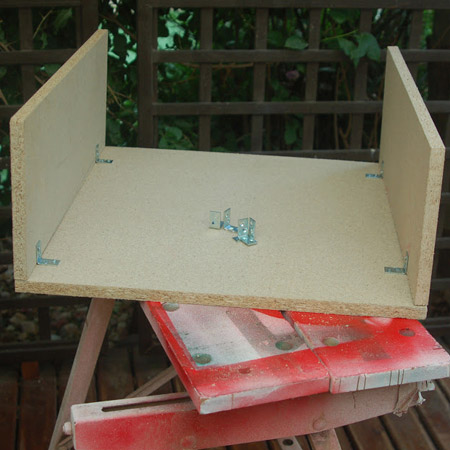
1. To make the base for your ottoman attach the two longest side sections to the top with angle braces and 16mm screws.
DIY TIP:
Make sure you place the screw tip
in the exact centre of the hole in the
brace, or it will not be straight.
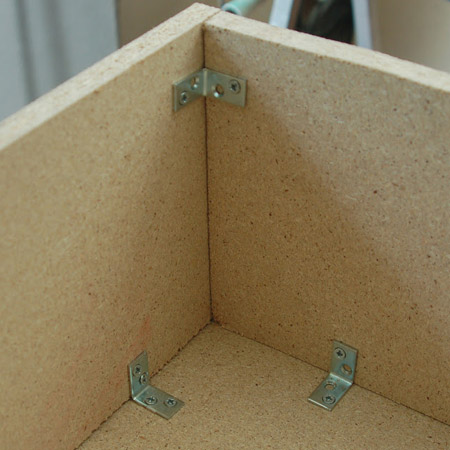
2. Add the smaller side sections in the same way and then add angle braces up the sides to secure. Make sure to leave enough room for mounting the foot battens below.
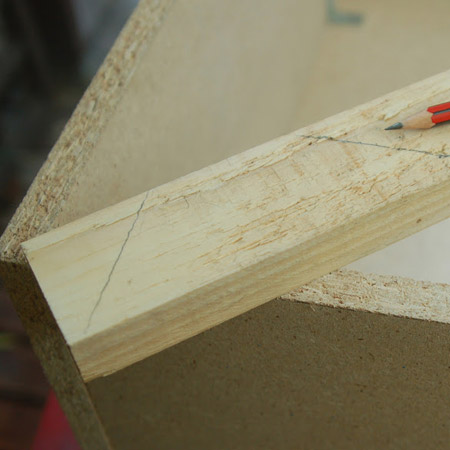
3. Using a piece of 44mm wide PAR pine, place this over one corner of the box and use a pencil to mark the underside for cutting. These will be support battens for the feet. If you are adding larger feet you will need a wider batten.
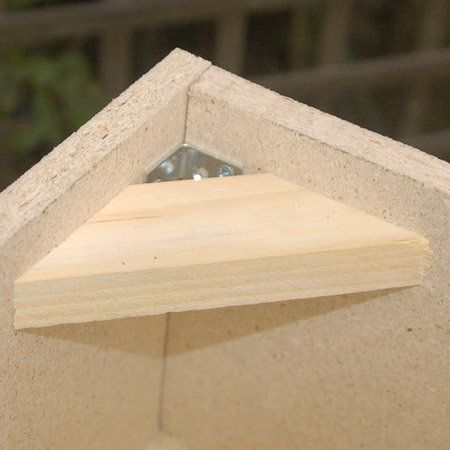
4. Screw the battens in place through the outside using 4 x 40mm smooth shank cut screws.
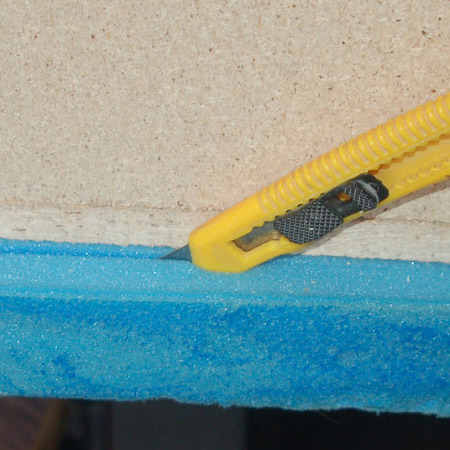
5. I had some scrap foam lying around, so it wasn’t cut to size. To cut to size I placed the base on top of the foam and used a sharp (new blade) craft knife to cut to size. The foam is only 5cm thick, so I am cutting two sections of the same size for a thicker top.
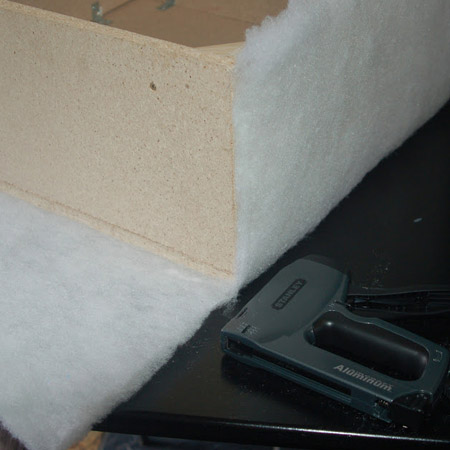
6. The next step is to cut the batting for the base. Place the base on your batting, leaving enough batting around to cover the height of the sides. Use sharp scissors to cut away all four corners as shown right.
7. Using the staple gun, staple down only the side edges of the cut batting.
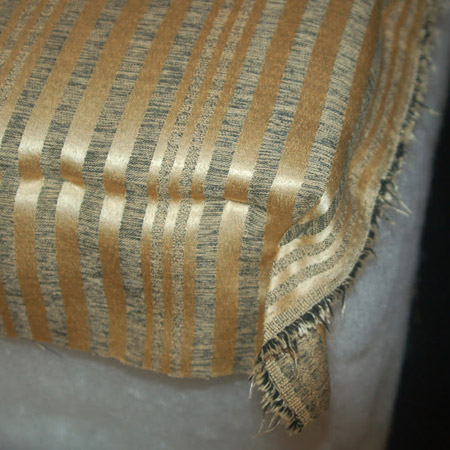
8. To cut the fabric place the base on top of your fabric and allow an extra 5cm all the way around before cutting out.
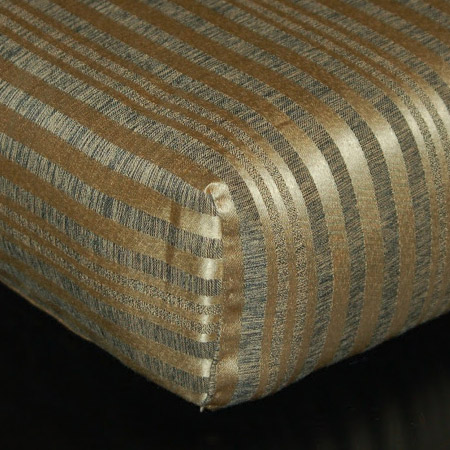
9. Place the fabric on top of the base and, starting at one side and about 1 cm from the top, staple down. I started on the long edge of the striped pattern to ensure the stripes came out perfectly straight.
10. Tuck each corner over and fasten down with a staple. This gives the corners a nice, neat edge.
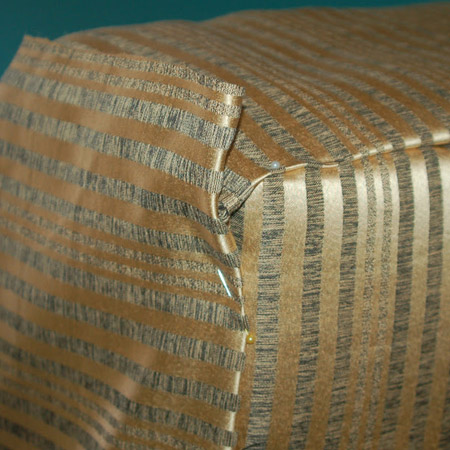
11. Start adding fabric on the sides by folding under the top edge and pinning around the base. I did mine this way to keep the striped lined up, plus it made it easier for stapling.
12. At the starting point I stapled down the edge of the fabric as shown. After pinning the fabric to the top edge and ending at the starting point, I turned the fabric under and pinned in place. This will be hand sewn once finished stapling.
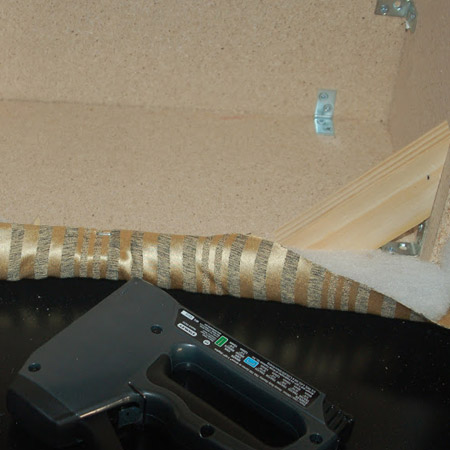
13. Turn the box on its side to turn under and staple the fabric to the inside.
14. Leave corners until last so that you can tuck and fold neatly before stapling.
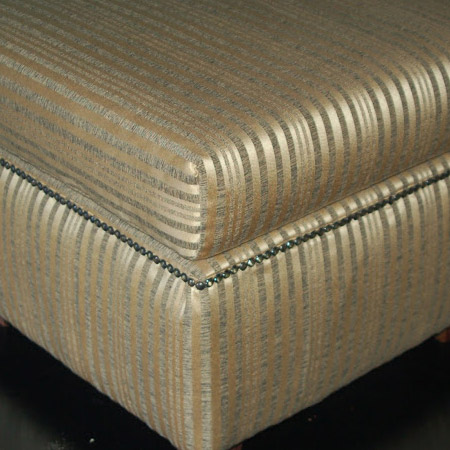
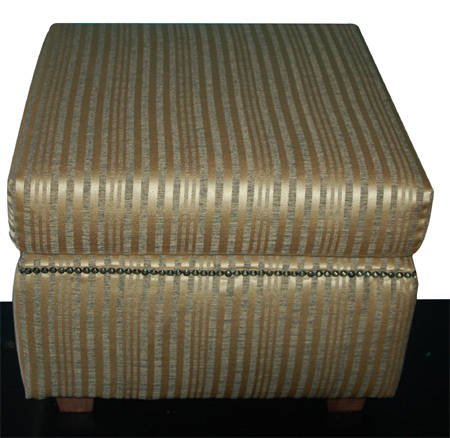
15. To finish off around the top edge I used an upholstery strip. This strip is made of soft metal and comes in strips of 1 metre long. You hammer in upholstery pins in blank holes on the strip to fasten down. Amazing! The strip hides the join between the top and side sections of the fabric.
16. The original intention for the cushion was to add welting around the edge, but I decided to cut, fold and hand sew the fabric over the top cushion. I'll save the welting option for a future project.
17. I bought ready-made legs at my fabric store and these are screwed into the battens underneath.