Rust-Oleum Crackle Creations kits
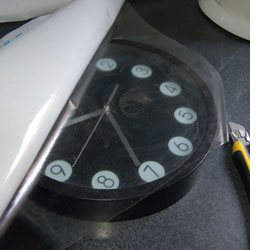
We used three different Rust-Oleum paint technique kits to give decor accessories a completely new look. In this project we use Rust-Oleum Crackle Creations Kit on a cheap plastic wall clock.

YOU WILL NEED:
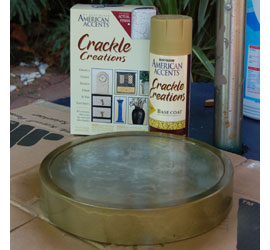
Rust-Oleum Crackle Creations Kit
The kit comes complete with everything you need for the project other than a dropcloth, contact self-adhesive vinyl, a craft knife and something to paint!
CONTINUES BELOW
HERE'S HOW:
1. Use contact self-adhesive paper to cover the face of the wall clock. Stick over the clock and then use a craft knife to cut away the excess.
2. Place the project on a dropcloth and be sure to protect the surrounding areas from over-spray.
3. Shake the can well for at least a minute to ensure that the contents of the tin are mixed.

4. Spray on the base coat, working from left to right in even strokes and spraying from a distance of 30cm away from the surface to be painted.
5. Let this coat dry for about an hour. On a detailed piece you may need to apply more than one coat to ensure that you cover the entire frame.
6. Shake the top coat. Some of these tins have been sitting on the shelf for quite a while so be sure that it is well mixed before you apply.
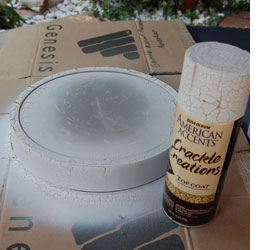
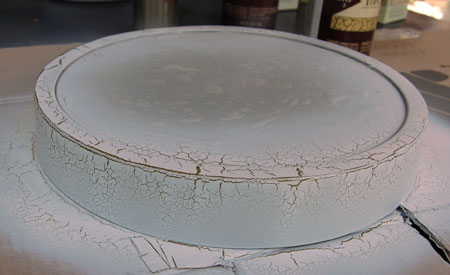
7. Spray the entire project with an even coat of top coat. The more top coat you apply - the thicker the cracks. Spray from a distance of not less than 30cm away from the surface of the project to avoid runs.
ABOVE: The top coat will immediately start to crack. BELOW: The top coat after five minutes.