
How to mosaic a tabletop
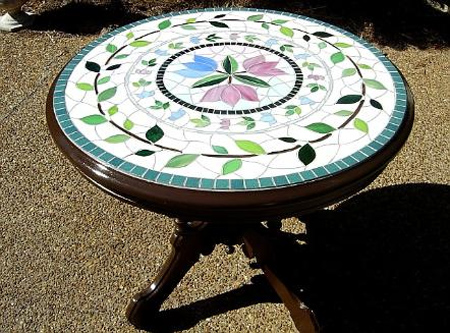
Rather than restore an old secondhand table, try your hand at applying mosaic to a tabletop to create a gorgeous feature for your home. You can use mosaic tiles, crockery and glass painted with a glass stain to create almost any design you can imagine.
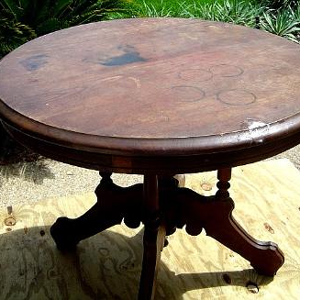
This secondhand table had obviously seen better days. The top of the table was badly scratched and stained and, while restoring the table could have been a project to tackle, to refresh and give the table a new life, a mosaic design was done on the tabletop.
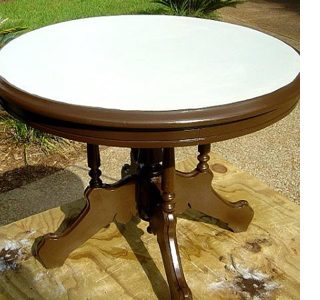
The entire table was sanded down with 120- and then 180-grit sandpaper. After applying mosaic to the top you can refinish the bottom of the table. On the tabletop, apply a wood primer. This not only seal the wood surface but also makes it easier for marking out for the mosaic design.
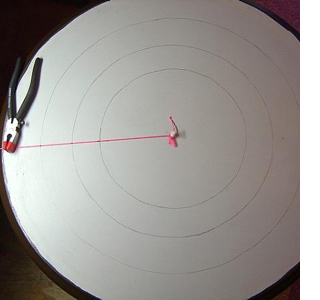
The design used is a circular one, so the first step was to mark out the circles for each section. Hammer a panel pin into the centre of the table (determined by using a tape measure from the edges to the centre) and attach a piece of yarn or chain. Tie or insert a pencil onto the yarn or chain and draw the circles.
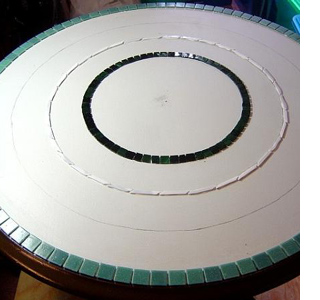
I used mosaic glass tiles for the outer edge. You will find a variety of mosaic tiles at your local Builders Warehouse.
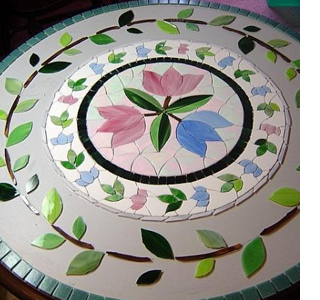
The centre circle comprises small, hand cut squares of glass painted with glass stain. What's nice about using 3mm glass and glass stain is that you cut the glass to any size or shape and then paint in the colours you need for your mosaic project.
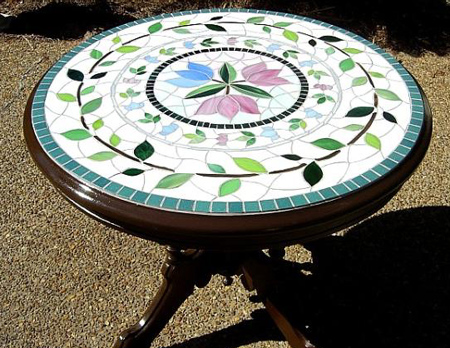
The outer circle is dark brown stained glass. This circle will become branches for the leaves. I decided to work from the centre outwards for no reason other than I couldn't wait to work on the design. The picture doesn't show the true colours - it's so beautiful.
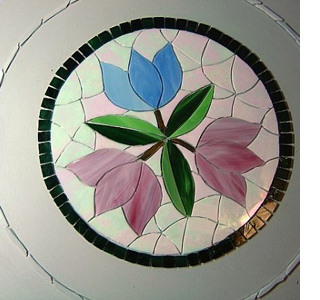
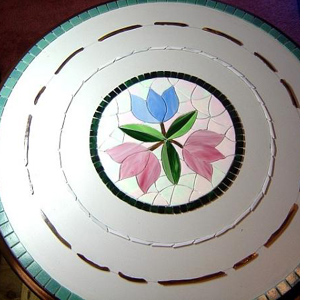
Here is a close up. Iridescent white tiles form the background around the flowers. All the pieces were cut to fit tightly together.
The remainder of the background is filled in with plain white stained glass. The pattern is very simple, but I know it's going to look wonderful as a tabletop.
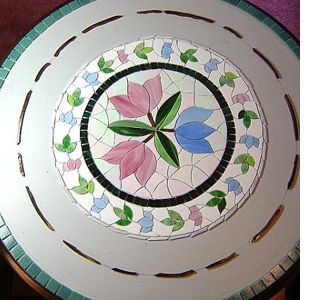
For the outer leaf design I made patterns for three leaf sizes (small, medium, and large) using paper and then traced them onto glass stained in colours of green stained. Filling the pattern upside-down allows for more designs. After arranging the leaves until I got the proper balance, I simply glued each piece in place.
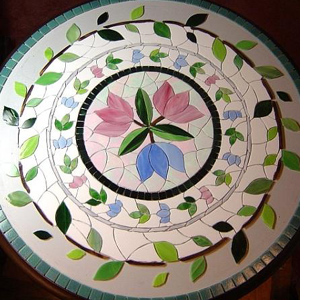
The white tiles on the next circle are larger than those in the centre, for no reason other than to add a bit of contrast.

I'm excited to finish the tabletop with grouting and sealing, but to ensure a good bond, I waited two full days before moving on to the next step.
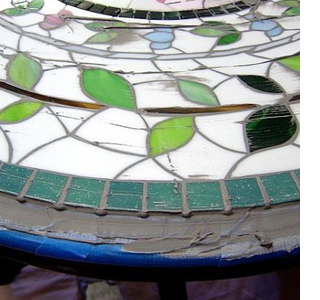
I used masking tape to protect the wood finish, as it lets you grout without worrying about mess. It also provides a nice, clean finish line. I started grouting from the outer edge - working in towards the centre. I squeezed grout not only into the top surface but also into the exposed sides to give it a finished look. To minimize the grout lines I used light grey grout.
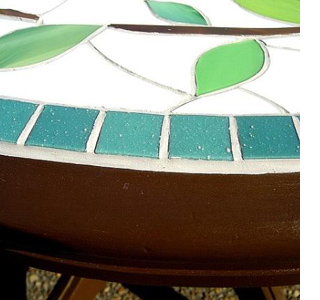
Here you can see how clean the finished grout looks along the edge of the tiles. I applied one coat of grout sealer to the top so the grout doesn't stain from spills. Additionally, I carefully brushed on two coats of polyurethane sealer to the grout on the outer edges to prevent the grout from crumbling over time.
glassmosaictileart.com