
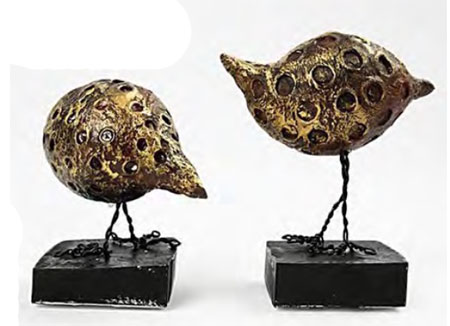
Home decor project: gold birds
Here’s another crafty project that uses air-dry clay. Make these contemporary guinea fowl figurines for a unique display. If birds aren’t your thing, you can use air-dry clay to make almost any creature or shape.
YOU WILL NEED:
Jovi or Das air-dry clay
Tools for cutting and shaping
Rolling pin
Polystyrene balls
Smooth cutting board
Thin wire for legs
Blocks of wood for base
Rust-Oleum Universal - pure gold
Acrylic paint - black
Paintbrush
Clean cloth
Long-nose pliers
Clingwrap or wax paper
5-minute epoxy
HERE'S HOW:
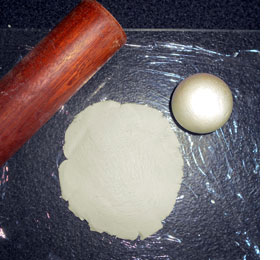
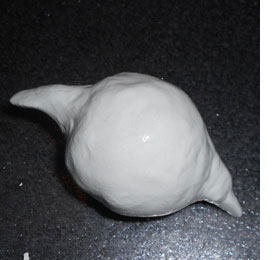
1. Place a piece of clingwrap or wax paper on top of your smooth cutting board. Break off a piece of air-dry clay and use your hands to shape a rough ball shape. Press this flat and then roll out with a rolling pin to a thickness of about 3mm.
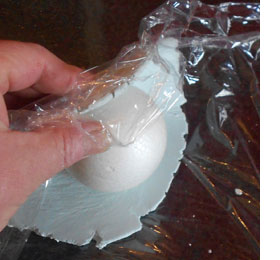
2. Lift up the clingwrap or wax paper and start gently wrapping the clay around the polystyrene ball. Use your fingers to mould the clay around the ball and to close off so that the polystyrene ball is completely encased in clay.
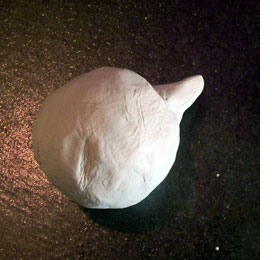
3. If there is any excess clay while moulding around the ball, you can use this to start shaping the tail.
4. Add a small ball of clay to start shaping the head and tail. Remember this is a contemporary figurine and does not have to be perfect. In fact, imperfections are what make your figuring unique.
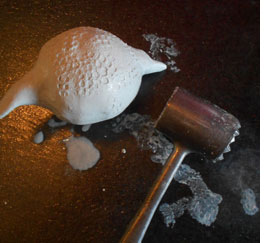
5. Wet your fingertips slightly to smooth the surface of the clay and then add some texture. I gently tapped the surface with a meat tenderiser, so look around and you are sure to find something that will add texture to the surface of the clay.
To create the rings on the finished clay I used a nylon wall plug!
6. Use a toothpick to poke a hole in the base of the figuring to mount the legs. Let the clay dry overnight.
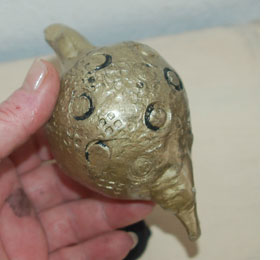
7. Spray on two light coats of Rust-Oleum
Universal - pale gold. There are other
metallic colours in the range if you
prefer to use a different colour. With a small paintbrush, apply black
paint to the detailed areas and then
wipe this off with a slightly damp cloth.
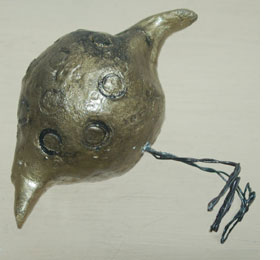
8. Use long-nose pliers
to shape the wire legs.
Again, these don’t have
to be perfect. Twist a double
row of wire for legs and 3 small
lengths to create the feet for
your bird.
9. Push the legs into the base of the bird - where you poked a hole with the toothpick. You can push them in deeply, but be careful not to poke right through.
10. Use 5-minute epoxy to attach the bottom of the feet to the base. Let this dry and then paint over the base and legs with acrylic paint.