
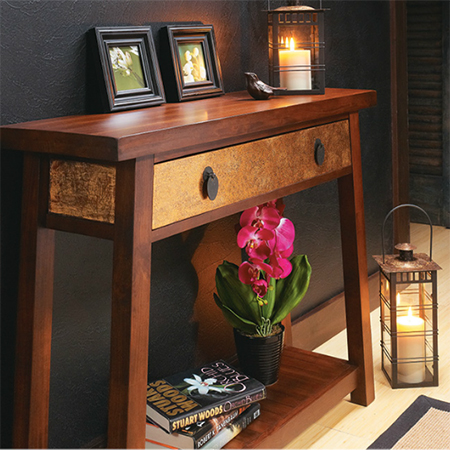
Use metallic foil to add a touch of glam to furniture
Metallic foil wrapping papers offer a simple and affordable way to add the lustrous look of metal to any paintable surface. Metallic foil offers a great way to update any piece, whether you want to cover the entire surface or just accent a few select portions. And you can use metallic foil to upcycle and old piece of furniture for your home.
Thin metallic foil wrapping papers are an affordable way to add a small touch of glamour to furniture and you can find metallic foil wrapping paper at your local supermarket or craft store.
YOU WILL NEED:
Metallic foil wrapping paper (thin) - two colours (copper / gold -
silver / aluminium)
Plascon Sure Coat matt acrylic in a dark colour
Paintbrushes
Size (adhesive used for gilding)
Soft brush
Masking tape
Foam roller
Plascon waterbased
glazecoat or antique wax
HERE'S HOW:
Whatever piece you need to cover should be sanded before you apply foil:
- If varnished or painted, give a light sanding with 120- and then
240-grit
sandpaper. - Melamine or laminate can be sanded with 180-grit to de-gloss the finish.
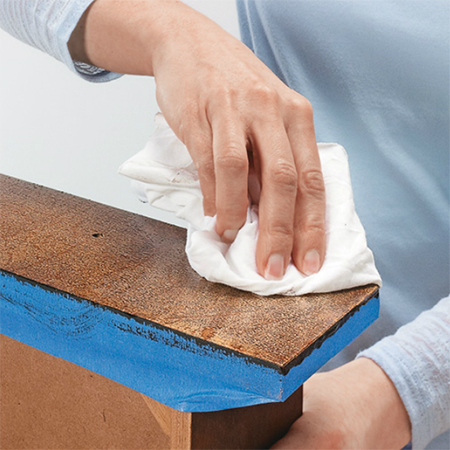
- Use a lint-free cloth and mineral turpentine to wipe the finish
and remove all
traces of dust. - Using masking tape to mask off any areas not being painted.
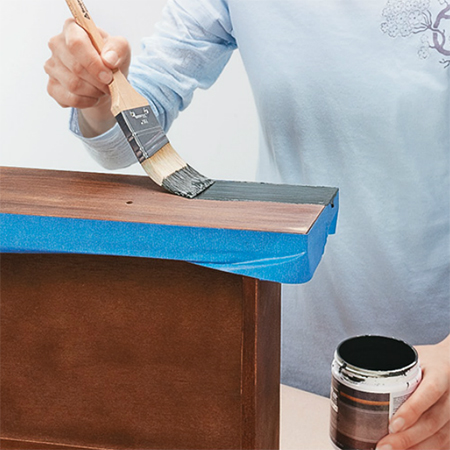
- Apply one coat of Plascon Sure Coat matt acrylic in black, dark
brown or your
choice of deep colour. The colour should be darker than that of the foil you are
using. Allow this to dry completely.
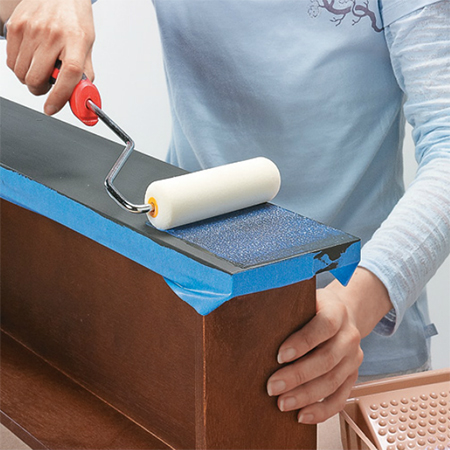
Roll on the size:
When the base coat is dry, you can apply the water-based size. You can
purchase size, which is a special glue for gilding foils, at most craft and hobby
stores. It costs around R60. Size goes on milky but dries clear in 15 to 30 minutes. It remains
tacky even when dry, which lets the foil transfer from its backing to the
surface of your project. It's best to use a foam roller to apply the size and because it’s
water-based, you can wash the roller in warm, soapy water to clean
afterwards.
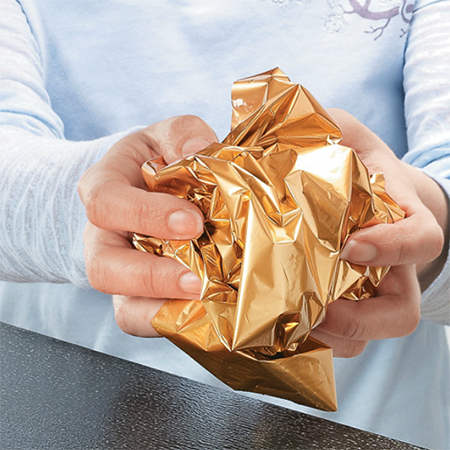
Prepare the foil:
Scrunch up the foil and then flatten out and lay over the area where
the size has been applied.
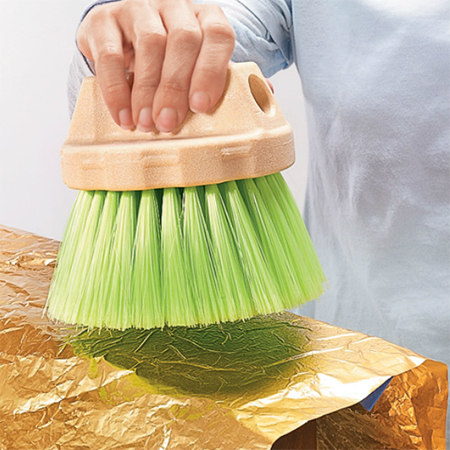
Time to apply the metallic foil:
We’re using metallic foil because it is much cheaper than gilding foil,
and far easier to find. Lightly tap the surface of the foil with a stippler brush or soft
scrubbing brush to transfer the foil. Vary your strokes and pressure to create a random effect. You don’t
want a completely flat finish, but rather creases here and there that will
enhance the finished effect. As you work you can peel back the foil to see how well it is covering
the area. Bear in mind that you don't want to cover the entire surface as
you will be applying a second layer of foil.
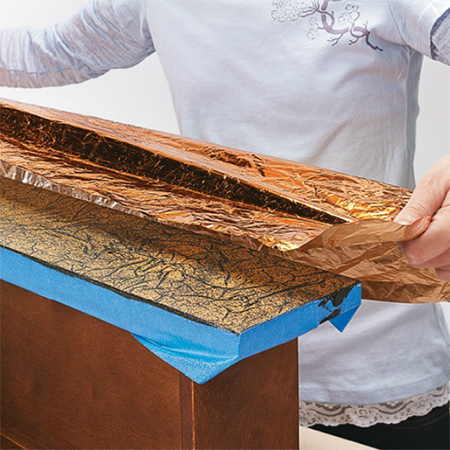
Contrasting effect:
Use two different types of metallic foil for more depth and
authenticity. After removing the first layer, place a second layer of foil
over the surface and use the soft brush to cover any remaining gaps. You
may need to press harder with the brush - or use a credit card or plastic
scraper to force the foil onto the surface.
Seal and protect:
To finish off apply a coat of Plascon Glazecoat in matt or gloss or
wipe down with antique wax.