
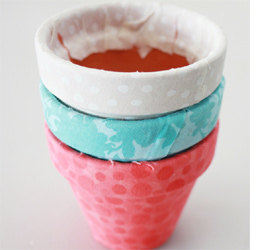
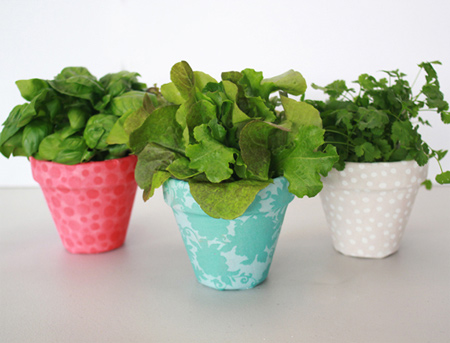
Fabric covered plant pots add a splash of colour
You can easily dress up a set of plant pots to add a splash of colour to your home or garden. Fabric covered plant pots are so easy to make and you can choose your own fabric to match your decor. Many fabric shops have a bargain bin and you can pick up fabric scraps at a bargain price.


YOU WILL NEED:
Flower pots - Find affordable plastic or clay pots at your local Builders Warehouse
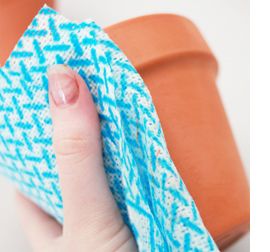
Fabric scraps
ModPodge or clear acrylic sealer
Paintbrush
HERE'S HOW:
Step 1
Make sure the flower pots are clean and thoroughly dry before you start. Remove any sticky labels by soaking the pots in warm soapy water beforehand.
Step 2
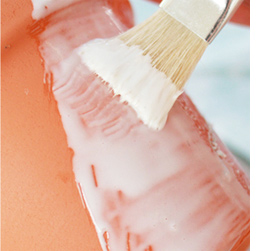
Apply an even layer of modpodge or clear acylic sealer to along one side of the pot, ensuring that the pot is covered from the top edge to the bottom.
Step 3
Cut a strip of fabric to wrap once around the pot. The fabric curves around as you stick it on, so allow extra room at the top and bottom for this.
Step 4
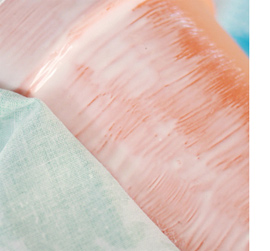
Place the fabric at an angle and smooth down with your fingers, starting from the top. Ensure the fabric sits flush against the surface, paying close attention to where the pot bends out at the top.
Step 5
Continue applying sealer, smoothing the fabric in small sections until you complete cover the outside. The sealer takes a while to dry, so start again if you need too.
Step 6
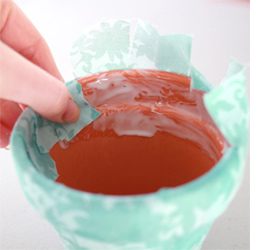
When you reach the end of the fabric, trim away any excess, leaving a 2cm overlap. Cut slits in the overlap and the fold over and secure. Repeat for the bottom.
highwallsblog.com
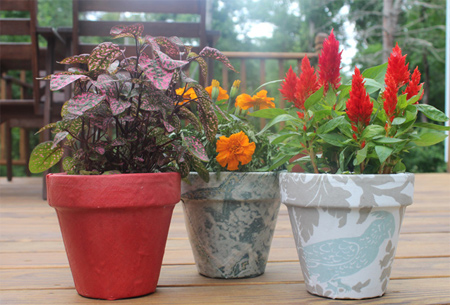
Step 7
If you are placing the pots indoors, finish off with two coats of clear acrylic sealer. Pots being placed outdoors will need two coats of polyurethane sealer. Make sure to cover the entire pot from top to bottom for maximum protection.
frankie.com.au
onlinefabricstore.net
Buying decorative flower pots can be quite expensive, but it's easy to make your own fabric covered flower pots to brighten up your home, or as gifts.