How to make fabric roses
Fabric roses are everywhere I look these days, and they are so cute and adorable that I decided to make up a few to put onto the lamp project that I am working on.
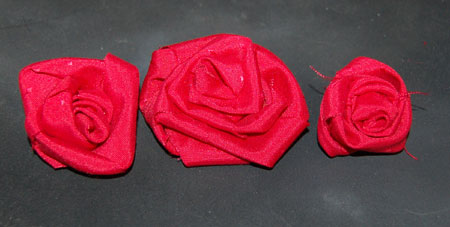
There are quite a few ways to craft these fabric roses but I personally prefer a style that resembles a rose more realistically. After a couple of failed attempts I managed to get it right, and here's how:
YOU WILL NEED:
Fabric scraps ( about half a metre long and 5cm wide)
Sharp scissors
Needle and thread colour to match
HERE'S HOW:
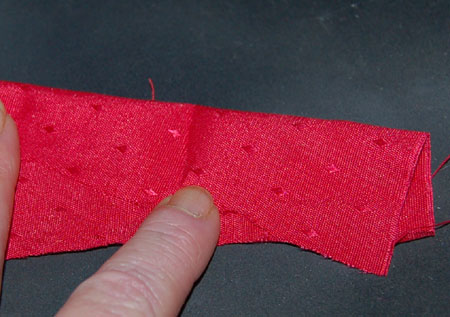
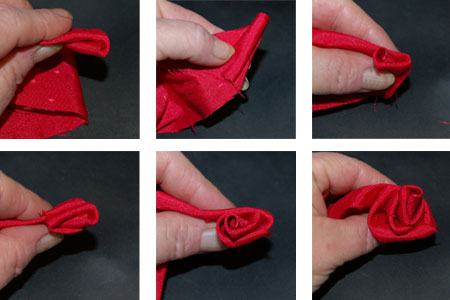
1. At one end of the fabric make an almost diagonal fold by folding the top of the fabric over - as shown below.
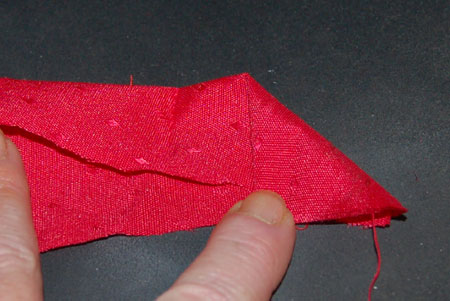
2. Fold over the fabric again to make a small triangle shape. This is now going to be the starting point for the centre of the rose.
3. Now you are going to start wrapping the fabric to create the rosebud centre. Wrap fairly tightly for this part only - and wrap until you reach halfway up the diagonal fold you made.
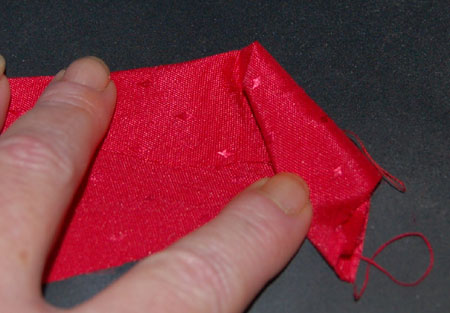
At this point you could use the needle and thread to insert a stich to hold the fabric in place.
4. This part is tricky to start off with but easy as you get the hang of it. Fold the top edge over backwards and start wrapping along the new fold until you reach halfway; fold over backwards again and wrap - repeat this as you fold and wrap to create the shape of your rose. Remember that you can add a stitch to hold everything in place as you wrap.
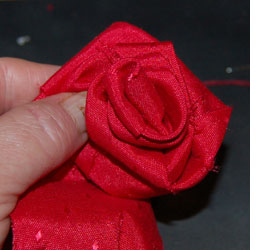
By folding over the fabric and wrapping your fabric rose starts to take shape. The more folds you create - the more shape you add to the rose. Continue to fold and wrap until your fabric rose is the shape and size that you want. Your first couple of attempts will probably be total disasters (as mine were), but as you get the hang of it you will be able to create the most beautiful fabric roses.