Make colourful rolled paper baskets
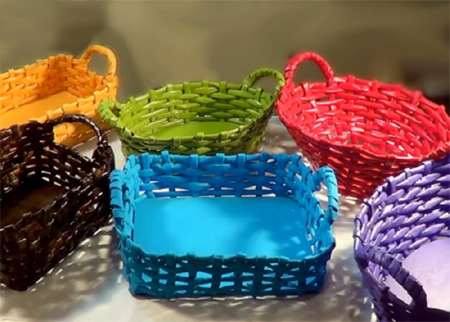
I have spent hours looking for projects on rolled newspaper or paper baskets and have discovered so many easy ways to use rolled newspaper to make baskets in various shapes and sizes. I like this newspaper basket project because of the colours the basket were painted - and it's so easy!
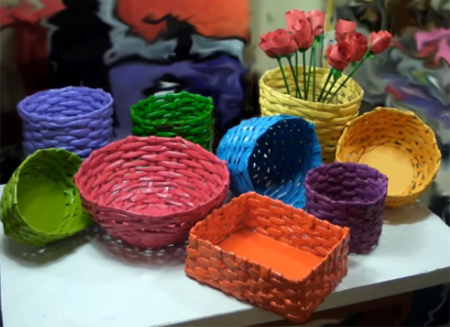
The videos below give detailed step-by-step instructions for making the newspaper baskets, but the text is in Spanish. If you miss out on the technique, follow the instructions below the video. You will find a step-by-step for making circular or oval newspaper baskets, as well as a video for making square or rectangular baskets.
1. Make the rolled newspaper tubes; fold and cut in half for the frame / sides of the baskets. You will need a total of 17 tubes for the basket frame.
2. Cut two circles out of cardboard. I prefer to use double-sided table to attach the tubes to the bottom circle and then No More Nails to attach the top circle on top of this.
3. Once dry, glue a single tube on top of the frame and start weaving this over and under the tubes.
4. When you reach the top, snip off the tubes, leaving about 3cm to fold and tuck inside the weave below.
5. There are various options for finishing the baskets. You can paint them with white acrylic paint and then use a tinted varnish to give the baskets a more authentic look. Or you can use Rust-Oleum spray paint in bold, bright colours.