
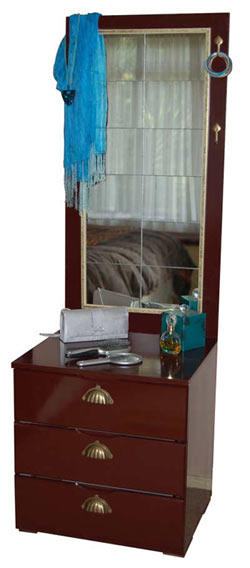
Make a cheval mirror
If you don't have a full-length mirror in your bedroom, here's an opportunity to make one in a day using a ready-made drawer unit - available at your local Builder's Warehouse. The set that I used for this project cost just over R600 - the total project cost around R800 - the price to buy new is R2200.
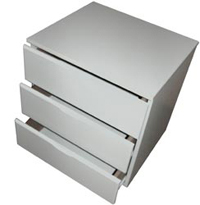
You can purchase ready-made drawer units in various sizes from 1-drawer up to 6-drawer. I selected a 3-drawer that I can also use for my undies and various other accessories.
YOU WILL ALSO NEED:
PG Bison Supawood cut to size
Rust-Oleum Painters Touch spray
- I used Kona Brown in a gloss
Random orbit sander - for fine finish
180-grit sanding pads
Drill-Driver + asstd drill/screw bits
Assorted cut screws
Spirit level
Pattex PL700 Total Fix cartridge
Mirror or mirror tiles
HERE'S HOW:
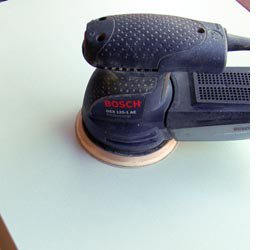
1. Prepare the surface
Start by sanding the entire unit with 180-grit sandpaper to remove the 'gloss' layer from the melamine finish. By doing this the paint has a better surface to adhere to.
DIY Tip:
Too little sanding and the paint won't stick properly.
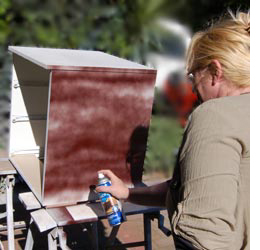
2. Apply the first coat
Shake the can well before using, and spray in a well ventilated room - or outdoors. Apply the first coat lightly over the entire surface, with the can approximately 30cm away from the surface.
DIY-Tip:
Start at the top and move the can from side to side as you spray rows to the bottom.
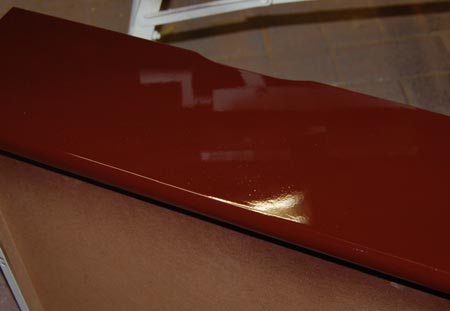
ABOVE: Apply two coats, allowing drying time between coats, for a glossy shine.
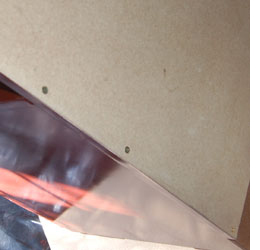
3. Attaching the back
Have someone to help you hold the back panel in position. Attach the panel to the back of the unit with 35mm cut screws.
Note: Drill pilot holes in the back panel before mounting to make it easier. You don't need to drill pilot holes into the back of the cabinet if you use cut screws - they 'cut' their own hole.
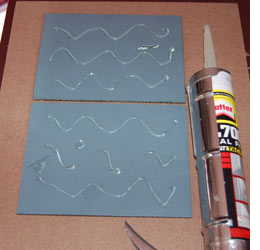
4. Glue on the mirror
I had some left over mirrors from making the fractal mirror, but you can use mirror tiles or have a complete mirror cut to size. Use Pattex PL700 and apply waves of glue to the back of the mirror/s. This glue is preferred as it doesn't eat into the coating on the back of the tiles, as will a solvent-based adhesive. The glue is a thick gel consistency so apply a fair amount of pressure.
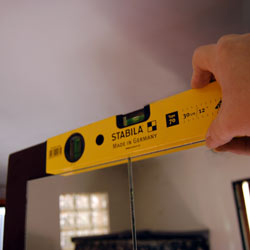
5. Check the level
As you mount the tile/s onto the back board, use a spirit level to ensure that they are straight. You can easily adjust the mirror/s whilst still wet.
6. Dressing up and finishing off
I picked out some nice brass-plated handles and hangers at my local builders warehouse, as well as a thin strip of decorative trim - just to dress up the unit a bit more and give a nice finishing touch. You can choose any style of handles for the unit.