How to repair pleather - vinyl - sofa
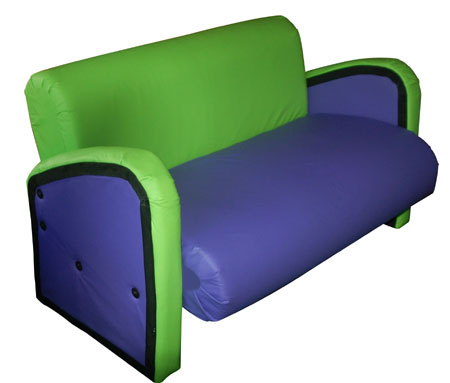
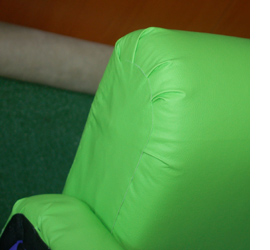
A couple of years back I bought my son a pleather or vinyl covered sofa for his bedroom. It was quite expensive (around R1500). While I know that pleather doesn't last too long, I did expect it to last longer than two years. I'm not prepared to fork out for another sofa, especially if it's only going to last a couple of years so, I decided to recover the sofa in his choice of fabric. Who knew he would choose lime green and lilac.
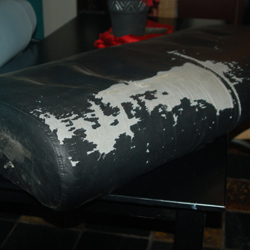
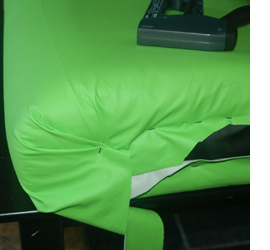
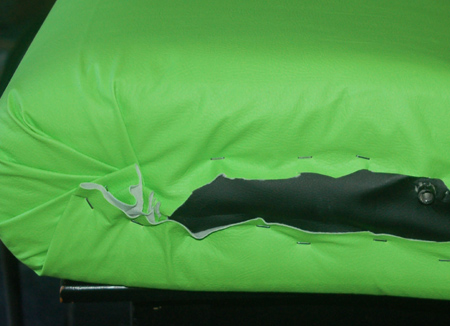
As you can see [above] the coating has worn off. The seats also have two huge dips in them and you almost feel like you are going to fall right through. I have more than a fair share of upholstery projects under my belt and I will always assist anyone who needs help with this type of project. You can save yourself an absolute fortune by being able to do upholstery on your own. And it really isn't that difficult...
Step 1 Strip down to bare bones
On most pieces, especially damaged pieces, you need to take it back as far as you can - to the wood frame if possible. If you think about it logically: it was assembled in pieces, so it should come apart. It's just a matter of working out how it was assembled so that you can disassemble it.
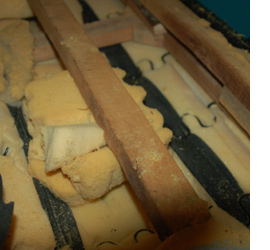
It came as no surprise to discover why the seats had two huge dips in them - the foam inside was crumbling to pieces. Again, just another sign of shoddy workmanship and cheap manufacturing. Strangely enough, the springs were still good, so these don't need to be replaced.
Step 2. Fix and repair
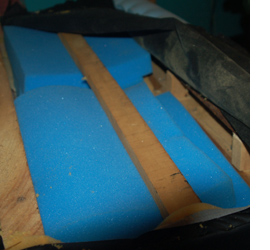
I used high density foam to pad the inside of the seat. High-density foam is far more flexible and will definitely not crumble to pieces later on. It was a mission to pack everything in nice and tight, but eventually it worked. You can buy various densities of foam from www.foamfactory.co.za or a local foam supplier.
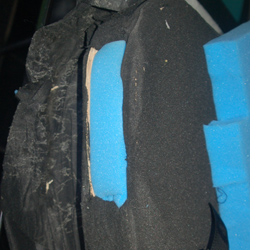
The armrests also had holes in them from constant elbow pressure. These holes I packed with high-density foam as well. Elbows will not be a problem every again...!
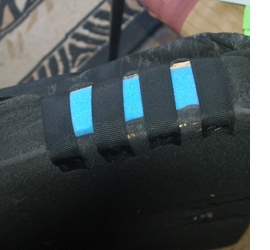
To ensure that the foam stays where it's supposed to be, I wrapped over the foam with nylon webbing tape and stapled this down. A layer of batting and you won't know the difference.
3. Build up again
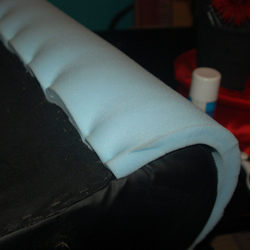
Even though I fixed up the problem with dips in the seat, I also added a layer of foam over the top for extra comfort. Starting under the front, I stapled the foam down, wrapped over the seat and stapled down at the back where it won't be noticed.
For both the seat and the seat back I worked in the same way. Starting at the most unobtrusive point - on the back at the bottom - I stapled one end of the fabric to the wood frame. The fabric is then wrapped over the seat or back until you are back where you started.
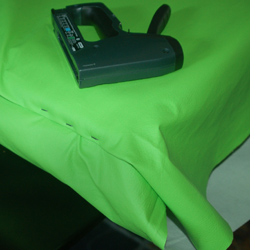
Fold over the end of the fabric and staple down on the same wood frame that you started on.
DIY TIP
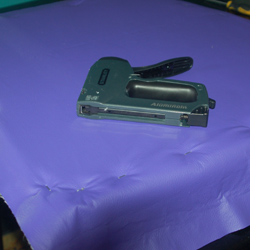
It isn't necessary to go totally gung-ho with the staples. In fact, the more staples you put in the more likely the fabric will tear - especially pleather. You only need enough staples to hold the fabric in place.
If you use pleather (vinyl) for upholstery projects it is best not to do any sewing, as this actually creates a weakness in the fabric and causes it to tear easily. For the sides of the seat and back it was easier to staple the fabric to the centre - folding the fabric around any curves and stapling down. These folds will eventually go flat and be hardly noticeable.
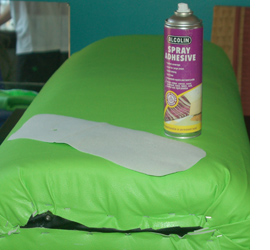
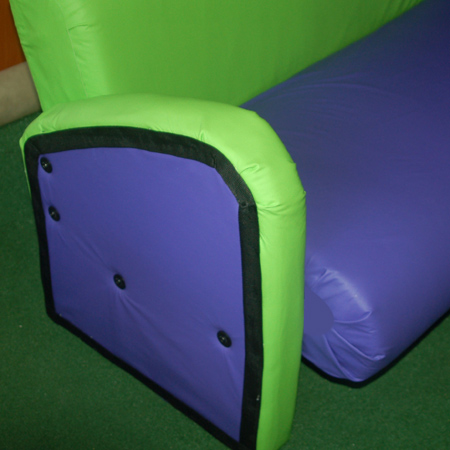
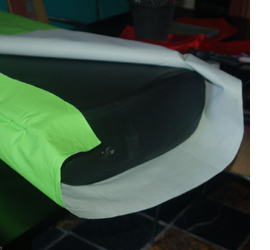
To cover up the ends of the back and the seat I cut a strip of fabric to the shape of the panel and added some spray adhesive to the back. This will hold it in place so that it can be seriously glued down around the edges with Alcolin 10-minute epoxy glue.
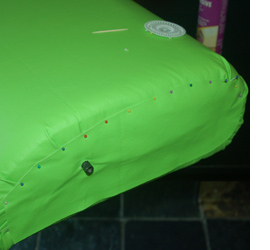
While you are waiting for the epoxy glue to set, it's a good idea to pop in a few pins to hold the fabric flat all around the edges. Once the glue has set you can easily remove the pins and flatten the fabric.
Here's what the finished back panel looks like. Very neat and professional.
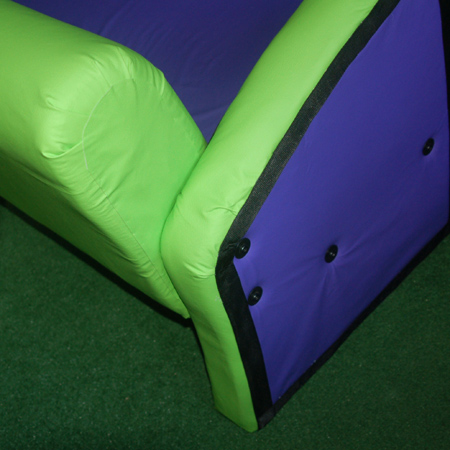
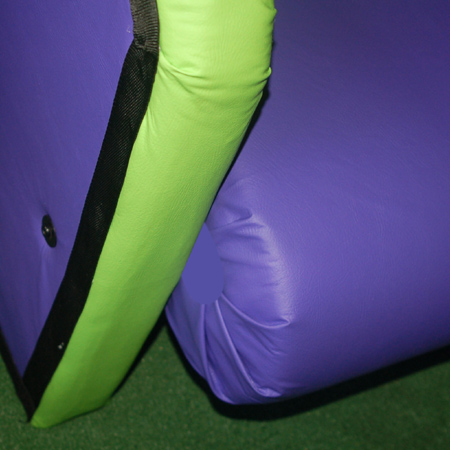
Both armrests were wrapped in lilac pleather and stapled around the edge. I couldn't go that close to the edge, as the wood frame didn't come right to the end. You will see below how I made a plan to fix this.
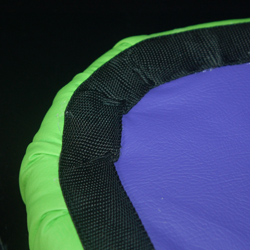
To allow for the wood frame not coming close enough to the edge, I had to staple further in than I would have wished. However, after using a hot glue gun to stick down the black nylon webbing, I'm really impressed with the finished look - and so is my son.