
How to make a cotton, burlap or hemp tote bag
I love cotton tote bags. If you make them out of a fairly thin cotton, you can easily fold them up and carry a few with you in your handbag, and quickly pull them out when you go shopping - no plastic bags necessary thank you very much!
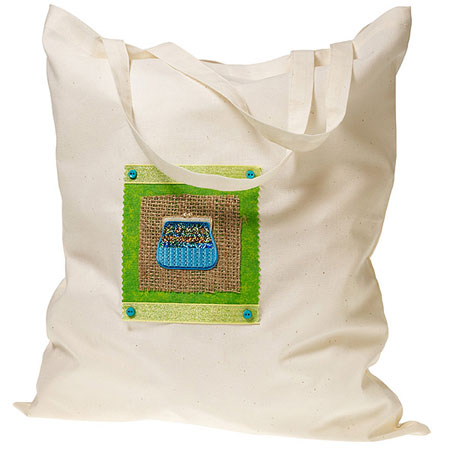
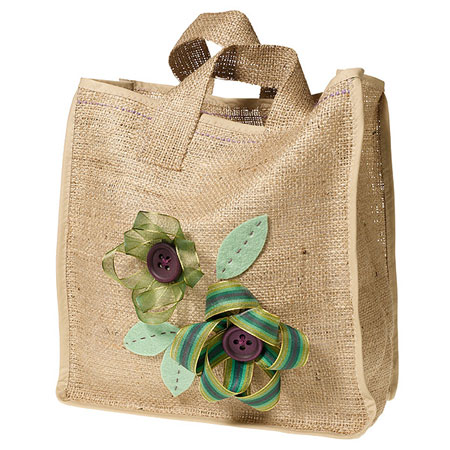
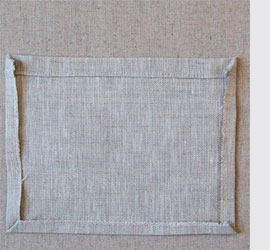
There are so many ways to dress up your cotton, burlap or hemp tote bag and I have posted quite a few designs on this page to provide you with ideas and inspiration for your project. When making your cotton, burlap or hemp tote bag, use only organic cotton if you want to be 100% eco-friendly, but it isn't always easy to come by and a good, strong cotton fabric is just as good.
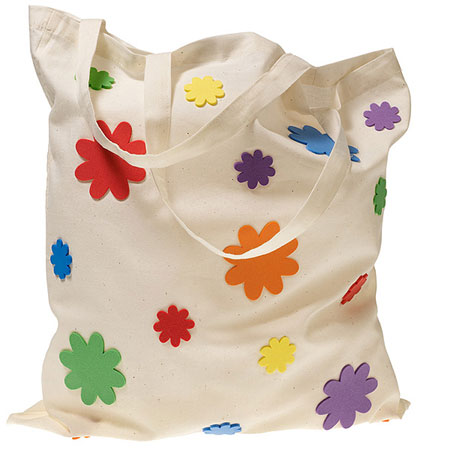
You can pick up plain white cotton, natural burlap or hemp fabric at most fabric stores, and at a very affordable price. Create your own range of funky tote bags with felt flowers, ribbon offcuts and buttons.
purlbee.com
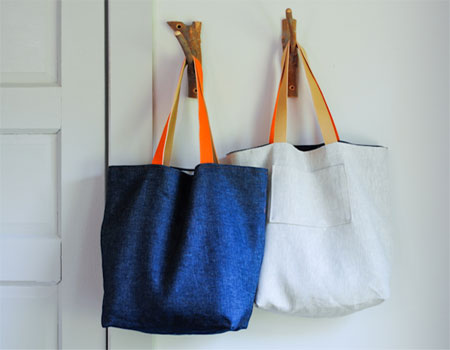
Here's a quick and easy step-by-step project from Purlbee for making a tote bag. If you ever feel to need to sew, Purlbee has some wonderful sewing projects for you to try.
YOU WILL NEED:
2 metres of reversible webbing in orange and tan
1 metre of cotton denim for the outer bag. Wash and dry this fabric before sewing
1 metre of cotton for the lining (inner)
Cotton thread for the lining and outer bag
Sewing machine and sewing accessories
HERE'S HOW:

1. For the outer fabric cut two rectangles 430mm x 460mm.
2. for the lining (inner) fabric cut two rectangles 430mm x 460mm. Also cut one rectangle 64mm x 56mm for the pocket.
3. For the webbing (handles) cut two lengths 180mm long.
4. Using matching thread, zig zag around three sides of the pocket piece, leaving one of the long sides unsewn.
5. Press and fold the unsewn side down a 12mm twice. Top stitch this fold down. The folded side is now the wrong side.
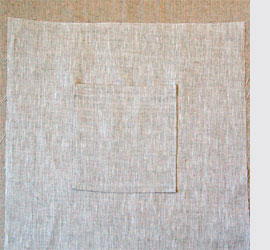
6. Pin the pocket, right side facing out, onto one of the larger lining pieces, 80mm from the top edge and 130mm from each side. The folded edge should be at the top. Top stitch the pocket onto the lining piece along the sides and bottom, leaving the top open. Make sure to back stitch at the beginning and end of this seam.
Note: the side of the fabric with the pocket sewn on it is the right side.
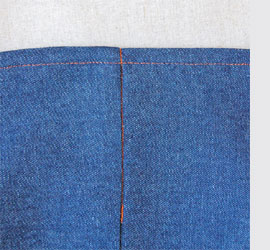
7. For the outer bag, pin the outer fabric pieces right sides together along the two long sides and bottom short side. Sew the pieces together with a 12mm seam allowance.
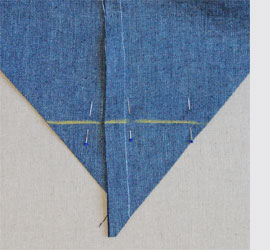
8. Open up the bag and press one of the bottom corners so that the side is directly on top of the bottom seam and the corner forms a sharp point as shown above. Make sure the seam allowances of the side and bottom are facing the same direction and laying flat.
Mark a line perpendicular to the side seam at the point where the corner is 130mm wide as shown left. Sew along this marked line and snip off the outside triangle of the corner. Repeat for the second bottom corner making sure to keep the seam allowances going in the same direction.
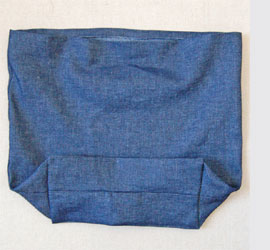
Once both of the side are sewn and the corners are trimmed off your bag will have a boxed bottom as shown.
9. Turn the outer bag right side out and press out the creases that were created when you made the boxed bottom. Press the top raw edge 12mm towards the wrong side of the bag.
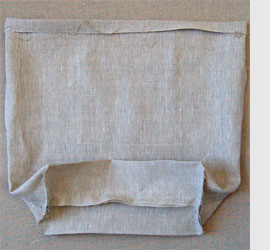
10. Repeat the previous steps on the lining pieces: Sew the linen pieces right sides together with a 12mm seam allowance. Create a 130mm wide boxed bottom by pressing the corners out, sewing the marked sides, and cutting off the corners. Then, keeping the wrong sides facing out, press out the creases. Press the top raw edge 12mm towards the wrong side.
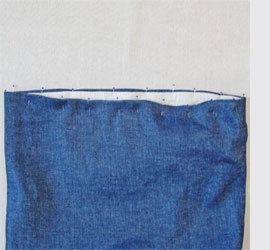
11. Slide the lining inside the bag matching up their side seams. Push the lining just a hair lower than the outer section. Pin the lining and the outer sections together along their top folds.
12. Mark the ends of the webbing pieces 25mm from their ends. Slip the ends of the webbing in between the lining and the outer fabric 100mm from the left and right side seams. Line up the 25mm markings with the folded edge of the bag so the end of the handles are 25mm deep. Make sure not to twist the handles. Pin the handles in place.
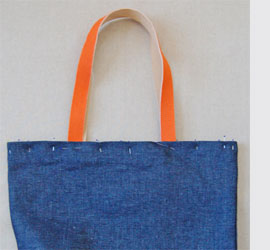
12. Put the contrasting thread in the top of the machine, and the lining-matching thread in the bobbin. With the outer fabric facing up start at a side seam and stitch the lining and outer sections together, 3mm from the fold, back stitching at the beginning and end of the seam. Make sure that this seam catches both the lining and the outer sections all the way around (and thus sews the handles into place as well.) If this seam isn't neat and straight tear it out and do it again, it's the only really visible seam so you want it to look nice.
Pin the lining and outer sections together along their side seams stopping 100mm down from the top edge. Sew this section together, keeping the stitching on the lower side of the seam as shown above. This will anchor the lining and outer sections together.
You're all done and ready to take your tote out on the town!