
Make Cement Flower Vases
Being able to make cement flower vases for yourself lets you choose your own colour and style for the finish.
15/05/2021
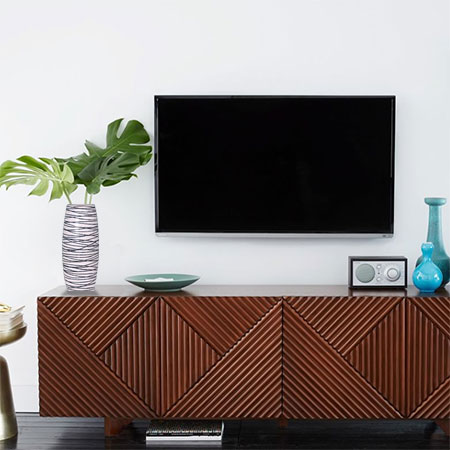
Imagine being able to make decorative vases yourself; vases that perfectly complement your room decor and colour scheme. This project tutorial takes you step-by-step through the process of making decorative cement vases using supplies and materials that you will find at your nearest Builders store.
The two cement vases shown in this project are just a couple of the ways you can finish off your vases but the options are unlimited - you just have to use your imagination or check out ideas on Pinterest or Instagram.
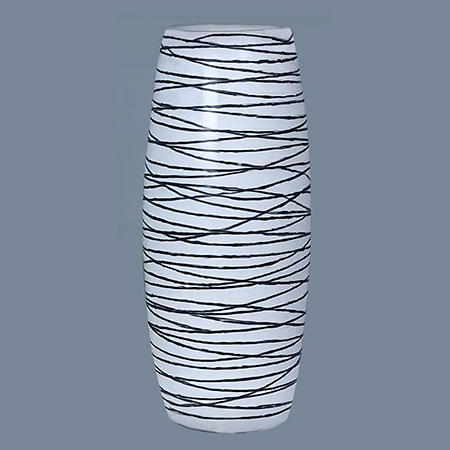
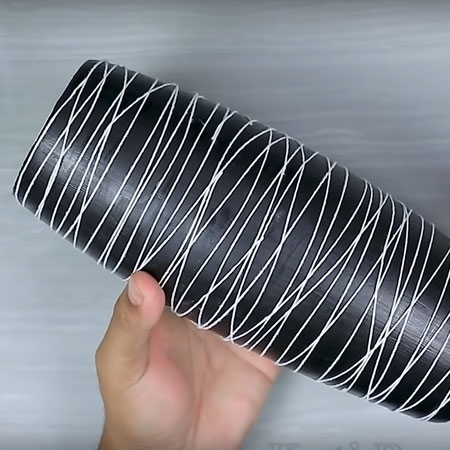
White cement vase with black detail is achieved by first painting the cement vase with black acrylic craft paint, wrapping with string and then painting with white spray paint before carefully removing the string.
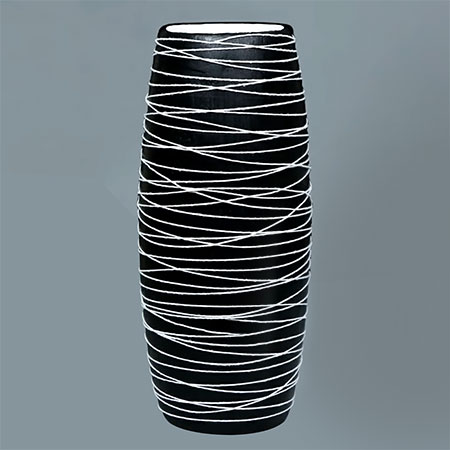
It's easy to create this decorative vase using black acrylic craft paint and wrapping it with thin string.
A 5 kg pack of white cement will cost you around R100 and you will be able to make a couple of vases using one pack. The only other supplies you need are as follows.
YOU WILL NEED:
White cement
Mixing bowls
Wood glue
Thin coir or sisal rope
Thin string
Craft knife
220 and 400-grit sandpaper
Scrap card
Sellotape
Balloons in sausage shape [2]
Craft or utility knife
Paintbrushes
Acrylic craft paint in your choice of colour
Spray paint, depending on the finish for your cement vase
HERE'S HOW:
Step 1
Before you can cast the cement, you need to make the shape or form onto which the cement is layered. Fold a piece of card into a circle and close off the edges with sellotape.
Step 2
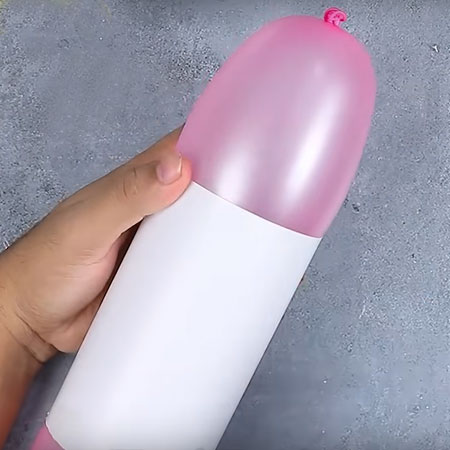
Blow up the balloons so they are the right size for fitting into both ends or the card tube shape. This will give the vase its shape, so make sure to get this step right.
Step 3
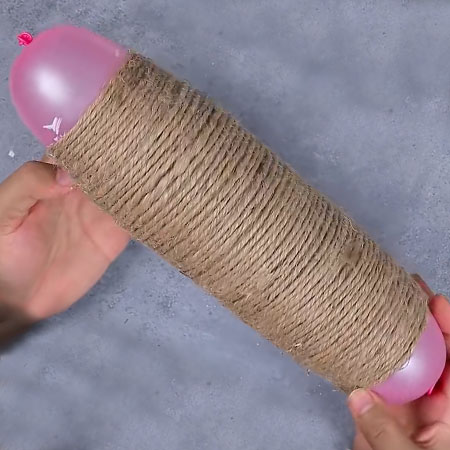
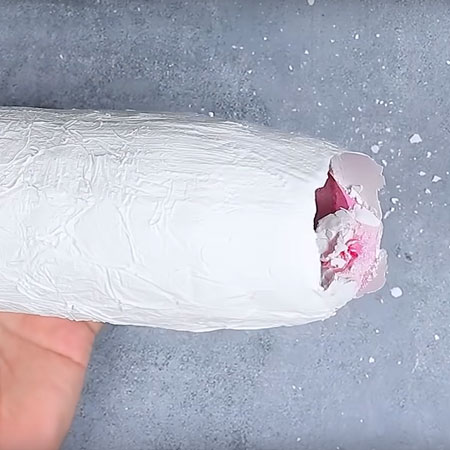
Cover one balloon with craft glue and wrap the thin rope around this. The starting end of the rope is placed underneath the rows of rope that will be added. As you work your way down, apply glue to the bottom section and wrap this with rope.
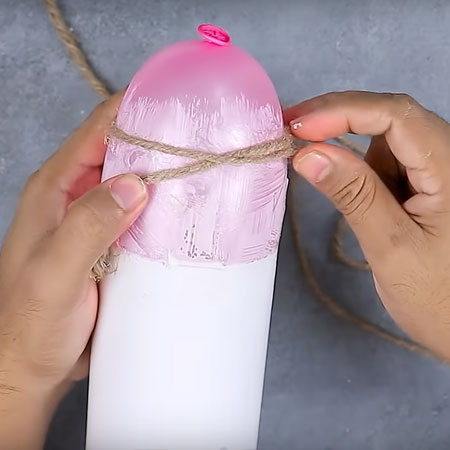
How your form for the cement vase should look once wrapped.
Step 4
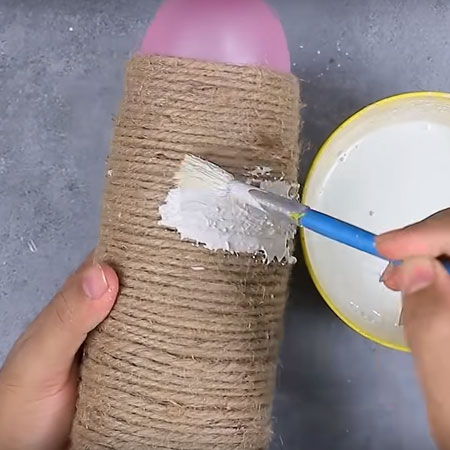
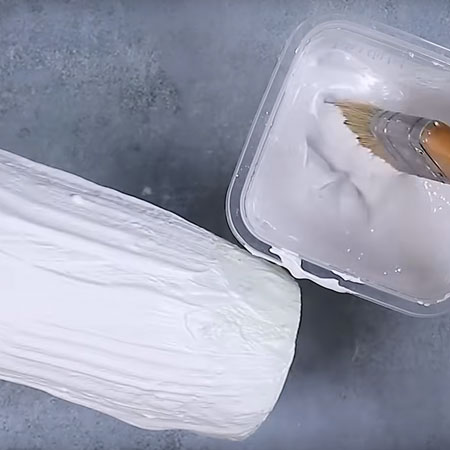
Mix a batch of white cement with water so that it is the consistency of cream. Apply this over the form with a brush. You want to build up a fairly thick layer of cement on the rope. Make sure to get into any gaps and fill these in with white cement.
Step 5
Let the cement cure overnight in a warm, dry location and in the morning you can pop the balloons and gently pull these out of the ends. Don't worry if the plaster flakes off you can tap this off and will fix later on.
Step 6
Place the form on a piece of cardboard. Mix a second batch of white cement, but this should have the consistency of porridge. Scoop the mixture into the form to provide the base for your vase.
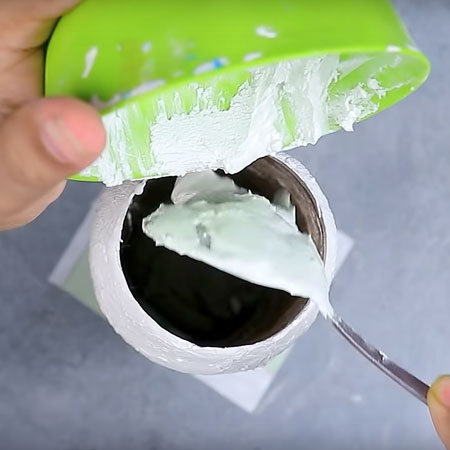
GOOD TO KNOW: Tap and shake the form until the cement evens out inside to form the base and removes any air bubbles. Leave this to dry for a couple of hours.

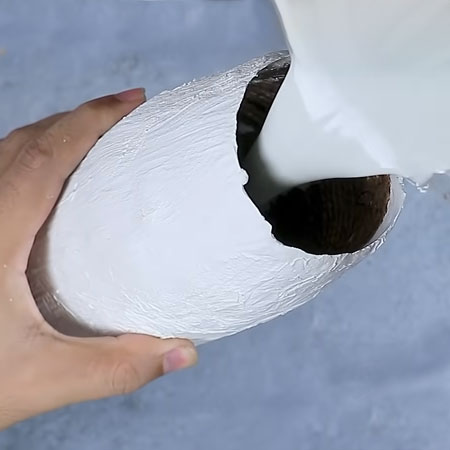
Step 7
Mix another batch of creamy cement and pour this inside the form. Swirl around until the inside is completely covered and tip any remaining mix back into the bowl. Repeat this a couple of times, letting each coat dry for a couple of hours.
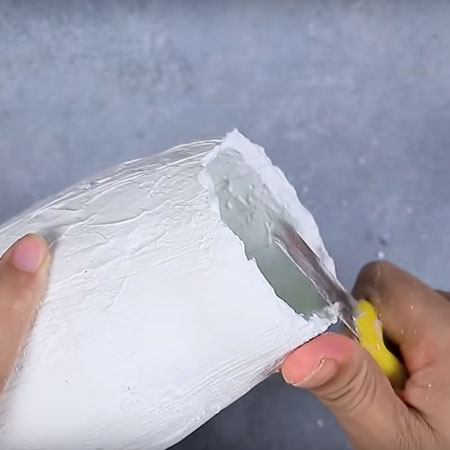
Step 8
Use a craft or utility knife around the top to remove excess dried cement.
Step 9
To finish off the outside of the vase shape the final layers of white cement should be slightly runny but not watery. Use a paintbrush to apply this over the vase to build up a couple of layers. Keep in mind that the more layers you add - the thicker the vase and the less likely it is to crack.
Step 10
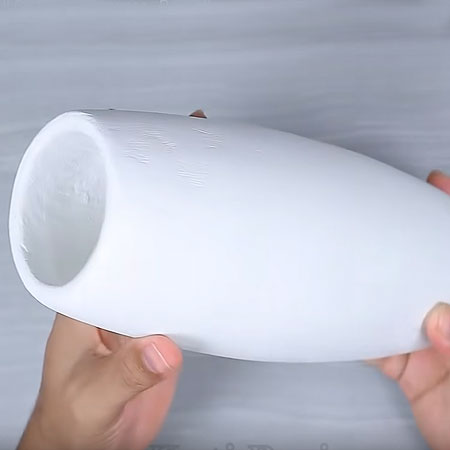
To smooth the finish on the vase, start with 220-grit sandpaper to sand off any ridges or uneven areas and then switch to 400-grit sanding to smooth the finish. Also, round off at the bottom and top of the vase. You don't have to sand inside the opening, but this will give your vase a nicer finish.
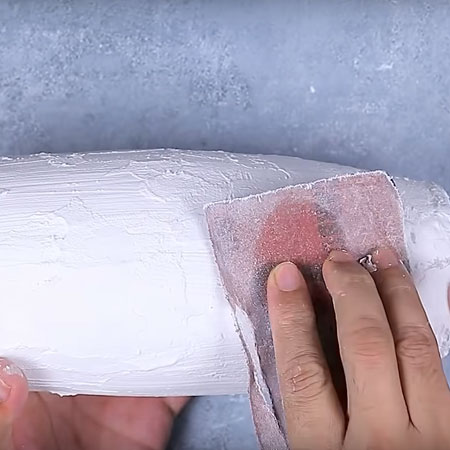
How the vase should look after sanding smooth.
FINISHING
What decoration you give to your finished vase is entirely up to you. There are plenty of options to choose from whether you want to apply a custom engraved design, use a stamp or stencil or give your vase a metallic spray paint finish. The two vases shown here use the same method in a different way.
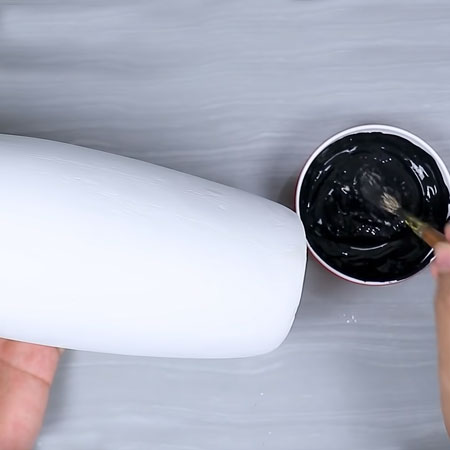
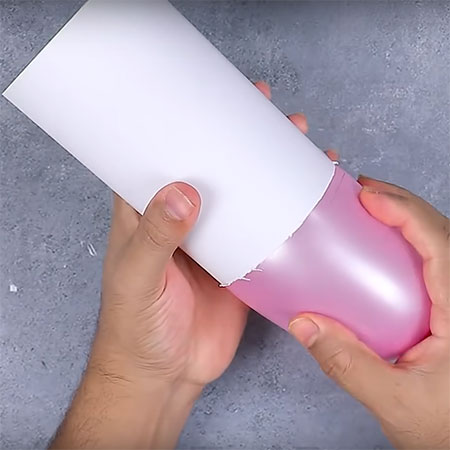
After painting the vase with black acrylic paint, thin string is dipped in wood glue and applied over the top of the paint finish. If you decide to try this option, use a damp cloth to wipe off any glue before it has time to dry. If you prefer the vase with the white finish, do the same as you did for the black vase, but don't apply wood glue to the string. Apply the black craft paint and let this dry and then just wrap with string. Spray over this with white spray paint and, once dry, carefully remove the string to give a reverse effect for the finish.
If you want more of the same, click on this link to go to the YouTube video channel.