
Make an Art Easel for Under R200
Don't waste your money on an art easel that costs over R500 and upwards for a decent one when you can make one for less than R200.
0902/2022
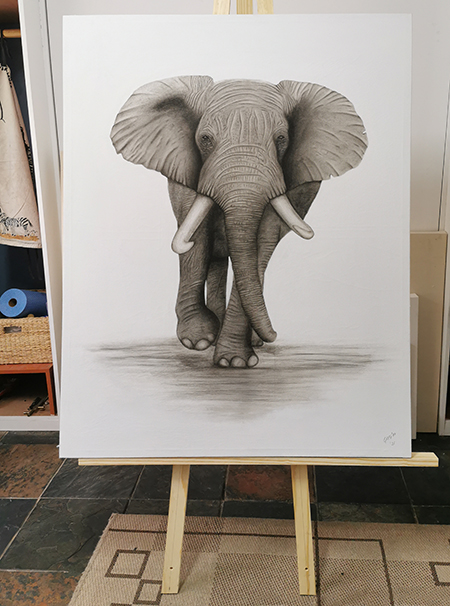
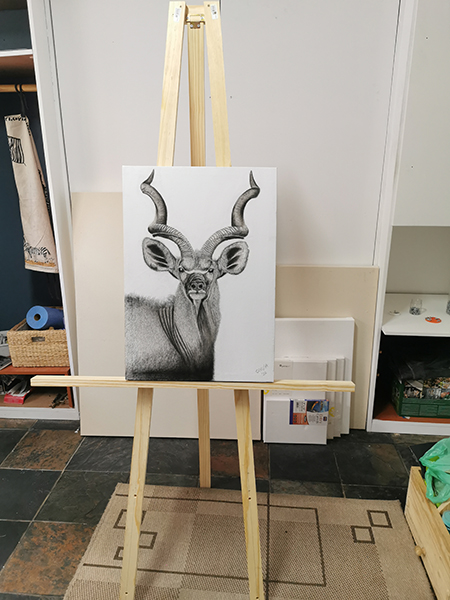
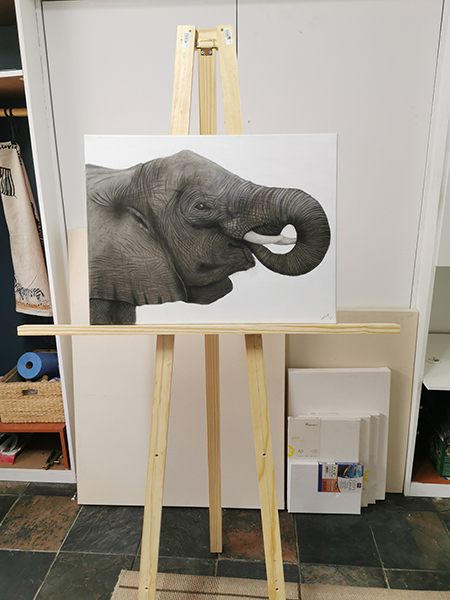
Since being retrenched due to the economy, my hubby has devoted himself to honing his craft and has been producing art like never before. I am so proud of him and his burgeoning talent. Not to mention that I love his topic of the Big 5, Little 5 and other animals that are found in South Africa.
After my youngest son moved out, we gave his room a much-needed makeover and turned it into a studio where hubby could work without interruption.
As part of the makeover, he was previously using an easel that sits on top of a worktop, which wasn't really working out since he doesn't only work on one size of canvas. What he really needed was an easel that could be adjusted for any size of canvas and when I went online to find one, the prices came as a bit of a shock and being a person that instantly thinks of how much it would cost to do-it-myself, I decided to do just that!
Everything you need to make this easel can be found at your nearest Builders store and are affordable in that you can make the ease; shown here for well under R200. I used 22 x 44 x 1800mm PAR pine and you just need to check that the pieces are perfectly straight, have no knots and aren't warped, bowed, or cupped. To make sure you only get the best pieces, don't order these online because I have noticed that when they pick them for you to collect, they don't automatically select the best pieces.
Even a beginner DIY enthusiast will be able to make this easy art easel in about 30-minutes from start to finish. Have all the pieces cut to size so that you only have the cut the angles as explained below.
YOU WILL NEED:
All pieces are 22 x 44mm PAR pine and are available in 1.8, 2.4 or 3 metre lengths. The 22 x 44 x 1.8 used for this project only costs around R49 each, so definitely an affordable option for making your easel.
2 of 22 x 44 x 1800mm - Front Legs
1 of 22 x 44 x 1700mm - Support Leg
1 of 22 x 44 x 900mm - Shelf that can be adjusted if you need a longer length
1 of 22 x 44 x 140mm - Top
1 of butt hinge and 16mm screws
4 x 30mm screws
Wood glue
8mm dowels
TOOLS:
Drill plus assorted bits
Mitre saw, jigsaw or table saw
Tape measure and pencil
safety gear
HERE'S HOW:
Step 1
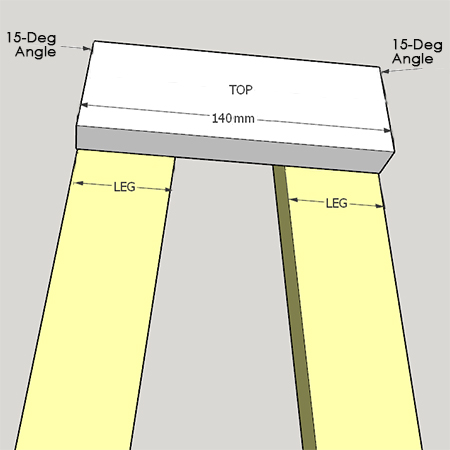
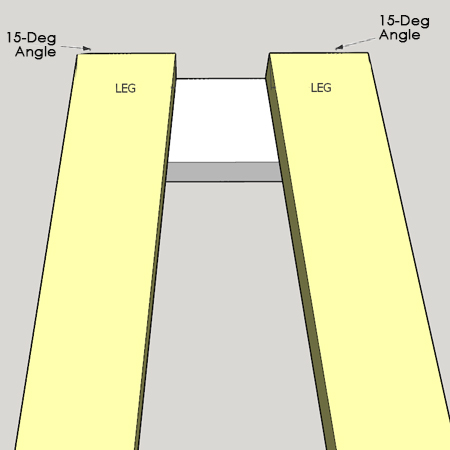
Cut 15-degree angles at both ends of the TOP. Use a mitre saw, jigsaw or table saw to do this.
Step 2
Cut a 15-degree angle at both ends of the FRONT LEGS.
Step 3
Position the LEGS flush with the top edge of the TOP and in line with the side edges of the TOP and secure in place with wood glue and 30mm screws.
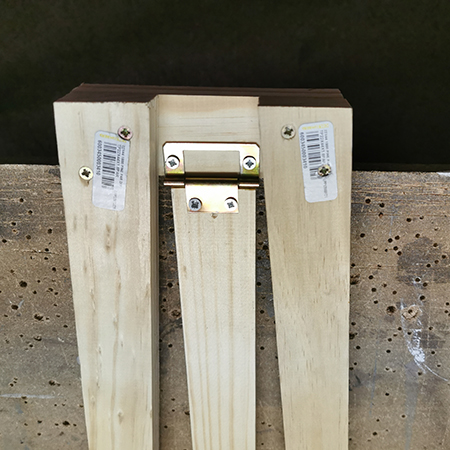
Step 4
Screw the butt hinge onto the TOP and top of the SUPPORT, as shown in the diagram below.
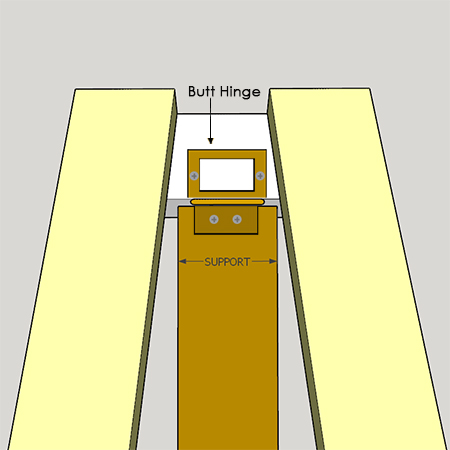
How the top section of the easel should look once the LEGS, SUPPORT and TOP have been assembled.
Step 5
In this next step you will need to work out for yourself depending on the sizes of the canvasses you like to use for your projects. In this case, hubby worked on A2, A1 and A0 size canvas and I needed to allow for 3 differing heights
Step 6
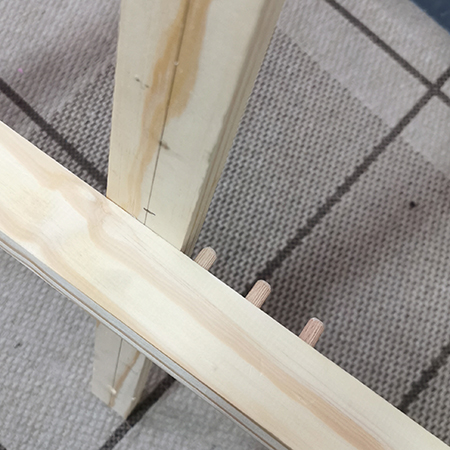
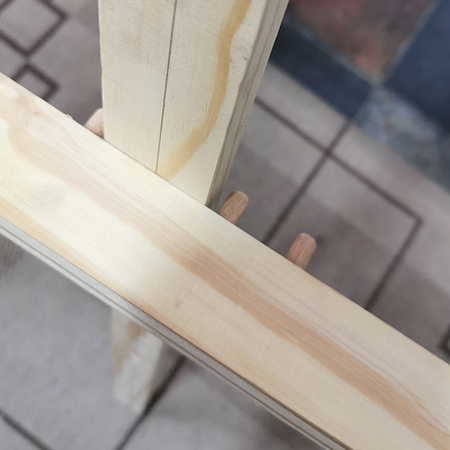
Once you know the different heights you need to set for the SHELF, you can mark on both the LEGS and the SHELF. Drill 8mm holes in the LEGS and SHELF for the different heights. In the holes drilled in the shelf, use wood glue, and tap in 8mm dowels. These dowels should be arranged in such a way that they can be pushed into the holes drilled in the LEGS to allow for height adjustment.
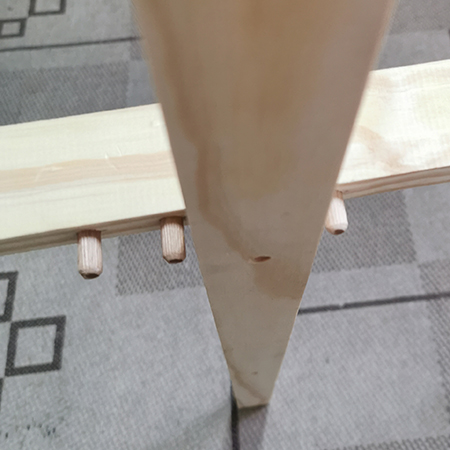
The dowels allow you to raise and lower the SHELF according to the size of canvas.
Like any DIY project you undertake, make sure you have the skills, knowledge, and tools to complete the task at hand. If you need specific information, browse through the DIY section on Home-Dzine.co.za where you will find hundreds of articles covering different DIY topics.