
How To Weave on a Traditional weaving Loom
In this article, we will discuss how to weave on a traditional weaving loom and the various techniques of weaving that can be done with weaving loom.
20/06/2021
You can make clothes in several different
ways now. You can crochet, knit, weave or felt -
whatever method you like. But weaving is where
the cloth making started in the beginning. It’s
the oldest and most basic cloth making
technique.
With the invention of cheaper
cloth production techniques weaving on a
traditional machine has lost much of its
popularity. You can, however, still find a lot
of traditional looms right now but the numbers
have reduced by a lot.
There are more
needs for complicated sewing patterns and modern
styles that traditional weaving machines aren’t
the best at making. As a result, the popularity
has dropped a lot.
In this guide we’ll
talk about how to weave on a traditional weaving
loom and the various techniques of weaving done
with it. But first, it’s a good idea to learn
about the traditional weaving technique and
weaving in general.
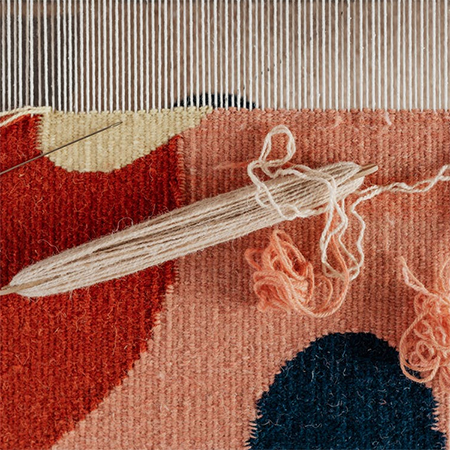
Weaving
Let me clear “weaving” to you first. To
understand this, the best way would be if you
can check a woven fabric as you read this guide.
Basically, you’ll notice sewing in two
directions on a woven fabric. The directions are
perpendicular to each other and are done in a
criss-cross fashion. What it means is that a
thread goes up from one fabric and then goes
down again. The repeating cross shape is what
makes a woven fabric.
There are names for
both of these threads too. The one going
sideways is called “weft” while the one going up
and down is known to be “warp”. You don’t have
to get bogged down into these nitty gritties.
It’s just for you to understand the basics and
related terminologies.
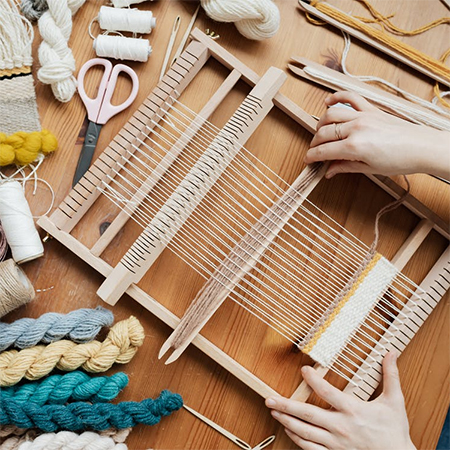
Traditional Loom
A traditional loom is the most fundamental weaving machine. It’s basic but has quite a lot of components in it. As a matter of fact, the loom is quite an intricately designed tool that is quite easy to work with and can produce nicely detailed fabrics. Also, you can make a weaving loom at your home.
How to weave on a traditional weaving loom
We’ve talked briefly about weaving as well as the traditional loom. Let’s talk about the process of weaving on these traditional looms. But before talking about the process, it’s important to understand what each part of a traditional loom does and how. Once you know about the parts of a loom, the rest will sound a lot simpler.
Parts of a Traditional Loom
Warp Roll - it’s a roller on the back of the loom with which the vertical warp ends are attached. This is also known as warp beam.
Harness - The harness or shaft is where all the vertical threads are attached to. It can be moved up or down with something called “treadles”. The up and down movement is necessary to create vertical shapes and patterns. The harness, however, varies in its mechanism depending on the number of shafts attached to it.
Shuttle - This part moves from one side to the other in the horizontal line. It takes a thread and moves in between the warps to create the final weave.
Reed - This is a comb shaped part. Its job is to basically tighten the threads to keep them in place.
Take up Roll - when the weaving is done the take up roll rolls it up. Once the weaving is complete, the roll is taken out of the loom and fabric is unrolled.
Heddles - Heddles are placed on top of the shaft and positioned in a way that allows them to be in the center of the warp ends on the top. As the shaft is moved, the heddles do too and in the process they create interlacing in the shapes.
Process of weaving
Let’s dive into the process of weaving with a traditional weaving loom.
Warp Setup
This is the first and most complicated step.
The better the setup is the greater the chances
of a loom making good fabrics. It’s a time
consuming process and needs many hours to
arrange the threads in position. If the desired
shape includes complex details then the setup
time could take days.
And for this
reason the setup is done with several people.
This cuts back the preparation time.
There are no single-specific rules for this
step. How the thread position should be depends
entirely on the fabric’s style and density. It
depends on the final design.
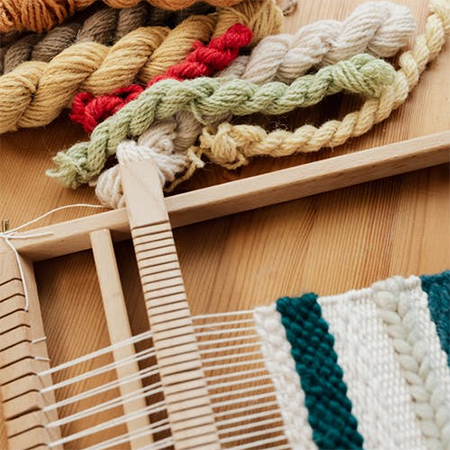
Shuttle setup
Once the warp setup is done, the shuttle is
then loaded with the desired fabric color.
Shuttle’s thread is changed every once in a
while to change the shapes. It’s moved by
pedaling on the pedals underneath, which, in
turn pulls the level attached with the shuttle.
Generally this is the core working
principle. The shuttle’s bobbin is changed to
different colors to create colored patterns on
the horizontal threads. It’s a painstaking
process and can take many hours to create a
complete piece of fabric.
Final Words
You’ll notice that a piece of cloth made on a traditional weaving loom is quite different from one made using other methods. The texture, feel of the fabric and thread strength - everything feels different. The method takes a lot of time and this is a problem and reason why people are moving to advanced cloth making ways.