
How to use Decoupage for Insta-Worthy Furniture
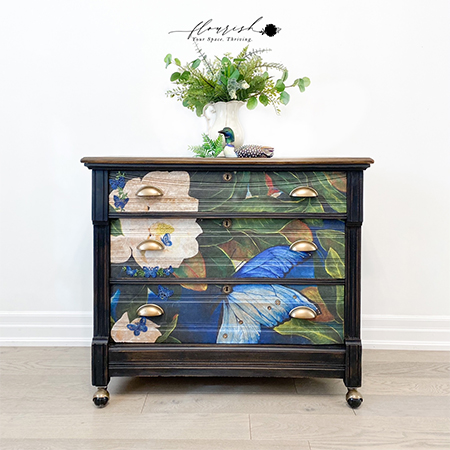
Decoupage is the art of adding patterned or pretty paper onto all types of surfaces, particularly furniture and decor accessories, for a unique finishing touch to furniture projects.
14/07/2022
redesign with prima
What is Decoupage?
Not everyone knows what decoupage is and even fewer know how easy it is to become a master at the art of decoupage. It is a fun way to dress up plain furniture to transform it from ordinary to extraordinary. Even someone who has zero artistic talent will find decoupage an easy craft project that will allow you to makeover or renovate furniture and decor accessories with a unique and personal touch that is one-of-a-kind.
grattan
The technique of decoupage is simply that of using paper and paper products combined with ModPodge or clear acrylic sealer. It is an inexpensive hobby that is easily learned and allows you to experiment with all types of furniture and styles to create a look that you love for your home, or even be able to do custom designs on furniture you make for sale.
martha stewart
What Items can Decoupage be used on?
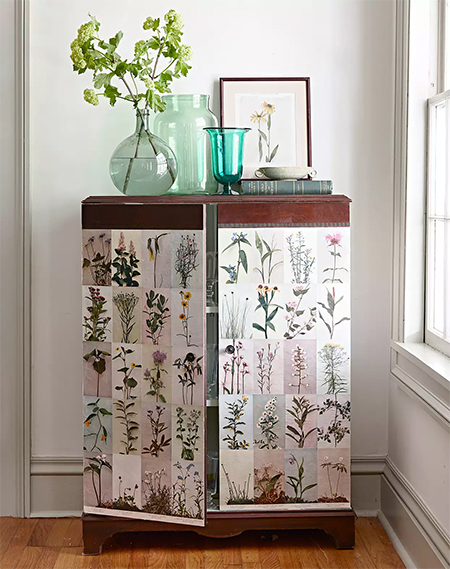
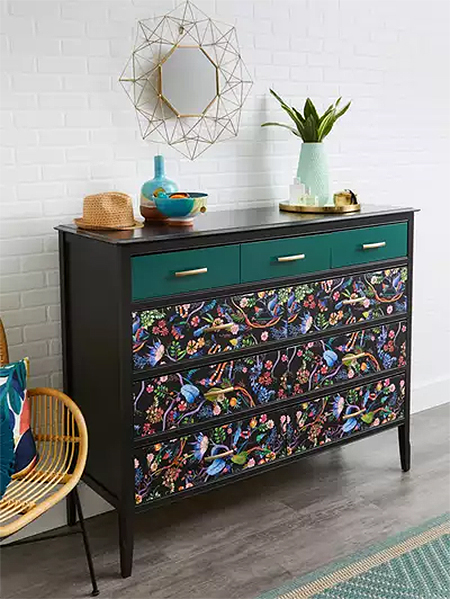
You can apply decoupage on almost any surface, or a surface that will accept paint. That means you can apply decorative paper patterns and images on a wide selection of items including furniture, mirror frames and surrounds, lampshade bases, headboards, and even doors.
The hardest part of any decoupage project is finding the perfect scrapbooking paper, wrapping paper, tissue paper or paper designs.
eclat designs by crystin
How to Decoupage
A good way to start and slowly introduce yourself to the art of decoupage is to work with small projects. Beginning with smaller projects such as coasters, placemats, trays, and similar is that it builds up your confidence as you learn and complete each project until you feel ready enough to tackle something larger. Below, we simplify how to proceed with your first decoupage project and all the tools and supplies you need for that first project can be found at most Builders stores.
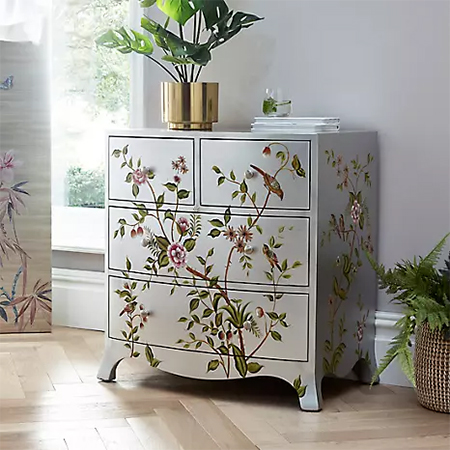
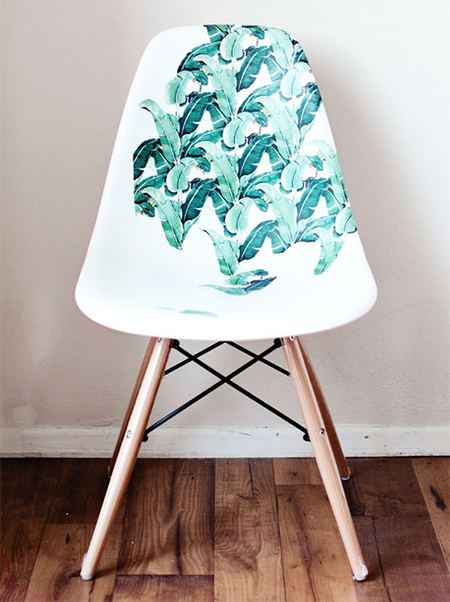
Furniture doesn't have to be old or vintage for decoupage to look good - you can apply decoupage to any style of furniture.
melodrama
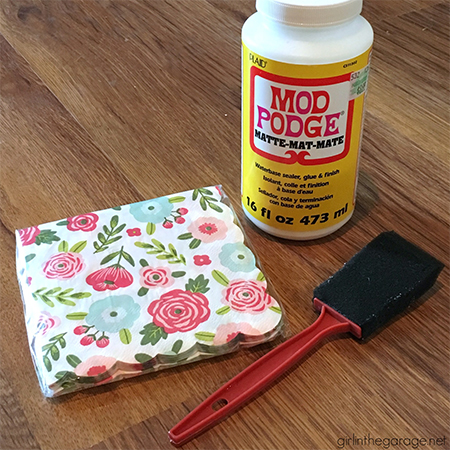
YOU WILL NEED:
Wrapping paper, craft paper, serviettes
ModPodge or clear acrylic sealer
Craft or utility knife
Scissors
Medium-hard sponge
Clean cloths
Assorted sizes of paintbrushes or foam applicators
Fine sanding sponge or 180-grit sandpaper
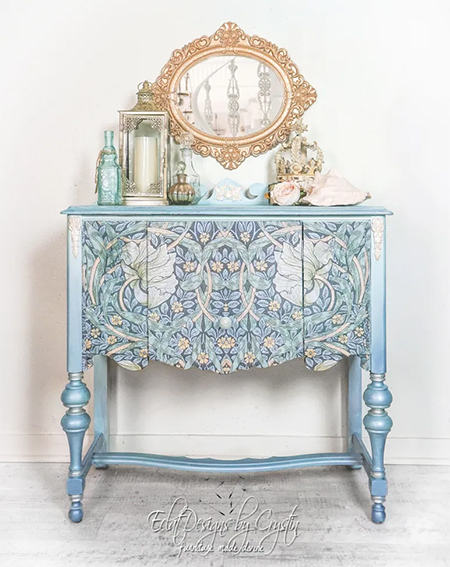
Refresh plain or boring furniture with decoupage for a new look!
better homes and gardens magazine
HERE'S HOW:
Step 1
Prepare the furniture or project beforehand. If any defects need to be repaired before painting and decoupage, do these in advance so that they have time to cure or dry and be sanded smooth.
girlinthegarage.net
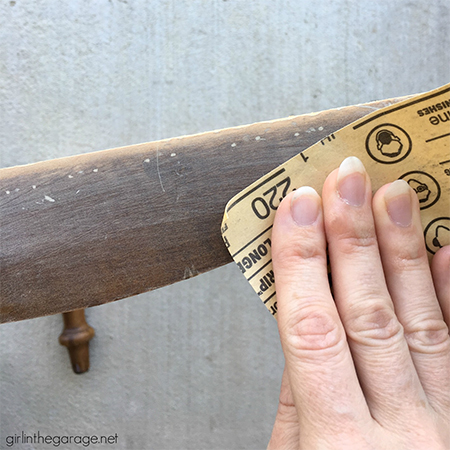
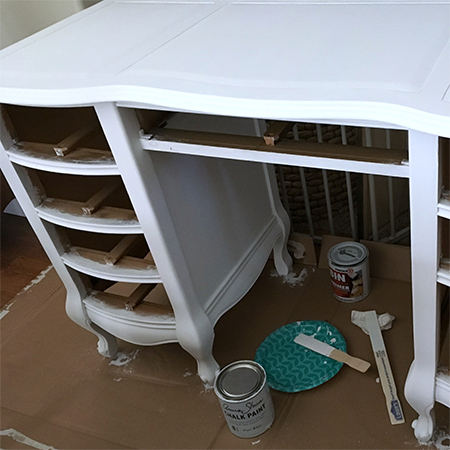
Step 2
Prime and paint the piece in advance so that the finish is perfectly dry before applying the decoupage. If the finish is glossy, you might want to lightly sand the area you will be working on with a fine sanding sponge or 180-grit sandpaper. This will provide a better surface for the sealer to bond with and make the finish longer-lasting.
girlinthegarage.net
Step 3
Working with ModPodge or clear acrylic sealer is easy but there are a few guidelines to follow and keep in mind. The most important part of the process is the application of a LIBERAL coat of ModPodge or sealer - enough that the paper floats on top and is easy to manipulate and remove air bubbles and wrinkles. Any excess sealer can be wiped away with a damp cloth.
girlinthegarage.net
- Cut the paper into the correct sized pieces to cover the project BEFORE you begin.
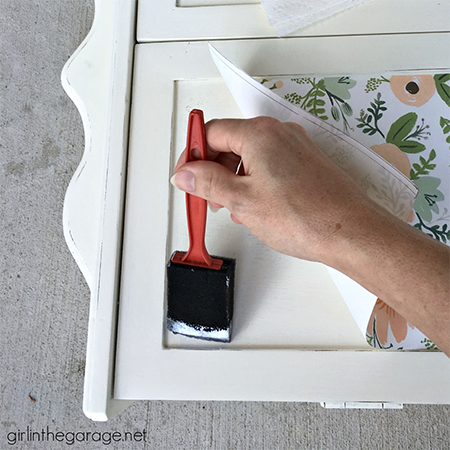
- Apply a liberal coat of ModPodge or sealer over the surface where you will apply the paper.
- Make sure that the surface is wet before carefully placing the paper in position over the ModPodge or sealer. Press more in the centre of the paper so that it will be easy to use your fingers to work outwards towards the ends to smooth out any wrinkles or trapped air bubbles. DO NOT this step as it will end up with a spoiled finish.
- After removing any wrinkles or bubbles, go over the surface of the paper gently - pressing lightly so as not to disturb the paper - with a coat of ModPodge or sealer. Let dry between each coat and continue to add at least 3 additional coats to properly seal the finish.
girlinthegarage.net