Furniture Revamp with Rust-Oleum Universal Spray Paint
It's so easy to give any piece of furniture a revamp with spray paint, and this pine drawer unit was given a brand new, glamorous makeover.
09/04/2020
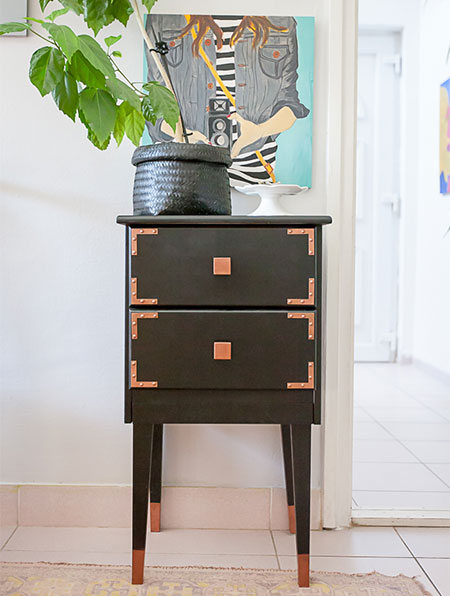
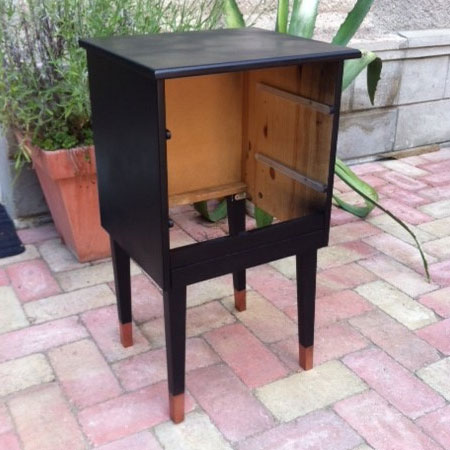
It's amazing what you can do with a bit of creative thinking and a can or two of spray paint. For example, this secondhand drawer unit (below) was given a brand new look by adding sexy long legs and a few metallic accessories (above).
The unit cost R150 at a secondhand store, which wasn't a bad price considering that it was in excellent condition. For the cost of 2 cans of spray paint and some PAR pine for the new legs, the boring pine drawer unit became a sexy cabinet.

You can honestly give any piece of furniture a new look with a coat or two of spray paint. But it's also possible to completely transform a piece of furniture with some clever ideas. Wanting a cabinet for the entrance hall, this pine drawer unit offered the right shape and was in excellent condition, but it needed a bit more height.
HERE'S HOW:
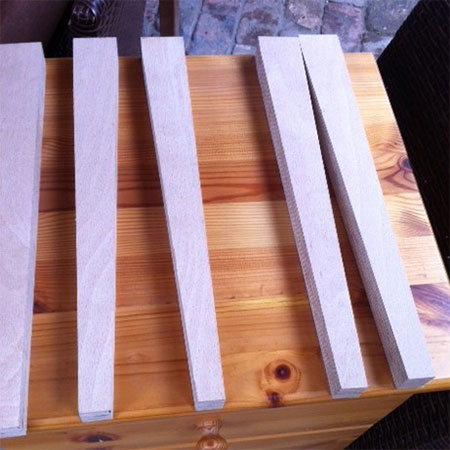
1. The problem of height was solved by adding longer legs onto the base of the drawer unit, legs which were cut from leftover scraps of 22 x 69mm PAR pine that was lying around. If you are going to be cutting new legs, simply mark the angle for one leg and then mirror this for another leg. Then you can simply cut out with a jigsaw and sand smooth.
2. The legs were attached to the underside of the drawer unit by driving [2] screws through the front and back aprons to hold the legs firmly in place.
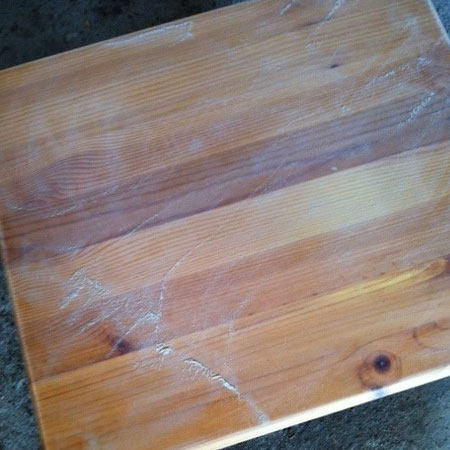
3. Before spray painting, the drawer unit, drawers and legs were sanded using an orbital sander and 120-grit sandpaper. This removed all the varnish that had been applied to the drawer unit. Since there was only a couple of coats of varnish, sanding was a quick and easy job.
GOOD TO KNOW
If you notice that there are a lot of coats of varnish or paint that needs to be removed, start with 60- or 80-grit sandpaper and then finish off with 120-grit, before sanding smooth with 180- or 240-grit sandpaper.
4. Once all the sanding has been done, make sure to wipe clean to remove all traces of dust. This is very important, as dust can so easily affect the final finish when you are working with spray paint.
4. For the spray painting, the cabinet was taken outdoors and placed on a drop cloth. The bigger the drop cloth - the better. There can be quite a bit of overspray when working with spray paint. The drawers were painted at the same time. 3 Coats of Rust-Oleum Universal black spray paint were applied, with plenty of drying time between each coat of spray paint.
GOOD TO KNOW
Don't apply spray paint if it is too hot or in a sunny spot. I have found that the dried spray paint can become a bit tacky if done in the sun. So find a nice shady spot.
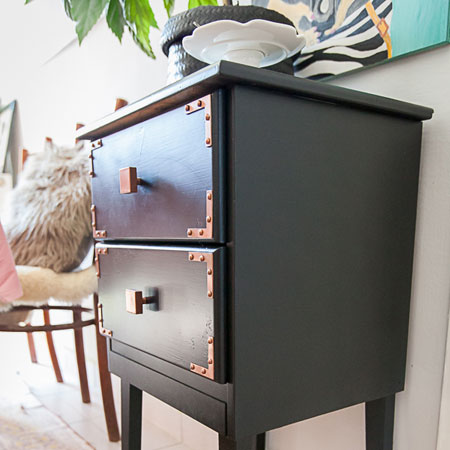
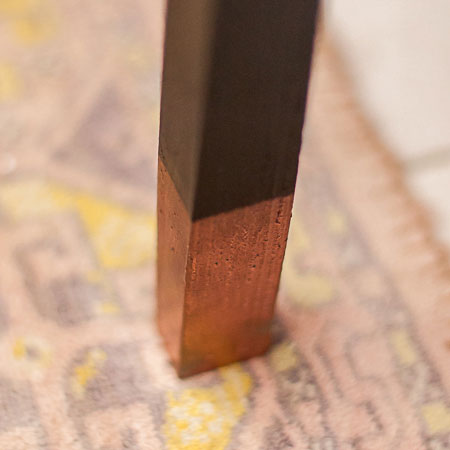
5. For the brass metallic trim at the base of the legs, painter's tape was applied around the base - 4 layers in total that overlapped each other to protect the legs from overspray. Rust-Oleum Universal brass spray paint was then applied to the legs and allowed to dry before carefully removing the tape.
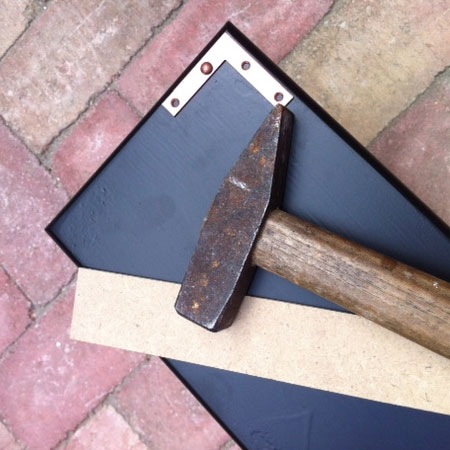
6. To tie in with the brass finish on the legs, brass angle braces were secured onto the corners of the drawers. These braces were secured with upholstery pins/nails, that has a rounded head and look great when used with the braces. If you can't find upholstery pines/nails in brass, spray paint them to match.
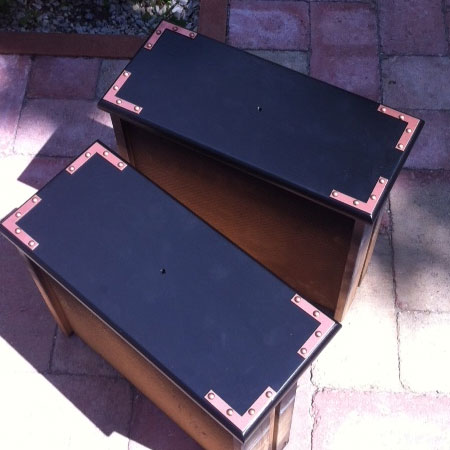
And voila! Hard to believe that this started out as a pine drawer unit. Now it takes pride of place as an accent piece in a hallway.