Make up a Set of Fabric Storage Containers
If you need extra storage, these fabric storage containers are easy to make and you can choose the perfect fabric to fit in with your room decorating scheme.
10/06/2020

ideal home magazine
These pretty and practical fabric storage containers are just the thing if you need extra storage for a bathroom, bedroom or kiddies bedroom. You can choose your favourite fabrics to make the containers, or use a combination of contrasting colours and fabrics for a pop of colour.
You can use these fabric storage containers for all types of household items and they will look pretty wherever you use them. If you do decide to use one of these fabric storage containers as a holder for a houseplant, do make sure to add a waterproof lining inside the container.
YOU WILL NEED:
Scrap fabric or your choice of pretty, patterned fabrics cut to the following sizes:
- Large container:
4 of Outer 270mm (W) x 210mm (H) rectangles
1 of Outer 270mm x 270mm square
4 of Inner
270mm (W) x 210mm (H) rectangles
1 of Inner
270mm x 270mm square
- Medium container:
4 of Outer 160mm (W) x 220mm (H) rectangles
1 of Outer 160mm x 160mm square
4 of Inner
160mm (W) x 220mm (H) rectangles
1 of Inner
160mm x 160mm square
- Small container:
4 of Outer 135mm (W) x 190mm (H) rectangles
1 of Outer 135mm x 135mm square
4 of Inner 135mm (W) x 190mm (H) rectangles
1
of Inner 135mm x 135mm square
TOOLS:
Sewing machine and accessories
Iron-on interfacing
Scissors
Tape measure
Iron
HERE'S HOW:
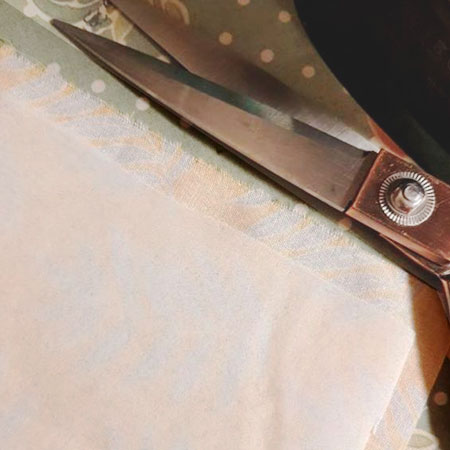
1. Once all the fabric is cut to the sizes listed above, cut the iron-on interfacing 10mm smaller all round than each piece of fabric to allow for seam allowances. Heat your iron and secure the interfacing to the centre of each piece of fabric. The interfacing adds stability to the fabric containers but you can leave this off for the smaller containers.
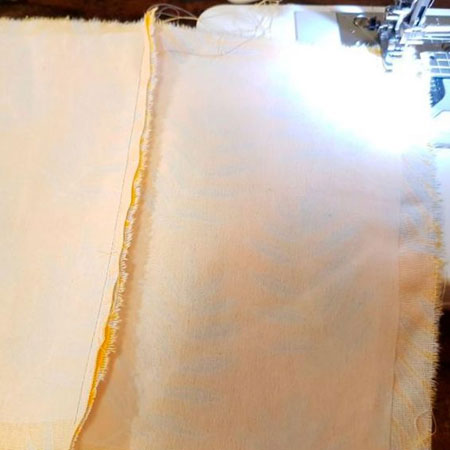
2. With a 10mm seam allowance, sew together [2] inner sides. Sew these lengthways with right sides facing. Continue until all [4] rectangles are sewn in a row. Fold the open edges together and sew together to create a square shape.
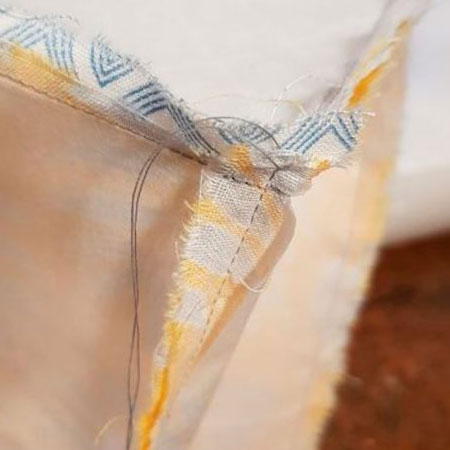
3. Still allowing a 10mm seam allowance, sew the bottom square piece of fabric to the sides, right sides facing, to complete the square.
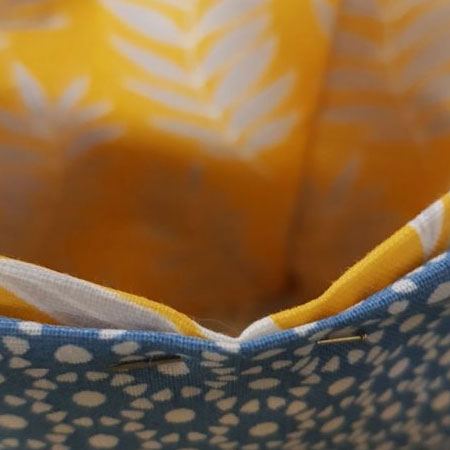
4. Now you can repeat the steps to create the outer box. Turn the right side out and insert the inner layer inside.
5. Fold over the inner and outer top edges of both the inner and outer layers, folding 10mm inwards, and pin to secure. Sew around the top edge to close. Now, fold the top over to the outside to reveal the contrasting inner. Repeat this process for the large, medium and small containers. Iron the fold flat for a permanent fold-over.