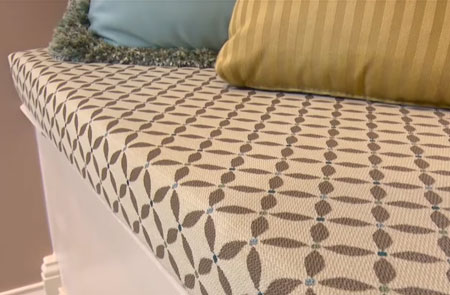
How to make a simple Box Cushion
Knowing the basics of making a box cushion lets you make your own seat cushions for DIY furniture projects that you make.
08/06/2019
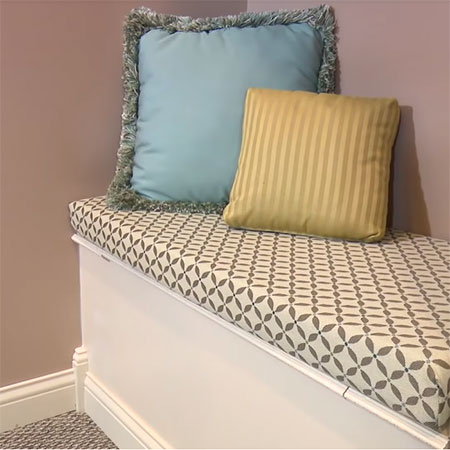
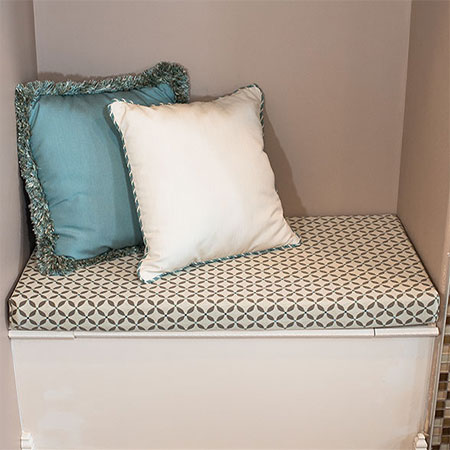
Over the years I have made plenty of furniture that requires a simple box cushion for the seat, from my outdoor sofa and chairs, to an alcove seating unit. A basic box cushion isn't that difficult to make, even if you only have basic sewing knowledge. As long as you have a sewing machine - you can make a box cushion.
This project will take you step-by-step through the process of making a box cushion so that you can take all your seating projects from assembly to finishing off.
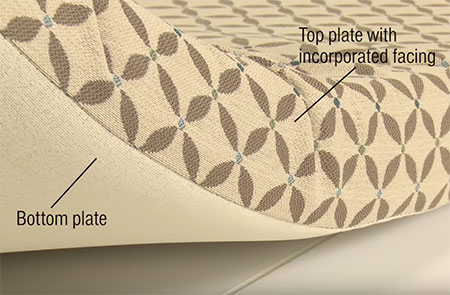
The instructions let you make a box cushion that has patterned upholstery on the top, and a plain upholstery fabric underneath, which is great if you want to save a bit of money on the fabric. Alternatively, you can make both the top and bottom plates using the same fabric.
YOU WILL NEED:
Upholstery fabric - we used a patterned fabric for the top plate
Underlining fabric* - we used plain fabric for the bottom plate
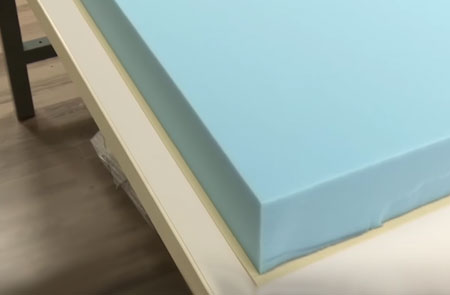
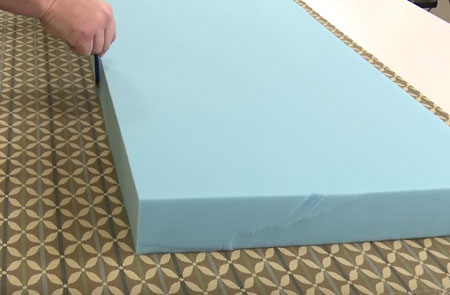
Medium-density foam cut to size
Zipper
Matching sewing thread
TOOLS:
Sewing machine and accessories
Olfa circular fabric cutter and cutting mat
Upholstery scissors
Upholstery chalk or pencil
Tape measure
*If you are unable to obtain underlining fabric, select a fabric that does not fray along the edges.
HERE'S HOW:
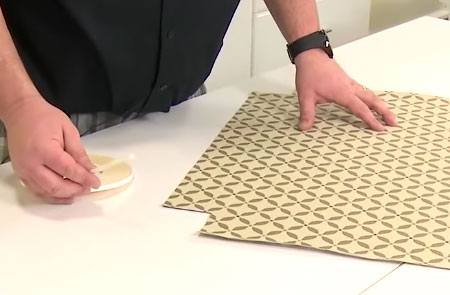
1. Cut fabric for bottom plate
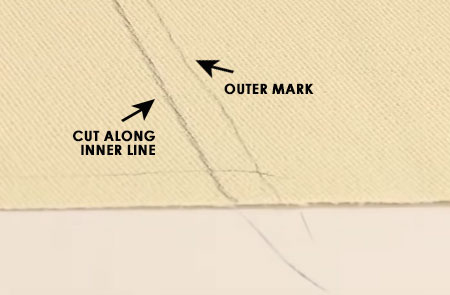
Place the fabric for bottom plate and a flat surface and lay the foam on top. Use chalk to trace the outline onto the fabric. Remove the foam and draw a second line 6mm inside the first line. Cut the fabric along the inner drawn line. Fold the bottom plate in half lengthways and make a mark at the centre - at both ends.
GOOD TO KNOW: In this next step we install a zipper in the bottom plate. If you do not wish to have a zipper you can move to the next step.
2. Install the zipper
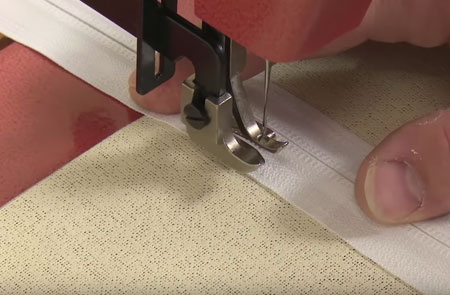
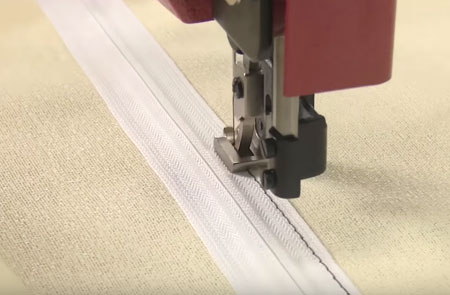
If necessary, trim the zipper to the length of foam cushion plus an extra 50 to 60mm length. With the fabric face down, place the zipper face down on top of the fabric and align with the centre marks. By installing the zipper in this way, the teeth will be almost invisible once sewn in place.
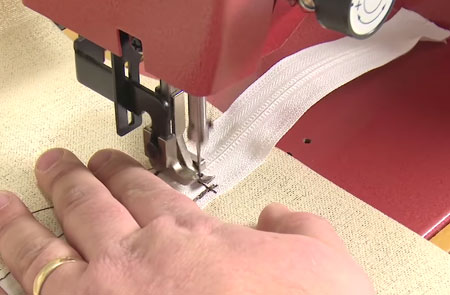
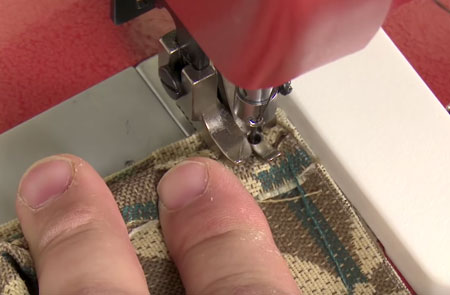
With the sewing machine foot aligned up along the edge of the zipper teeth, Use a running stitch to sew the zipper in place.
Sew the zipper in place along the bottom edge and then back up again.
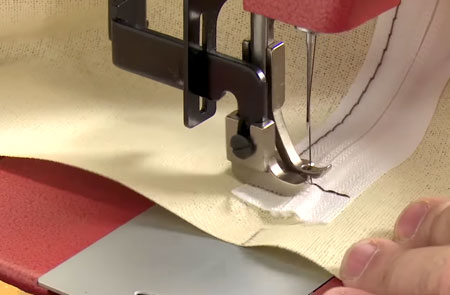
Before sewing along the top edge, use your scissors to move the zipper head down to open the zip. You just want to move the zipper head out of the way for now.
Now you can sew off at the top edge.
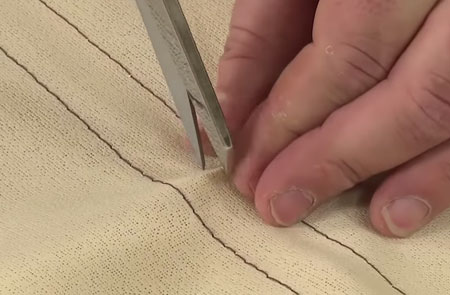
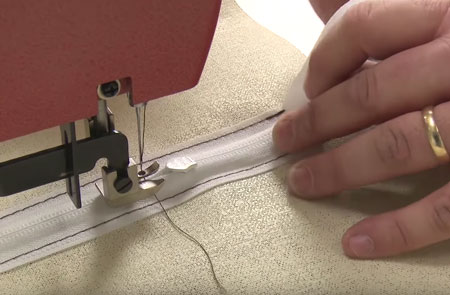
With your scissors, cut down the centre to create an opening for the zip. If you are using an underlining or non-fray fabric there is no need to finish this off. Trim the zipper to remove the excess.

3. Cut top plate, including the sides
With the fabric face down, draw a chalk line around the shape of the foam. Also make a mark for the thickness of the foam (80mm) on the long and short edges, as the fabric will also cover these edges. Now you need to subtract 6mm all the way around (80mm for the thickness less 6mm = 74mm plus the size of the foam)
GOOD TO KNOW: When marking for the top plate, make sure to align with any pattern.
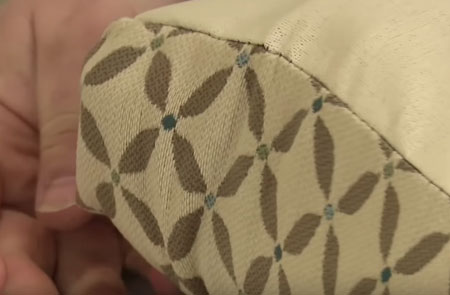
4. Sew corners
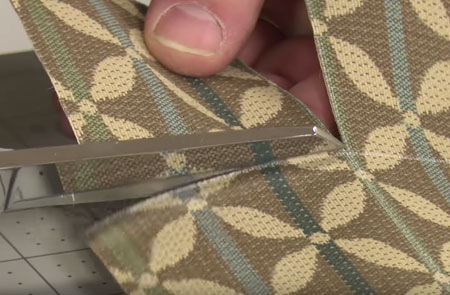
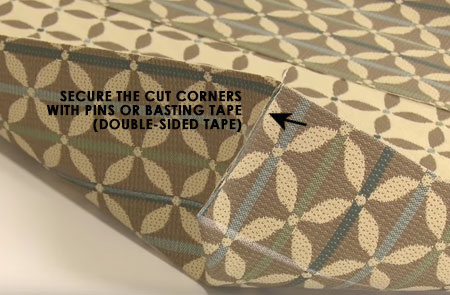
Cut away the corners up until the mark for the size of the foam. This will allow for easy folding and sewing.
Place the cut corners together to create a boxed corner and hold this with double-sided basting tape or pins.
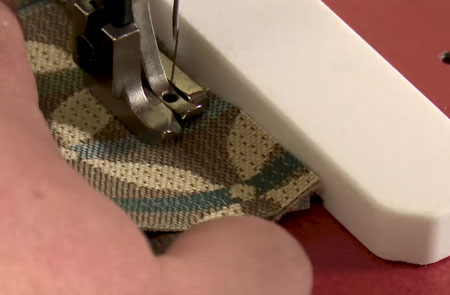
Sew these small edges with a 12mm seam allowance.
5. Sew top and bottom plates together
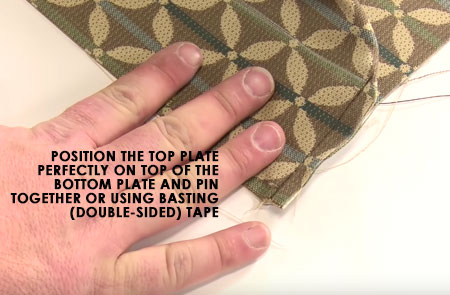
Pin or use basting (double-sided) tape to join the top and bottom plates together - right sides facing in. Double check that the two pieces line up as perfectly as possible before sewing together with a 12mm seam allowance.
GOOD TO KNOW: When sewing the top and bottom plate together always check that the fabric is clear underneath.
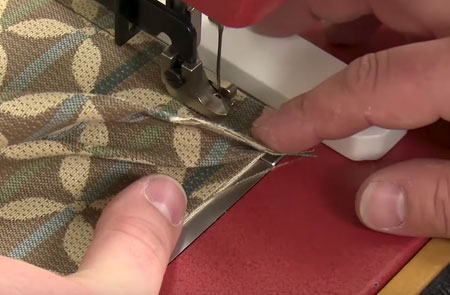
GOOD TO KNOW: When you reach the (sewn) corners, make sure to lay these flat as you sew around the corner. You may need to keep the needle down and lift the foot in order to turn the fabric around the corner section.
6. Finishing the box cushion
Open the zipper fully so that you can turn the cover right side out. Use your fingers to push out the corners.
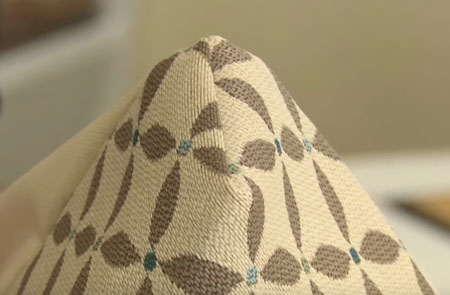
Insert the foam. Squeeze the foam into the
cover, making sure to get the foam into the corners and edges
so everything looks nice and neat.