
Craft Sculptural Flower Pots with Cement
An affordable way to create sculptural elements for your garden, deck or patio is to use cement and an old towel.
13/11/2021

pinterest.com/pin/742038476111241648/
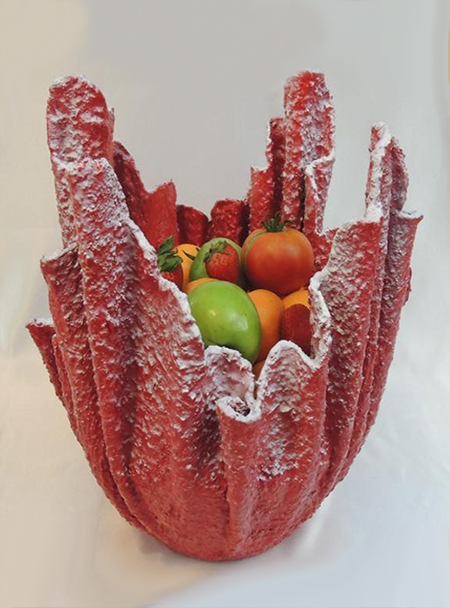
These sculptural planters are very easy to make, and with a single bag of cement, you can make several sizes that can be placed in prominent positions both indoors and outdoors. They would look perfect on a deck or patio and just as nice on a console table in an entrance hall or as a display on a shelf.
YOU WILL NEED:
Cement
Old towel or thick rag
Mixing bucket
Drill and paint mixer
Form for the shape of the planter
Gloves
Hosepipe
HERE'S HOW:
Step 1
Cut the towel or thick fabric to the size that you want for the sculptural planter. Whatever you use as the form to support the towel should provide a base that is wide enough for planting or for whatever you want to use the planter for. Drape the fabric over the form to make sure it will be the right height you need.
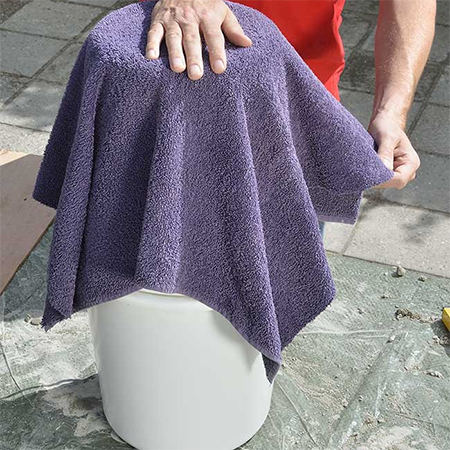
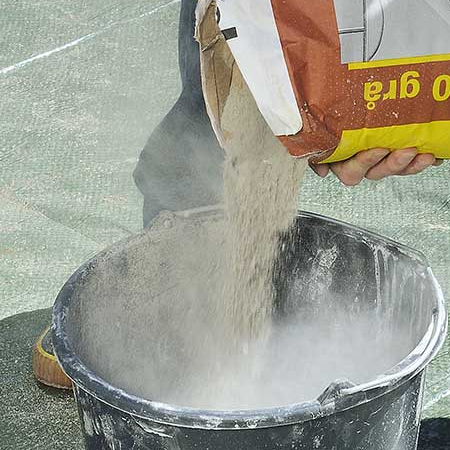
Step 2
In a bucket, pour in enough cement to coat the fabric. You shouldn't need much but always put the cement in before adding water. For the first couple of times, it might be hard to judge how much cement you need and it is a good idea to start with a tester before tackling the project. In this way, you can adjust the ratio of cement to water if the mixture is too thick or too thin.
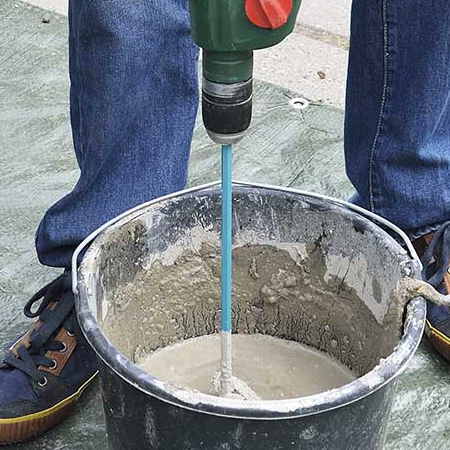
Step 3
Slowly add water to the cement. Use a paint stirrer in your drill to prevent arm strain and also to ensure that the cement has no lumps and is the perfect consistency. Again, slowly add more water until the cement is smooth and runny.
To tell when the cement is the right consistency, lift up the paint stirrer. If the paint slowly drops off the paint stirrer the mixture is too thick. It should flow easily off the paint stirrer. Doing a tester project will again ensure that everything is perfect when you make the sculptural planter.
The cement mixture must be free of lumps and be of a smooth consistency.
Step 4
Put on your gloves and place the towel or thick fabric into the cement mix. Move it around and make sure to cover every bit of the fabric with cement mix.
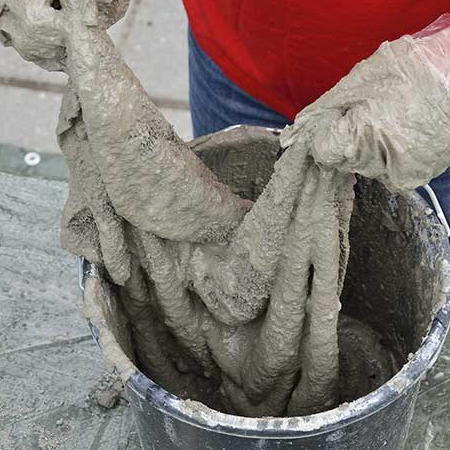
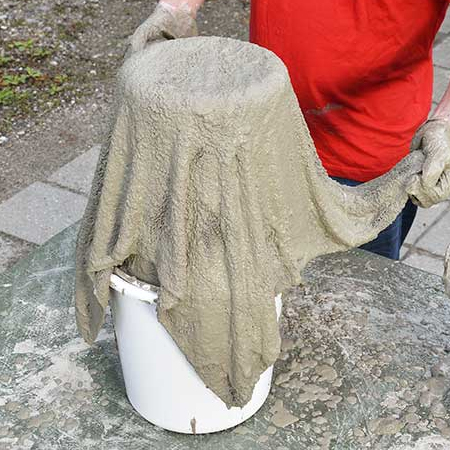
Step 5
Hold up the cement coated fabric and allow excess cement mix to drip back into the bucket. Place the cement towel over the form and drape the fabric nicely. Keep in mind that how you drape the fabric will determine how the shape comes out when you are done.
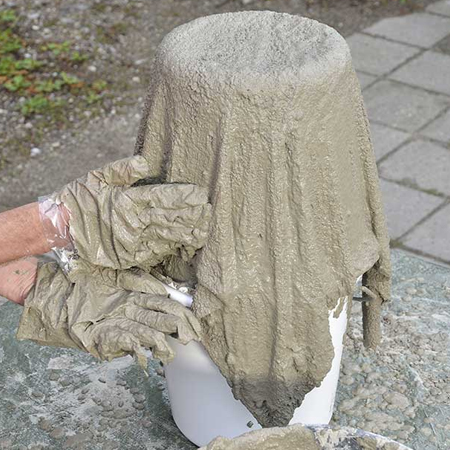
Step 6
This next step is to build up a thicker layer on the fabric. If you only have a thin layer of cement, this is more likely to break easily. Use your hands to apply more cement mix over the fabric, making sure that it is smooth. You can clean and wet your gloves in-between to smooth out any irregularities.
Leave the cement to cure for a couple of days. If the weather is hot and dry, lightly sprinkle with a hosepipe on fine spray in the morning and evening. This slows down the drying time and prevents cracks.
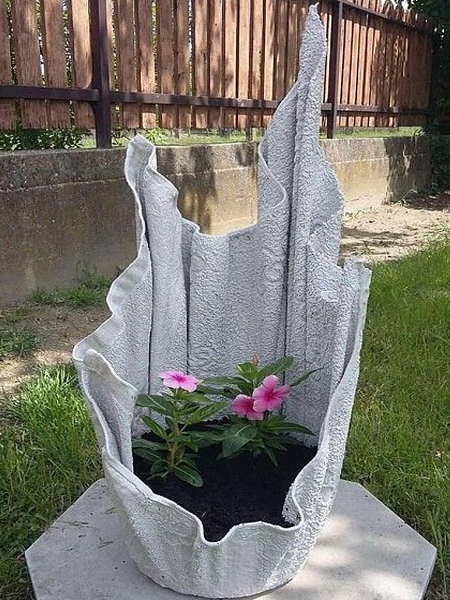
FINISHING
Once your sculptural planter is finished, what you do to finish it off is up to you. If you want to pot up plants, drill a couple of holes in the base of the pot. If you want to use it as a vase, use a waterproofing treatment that you can purchase at your nearest Builders store.
pinterest.com/pin/140526450863209931/
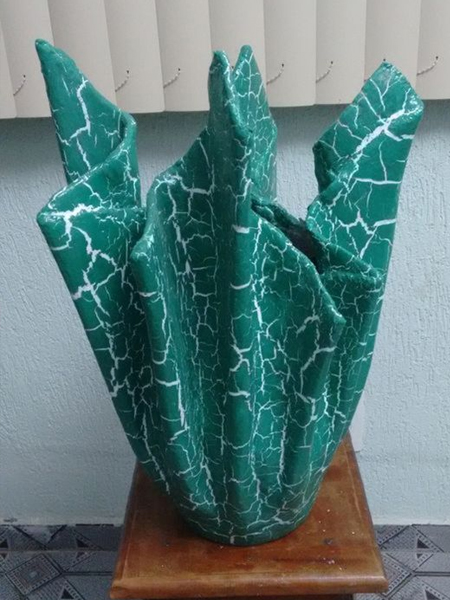
Apply a plaster primer if you plan on painting the planter. This will add an additional layer of protection and provide a key for painting. You can paint with acrylic paint or spray paint and even use a paint technique for special effects.
pinterest.com/pin/351140102205413161/
revistaartesanato.com.br/vaso-de-cimento-com-toalha/