
Get Handy with a Router
Routers are reasonably inexpensive power tools that can be used to add a decorative finish to projects. We show you how to make a cake board with a decorative edge that can be painted in your choice of colour.
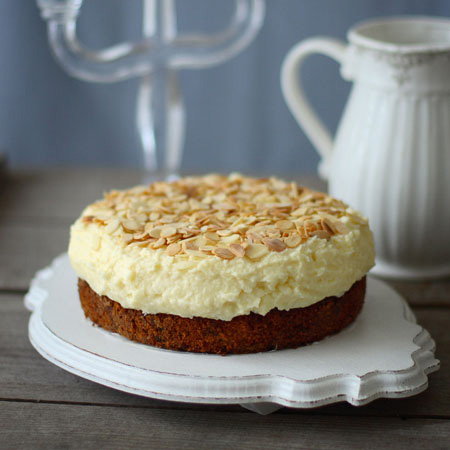
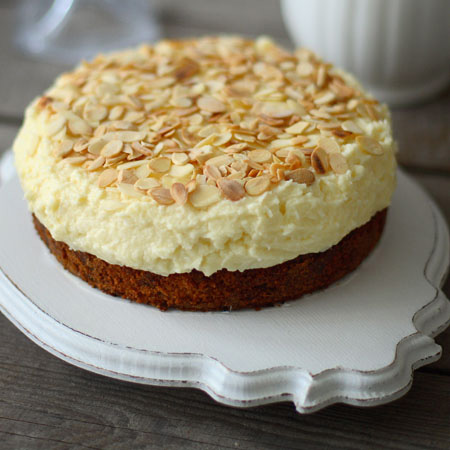
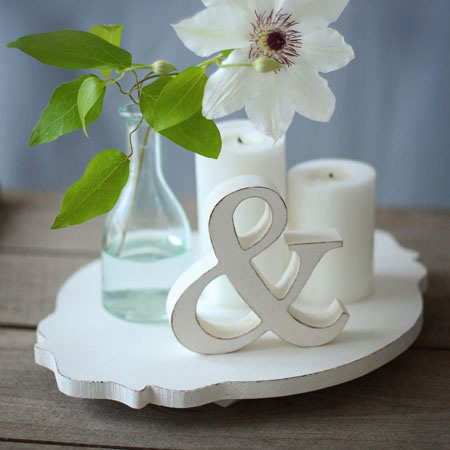
What a pretty way to display your baked goods
YOU WILL NEED:
Scrap piece of 16mm or 18mm MDF
Plascon Polvin, white
Clear acrylic sealer or ModPodge
Paintbrush
120-grit, plus 180- or 240-grit sandpaper
Pattex No More Nails adhesive
4 pine knobs or support of your choice
TOOLS:
Jigsaw
Router
Router bit
Tape measure and pencil
Steel rule (approx 50mm wide)
Quick clamps
Workbench
Dust mask*
*Always wear a dust mask when cutting, routing or sanding MDF.
HERE'S HOW:
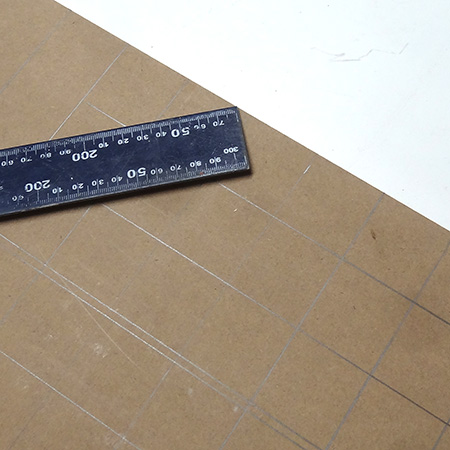
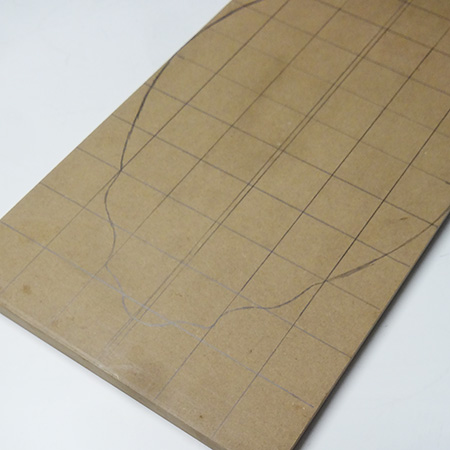
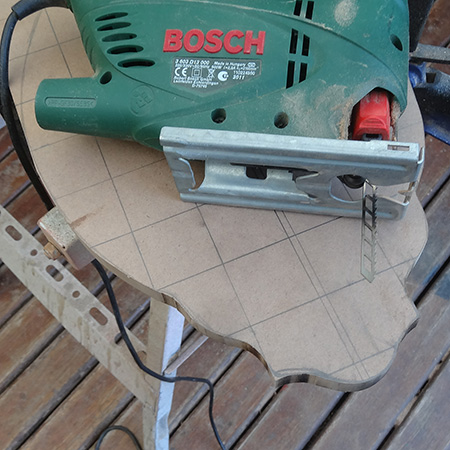
1. To draw the shape it is easy to follow a basic grid for outlining basic designs. Use a steel rule and pencil to draw the grid onto the board and then outline the shape that you want.
2. Once you have the shape drawn out you need to cut this out with a jigsaw. Use clamps to firmly secure the board to your workbench.
GOOD TO KNOW
When cutting very tight curves you need to work slowly and move the blade around your drawn lines. If it gets difficult, come in from the outside and cut away the section already cut. You can always come in from different directions to cut out awkward shapes.
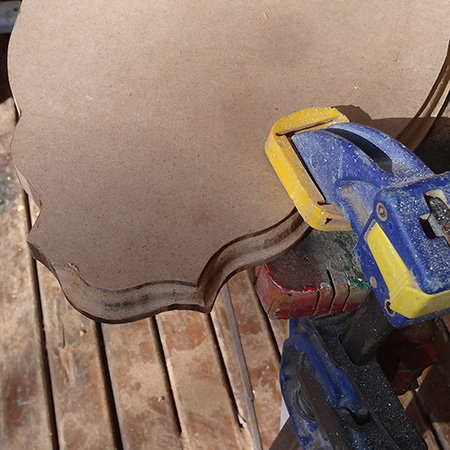
3. Before we move on to routing around the edge of the cut board, take the time to sand away any irregularities. If you leave these they will show on the finished edge.
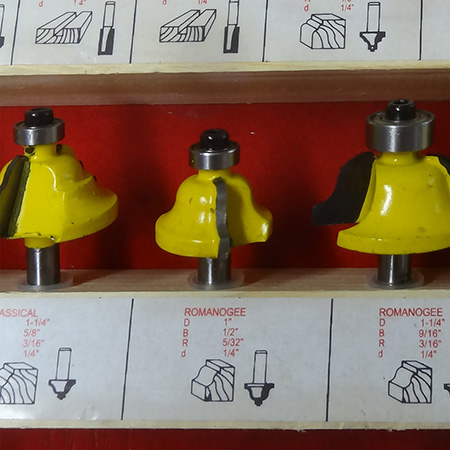
4. Select the profile bit that you want for your decorative edge. We used a Tork Craft 'Romanogee' profile bit for the cake tray.
DIY TIP:
Sometimes if works out cheaper to buy your router bits in a kit rather than separately. Buying an assorted set or kit also allows you to choose particular profiles for your projects, as and when you are making them.

5. Clamp the board securely to your workbench. The board should not be loose and must overhang the bench so that running the router bit along the edge will be easy and have no obstructions.
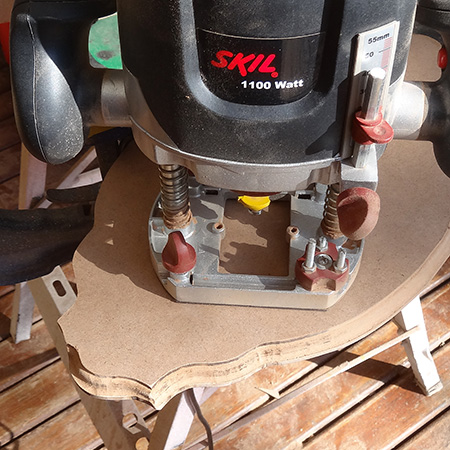
A Skil router retails at R1099.00 if you buy online and is a handy tool to add to your collection if you want to make furniture or decor accessories.
GOOD TO KNOW
Make sure that the power cable is well out of the way and that you can comfortably work. Set the depth adjustment on the router so that the bit sits flush with the top of the board and run the router from right to left along the edge, moving the board and re-clamping as you route around the entire edge.
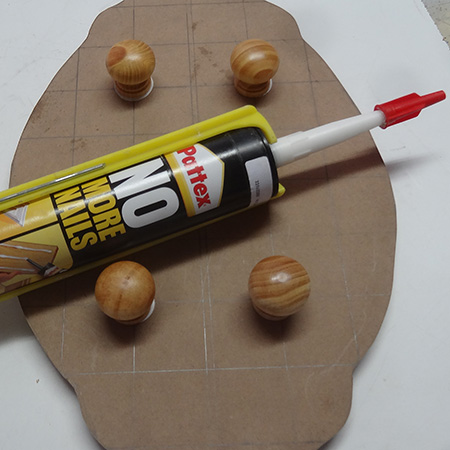
6. After routing the edge use 180- or 240-grit sandpaper to smooth and attach your choice of feet for the board. We use four pine knobs as feet for the cake board. Above you can see that we turned the board over and used the marks for placing the feet.
Finishing
We want a rustic finish for our cake tray, so we are using a paintbrush to apply paint. If you prefer a smoother finish, use a foam paint roller to apply the paint on the flat surfaces. Let the paint dry overnight.
Use 120-grit sandpaper to rough around the edges of the board. Apply 3 to 4 coats of clear acrylic sealer or ModPodge to protect the distressed cake tray.
If you don't own a router the design of this cake tray looks just as nice with a plain edge.