Make A Kiddies Kitchen With An Old Bench
Re-purposing old furniture or furniture that you no longer have a use for is a fun way to use something you already have and turn it into something completely different... like our Kiddies Kitchen.
04/04/2021
all about diy
At one time or another, many of us have had a piece of furniture that has nowhere to go, perhaps because it is slightly damaged or it could be that it no longer fits in with the decorating style you have for your home, but whatever the reason, there is so many ways to re-purpose old or unwanted furniture into new items. In this feature, we transformed a plain wooden bench into a kiddies kitchen.
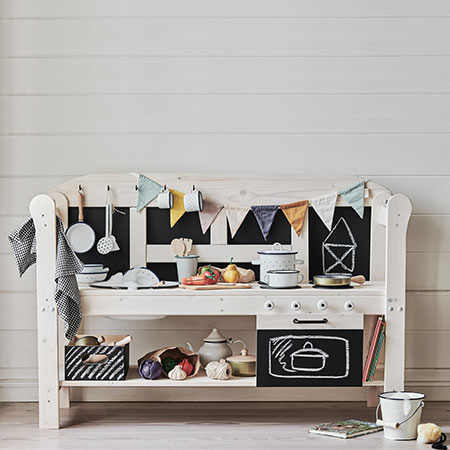
Inspire your little chef by making them a kiddies kitchen where they can experiment and use their imagination. Children often mimic what their parents do every day and little girls enjoy making meals just like mommy does. You don't necessarily need a bench for this project, just take a look around the home and consider pieces you might want to get rid of. There's bound to be some ideas that pop into your head for re-purposing something old in new ways.
YOU WILL NEED:
Old or unused piece of furniture - we used a wooden bench
Small sheet of Masonite or hardboard
Cut screws, assorted sizes
Wood glue
Cup hooks
Handles and knobs with screws
Magnetic door latches
Chalk paint and topcoat
Chalkboard paint
Plastic, stainless steel or enamel bowl
TOOLS:
Cordless Drill/Driver plus assorted bit set
Jigsaw
Sander plus assorted sanding pads
Tape measure and pencil
Safety gear
HERE'S HOW:
Step 1
Before you start on the actual project, decide what needs to be done to the piece of furniture to re-purpose it into something new. This bench isn't going to require any alterations and only a few additions need to be made to turn it into a kiddies kitchen. If you are not using a bench similar to ours, think about what you can change or add to make it work as a project.
Step 2
Because we are using chalk paint to finish off the kiddies kitchen, the bench will only require light sanding beforehand.
Step 3
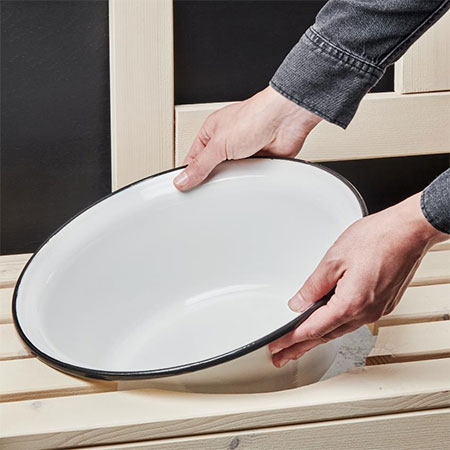
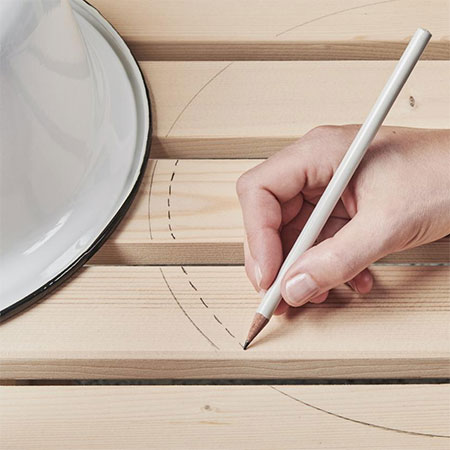
A simple modification to turn our bench into a kiddies kitchen is to make an opening for the bowl that serves as a kitchen sink. We used an enamel bowl but you can just as easily use a plastic bowl or even an empty biscuit tin that you may have. Measure out the circumference for cutting out an opening for the bowl by using the bowl as a template. Now make the opening about 1cm narrower to ensure that the bowl will sit nicely in the hole.
Use a jigsaw to carefully cut out the opening and sand the edges smooth once you're done. If there is no way to fit a jigsaw blade into this area, use a 10mm wood bit to drill a couple of holes to make it easier to insert the jigsaw blade.
Step 4
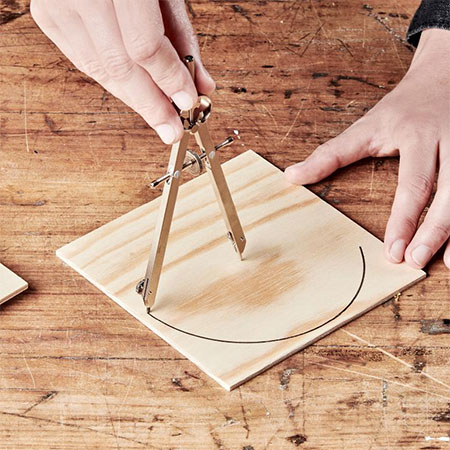
In this step, you need to cut out circular plates for the stovetop area. We used a piece of Masonite (or hardboard) for this purpose and painted each circle with blackboard paint. Alternatively, you might already have items lying around that can be substituted for this project. Think about items that can be recycled such as tops from plastic food containers or tinfoil cooking trays.
Step 5
To cover up the back of the bench another piece of Masonite (or hardboard) was fastened to the back of the bench using a heavy-duty stapler. Before attaching to the back, the board was painted with chalkboard paint. The door for the oven was also cut from a scrap piece of board and painted with chalkboard paint.

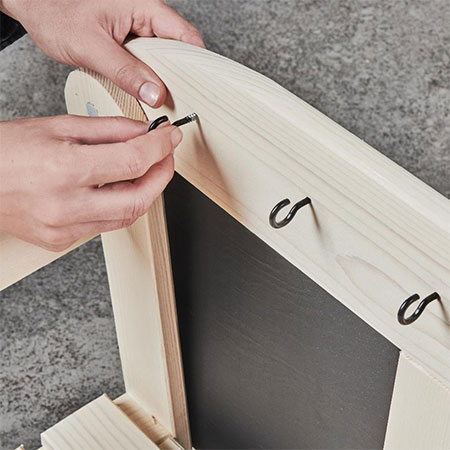
Step 6
Every little girl's kitchen needs a place to hang kitchen utensils. Use ordinary cup hooks so that the little chef can have everything she needs close at hand.
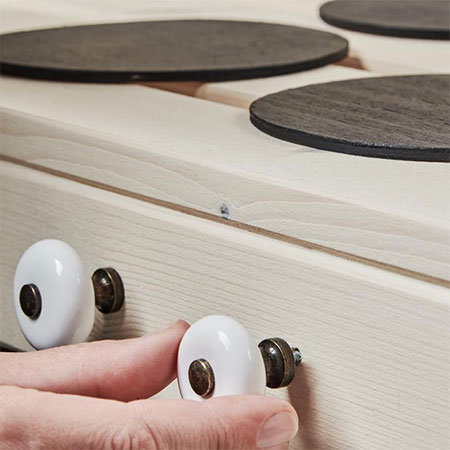
Step 7
What makes this kiddies kitchen so special is all the extra added details. Knobs were used at the front of the stovetop and screwed into the front of the bench and the hotplates glued to the stovetop.
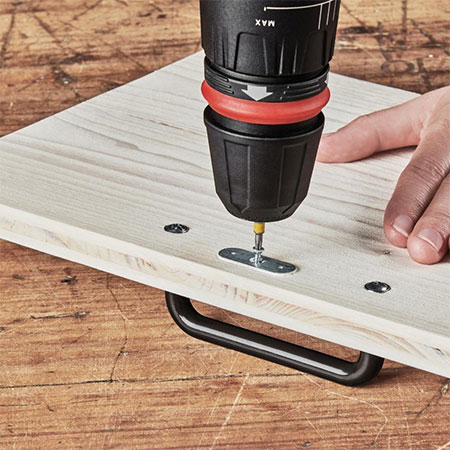
Step 8
To finish off the kiddies kitchen, the door was secured in place for the oven and magnetic latches fitted to hold the door in place. Add a handle to the front of the door to make it easy to open and close the oven.
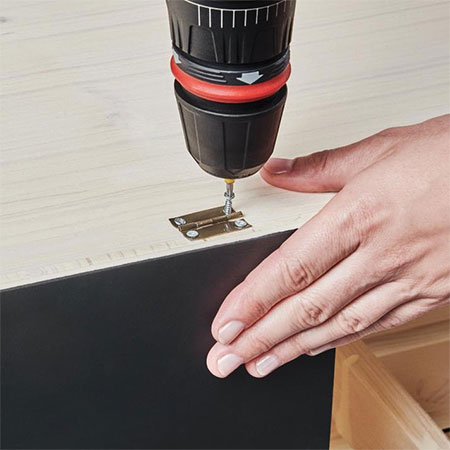
Step 9
Secure the oven door in place with a couple of butt hinges, as shown below.
Step 10
Once all the assembly is done, you can add all the finishing details that make this project a kiddies kitchen.