
Recycled Tyre and Materials for Unique Outdoor Seating
Who knew you could turn old tyres and materials into unique outdoor seating.
11/07/2020
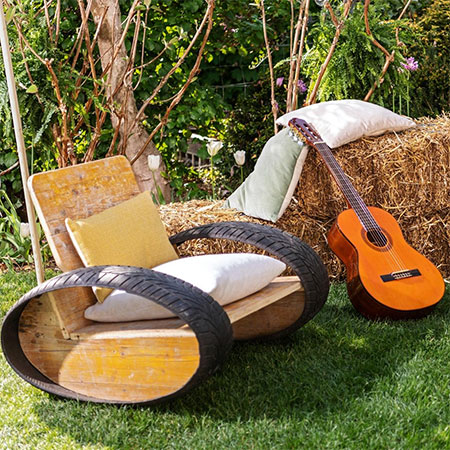
A couple of old tyres, some scrap pieces of work and a bit of spare time on your hands are all you need to make a couple or more unique rocking garden chairs for that laid-back lifestyle.
YOU WILL NEED:
Couple - or more - car tyres
1 of 22 x 44 x 700mm PAR pine
1 of 19/21 x 1000 x 1500 wood panel
1 of 32 x 32 x 1800mm PAR pine
4 x 40mm cut screws
Wood glue
Panel pins
Yarn or wool
TOOLS:
Drill / Driver or Combi Drill and assorted bits
Jigsaw
Sander plus assorted sanding pads
Multifunction tool with serrated segment blade
Tape measure, ruler and pencil
Hammer
Clamps
Calculator
HERE'S HOW:
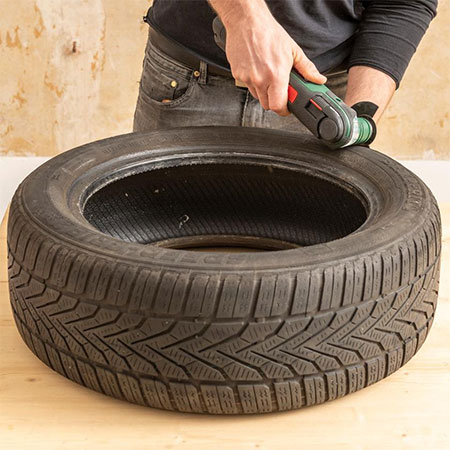
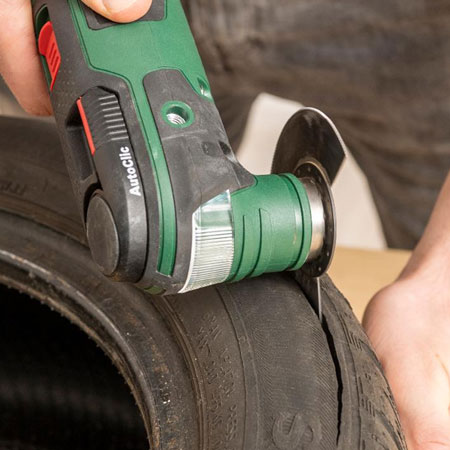
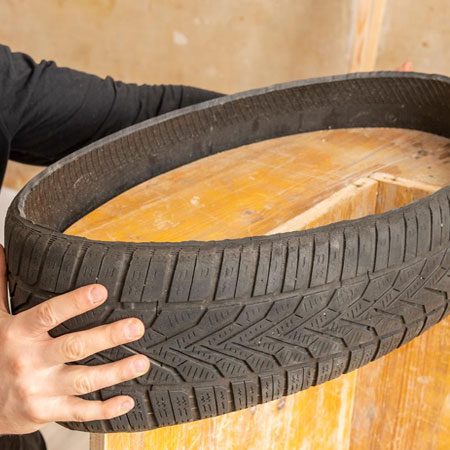
1. In order to use the tyres
for this project, you will need to cut away the
sidewalls. This is fairly easy if you have a
multifunction tool and use a serrated segment
blade, as shown below. Use the tread on the tyre
as a cutting guide to remove the excess rubber
on the sides of the tyres.
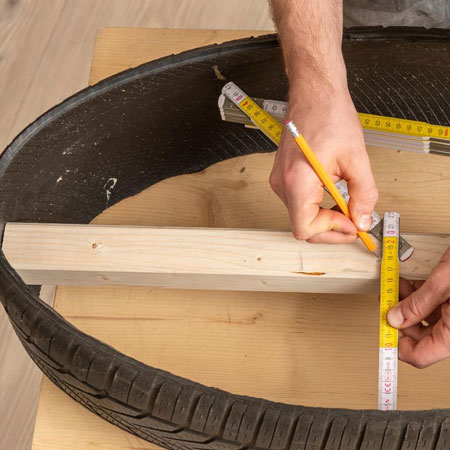
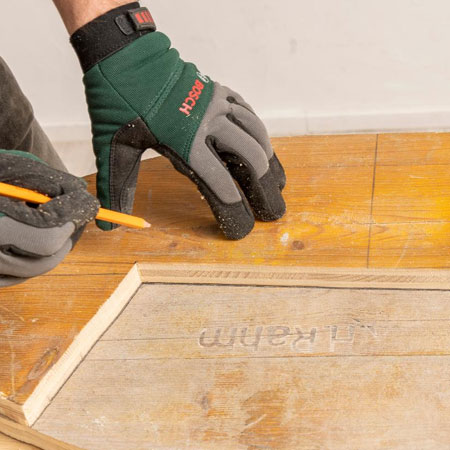
2. In this step, you will measure the tyres in order to mark out the rectangular shape. You will need a ruler, 700mm pine and wooden panel. The tyres will later be attached to the chair but before that, you have to establish the shape of the ellipse for the sides of the chair. Fit the 700mm pine into the tyre to form an oval shape. Measure the height and width of the shape, as shown in the image below.
3. Put the tyre aside and place the wood panel on your worktop. Measure and draw a rectangle shape using the height and width from the previous step. Draw a mark at the centre and inside this shape, you need to mark out an ellipse. This will allow you to cut correct oval shape for the chair sides.
Here is a formula to help you:
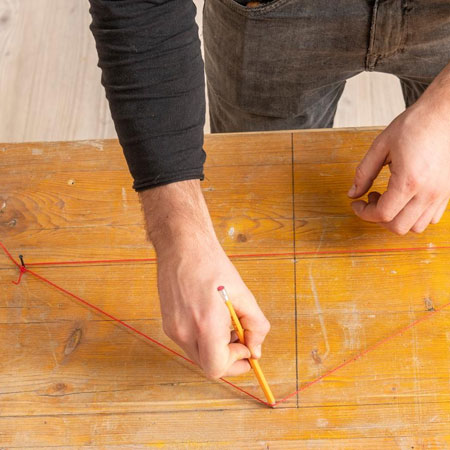
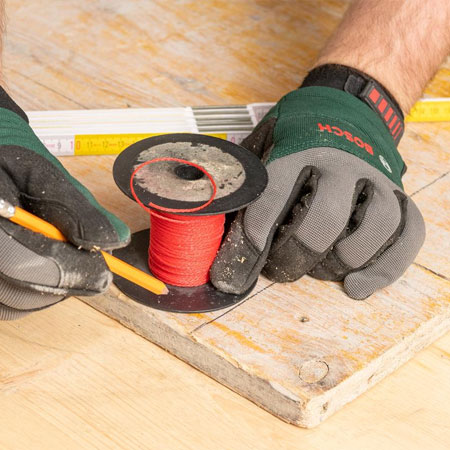
4. Beginning at the centre of the rectangle shape, measure out half of the value of e (346.41 mm using our example) on the long centre line in each direction on the longitudinal axis and mark each point. Hammer in [3] panel pins - two on your markings and one in the centre of the long side of the rectangle. Stretch a piece of yarn around all three nails, as shown in the image above.
5. This is where the magic starts to happen: - remove the panel pin at the top of the centre line and place a sharp pencil within the yarn. With the yarn tensioned you can now draw a line that forms a perfect ellipse
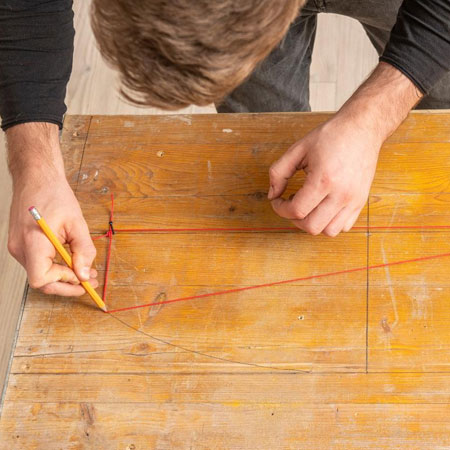
6. You can now cut out [1] ellipse shape and use this as a template to draw and cut out a second ellipse shape, giving you two chair sides.
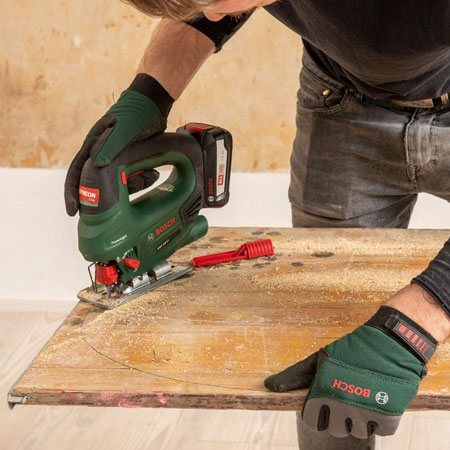
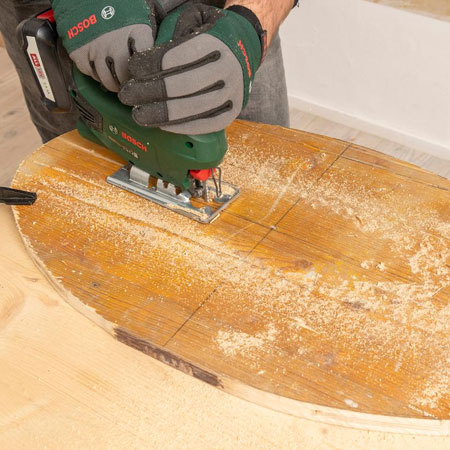
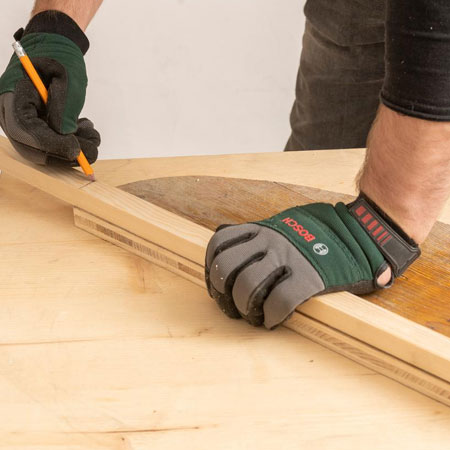
7. Use the jigsaw to also cut out the quarter sections on each ellipse for mounting the seat and back of the chair, as shown below.
8. Every chair needs a backrest and you can cut this from the wood panel. Measure 700 x 500mm and cut out with your jigsaw. Don't forget to allow for the pieces that will rest on the back of the ellipse shape that forms the sides for the chair, see image above. Also, saw out the piece for the chair seat from the remaining wood panel. This also measures 700 x 500mm.
9. Use a circular template to round-off the top corners of the chair back and then cut these off with your jigsaw.
10. Now you can cut out [4] pieces of 32 x 32mm pine to support the chair seat. Measure the length from seat back to end of the side pieces and cut the 32 x 32mm to this length. Also, measure from the chair seat (on the side) to the top of the back on the sides. Cut [2] of each to support the chair back and chair seat.
11. Sand all the pieces before assembly.
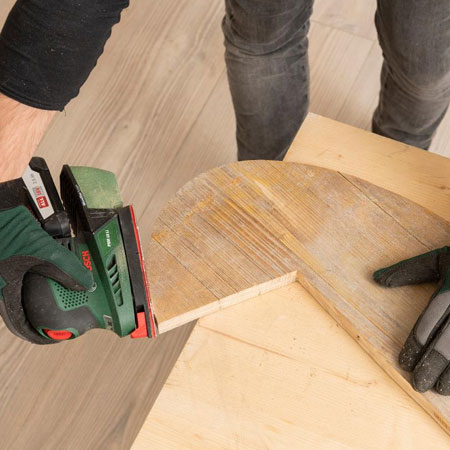
12. Use 40mm screws to secure the back and seat supports to the sides and then apply wood glue to secure the chair back in position, as shown in the image below.
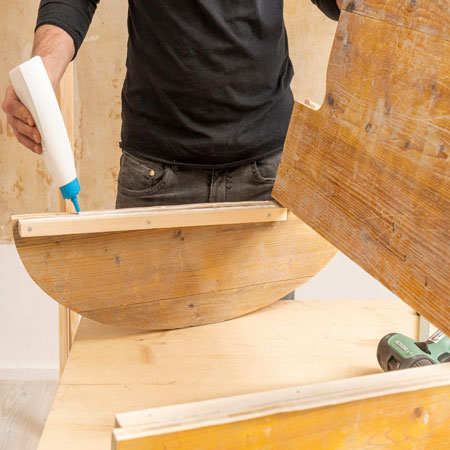
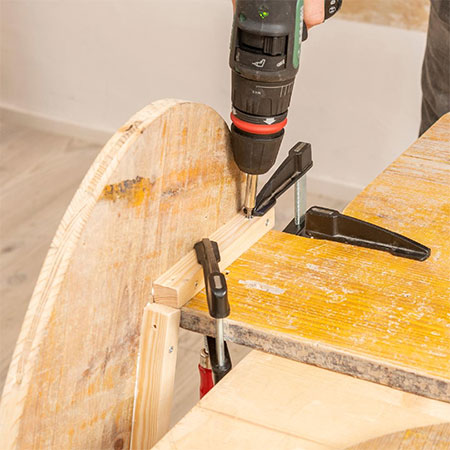
13. Clamp the back in place and secure through the support with 40mm screws into the back. Don't forget to drill countersunk pilot holes to prevent splitting the supports.
14. Repeat steps 12 and 13 to add the chair seat.
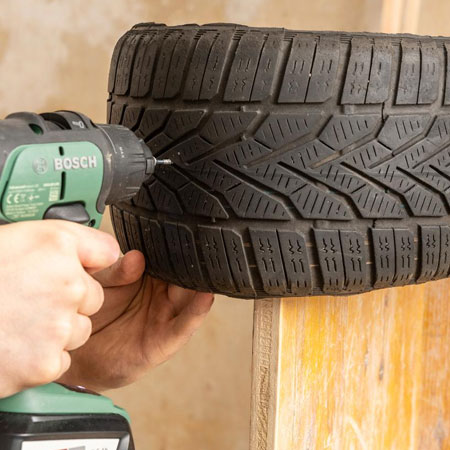
15. To finish off the chair you can fit the tyres over and onto the elliptical sides.
16. Use a few 30mm screws around the tyre to make sure it stays firmly in place.
Now you're done! Add a cushion or two and your recycled tyre rocking chair is complete.
all about diy