
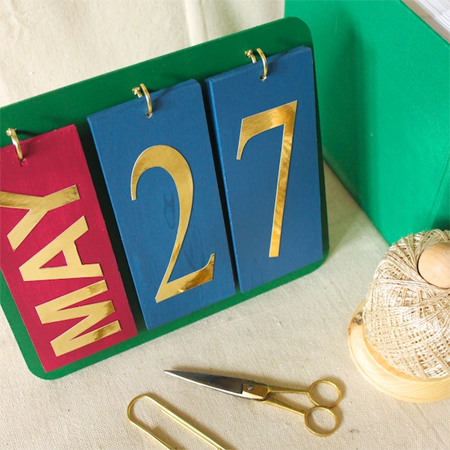
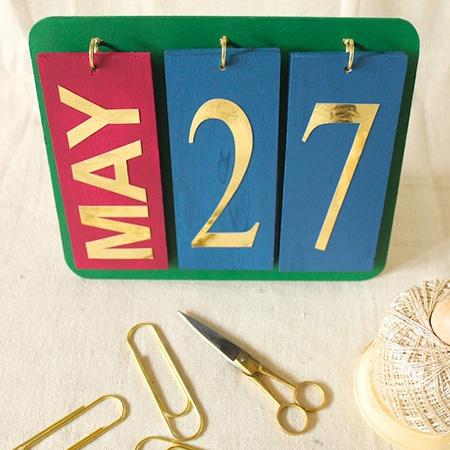
How to make a perpetual calendar
Make a perpetual calendar that you can use year after year. With some MDF offcuts, or substitute with materials you already have, this perpetual calendar won't cost much and will last a lifetime
YOU WILL NEED:
Some 3 or 6mm MDF board or thick card 250 x 300mm for the back
20 blocks 80mm x 210mm for the month and dates
3 cup hooks
Gold card or gold self-adhesive foil
Craft adhesive
Scissors
Craft knife and cutting mat
Acrylic craft paint - 3 colours
Paintbrush
HERE'S HOW:
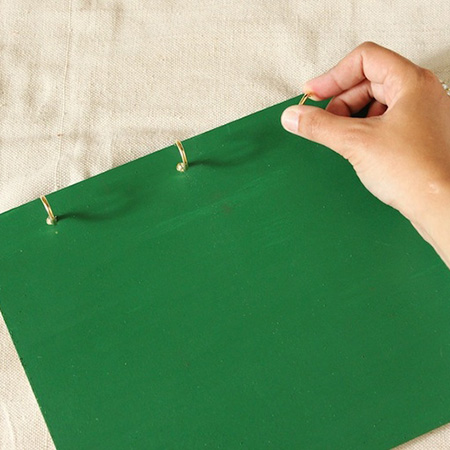
Use thick card, 3 or 6mm MDF to make the back for your perpetual calendar. For this project the back is 300mm L x 250mm H and this is perfect if you want to mount in your home office or in a convenient place. Divide the board into three sections and screw in a cup hook at the top centre of each section.
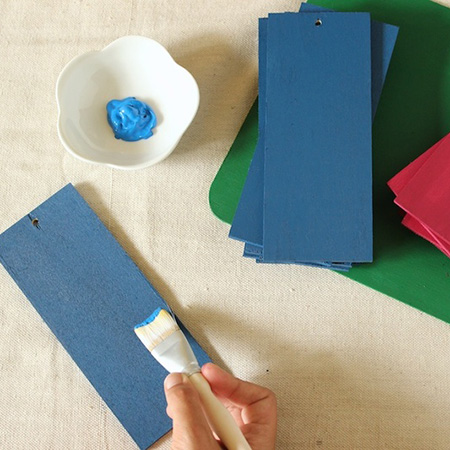
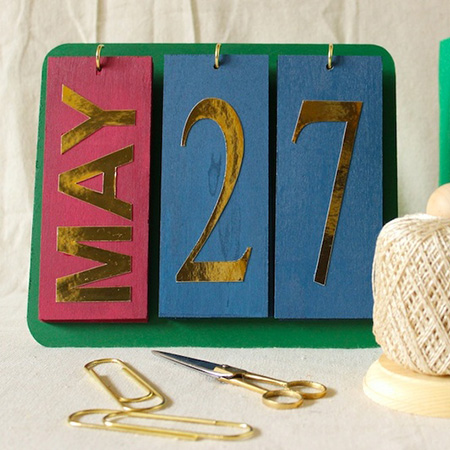
Paint the month and date blocks in different colours. You can use acrylic craft paint in your choice of colours and apply this with a paintbrush.
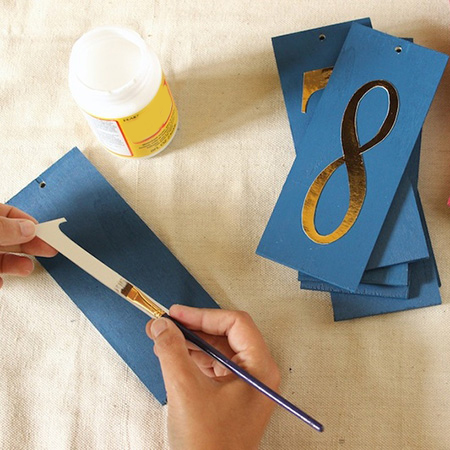
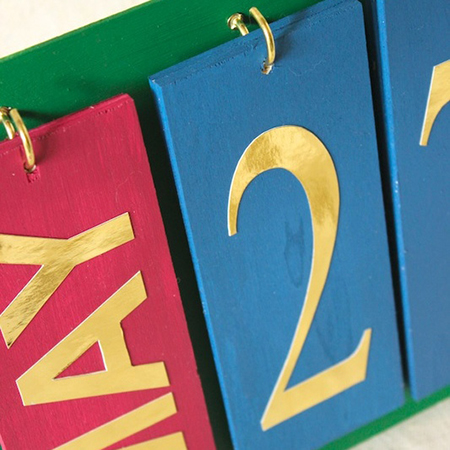
Use your PC and printer to source letters and numbers for your calendar. Try to find a font that will fill up the blocks nicely, or use a program to stretch the font to fit onto the blocks. Print out the design sheets and transfer these onto your gold card or self-adhesive sheets. Use a craft knife and cutting mat, or scissors to cut out the individual letters and numbers. These are then glued onto the blocks with craft adhesive.
Now you are ready to hang the day and date onto the cup hooks and can change every day for the rest of your life!
You can mount the calendar onto the wall by attaching a picture hanger on the back, or use Pattex No More Nails tape.