Upholster a kiddies chair
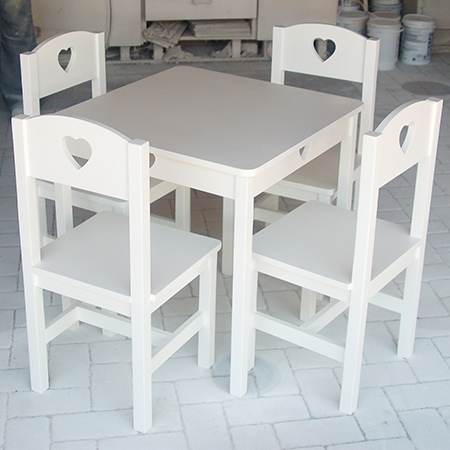
After making the kiddies table and chairs as a project for Home-Dzine, a friend of mine asked me to make one for her daughter's bedroom. She also requested that I upholster the seats and I thought it would be great to share this project with you.

A friend loved the kiddies table and chairs project that we did on Home-Dzine, and asked me to make one for her little girl. The only difference to the original design was that I upholstered the seats for more comfort. You can use the method shown here to upholster almost any solid chair seat.
YOU WILL NEED:
Fabric
Piece of thin foam
Batting
Decorative trim
Bosch Tacker or heavy-duty staple gun
Hot glue gun
Tape measure and scissors
Optional: Vinyl to cover
HERE'S HOW:
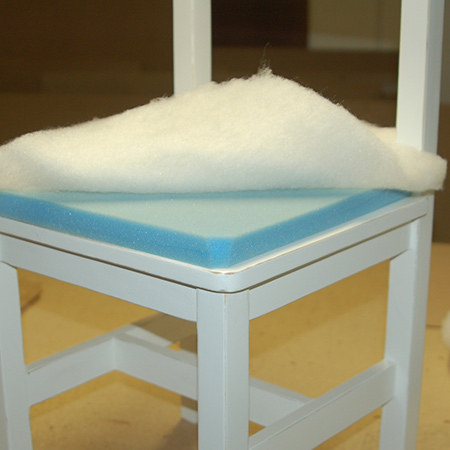
You can buy cut foam squares or have foam cut to size at most larger fabric stores. You can also buy various thicknesses of batting at fabric stores. You only need thin batting for most upholstery projects where you are using foam. The purpose of the batting is to soften the edges and give upholstered pieces a professional finish.
For the small kiddies chairs I cut the foam slightly smaller than the chair seat, and also to fit around the back legs. The batting was cut slightly larger that the seat.

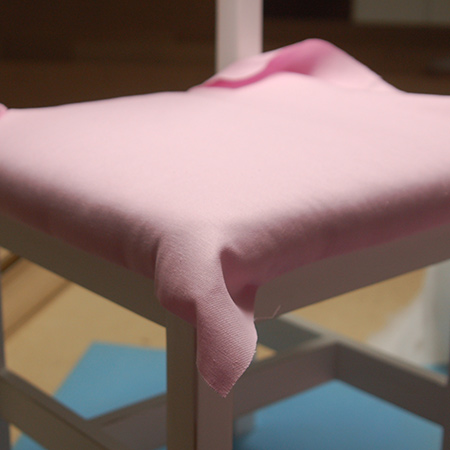
A square piece of fabric about 5cm larger than the chair seat was then cut and place over the top of the foam and batting. You need enough fabric to fold under and secure to the base of the seat.
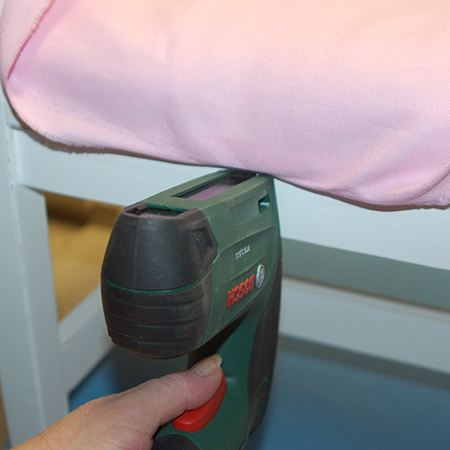
Using a Bosch Tacker is easier than a staple gun and requires less hand strain to operate, so if you budget allows you won't regret investing in one of these for your upholstery projects. Use a Bosch Tacker to quickly and easily fasten different materials such as fabrics, cardboard and fabric.
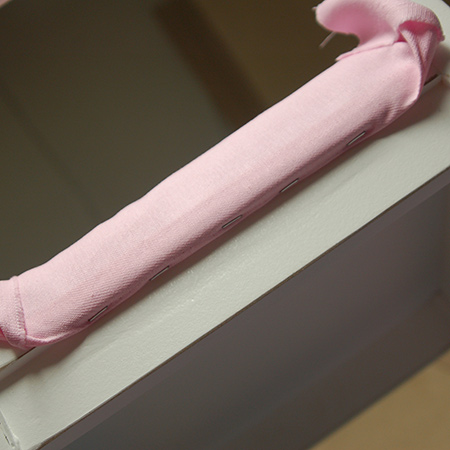
Starting on one side, fold under and staple the fabric from the centre outwards.
Finish one side and then move to the opposite side. Now you fold under and pull taut to secure the fabric to the underside of the seat. Note that the fabric should be taut and not tight. If you pull too tight the fabric will not be nice and smooth.
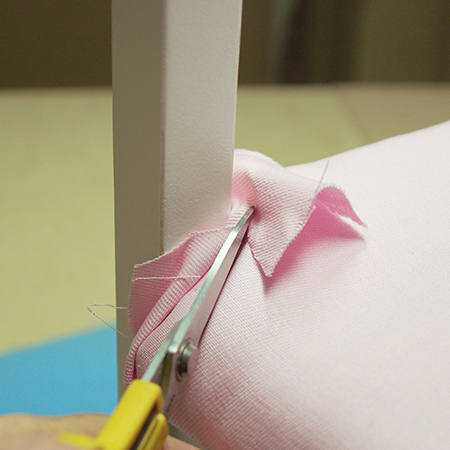
Leave the corners until last, and start with the corners at the front of the seat. Cut off any excess fabric - or bunny ears - to avoid having too much fabric and end up with bulky corners.
This part can be a bit fiddly, so take your time to fold and tuck the corners until you achieve a neat fitting. Fold and staple down the centre and then fold and staple the sides.
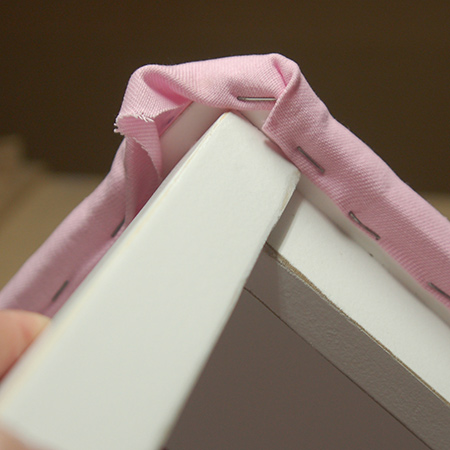
After securing the front corners you can move to the back of the seat. Again, you can trim away excess fabric, but do be careful not to cut away too much. For this project I am adding a layer of vinyl over the fabric, so I cut away excess and folded this down and under the inside of the back legs, stapling the folded edges under the seat.
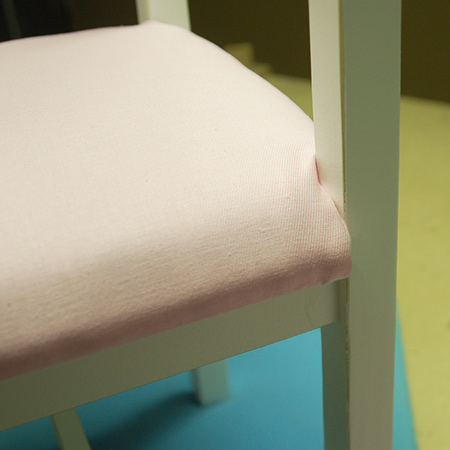
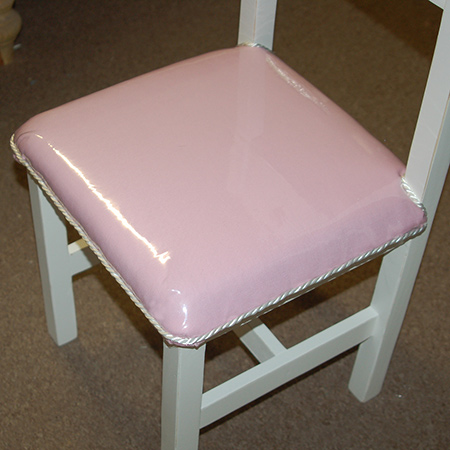
To add the protective vinyl over the seat the vinyl was cut larger than the seat and stapled to the edge (not under) the seat. I am adding a decorative rope trim to cover the staples, but if you don't want to add this you can also staple the vinyl under the seat.
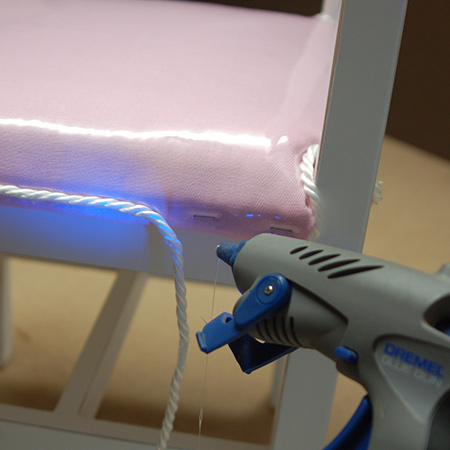
The silky rope is glued around the edge of the seat using a hot glue gun and nicely covers up the staples.