
Transfer an image onto wood... easily!
If you want to transfer an image onto wood, there are quite a few easy ways to do this using supplies you can buy at any Builders store.
24/09/2018
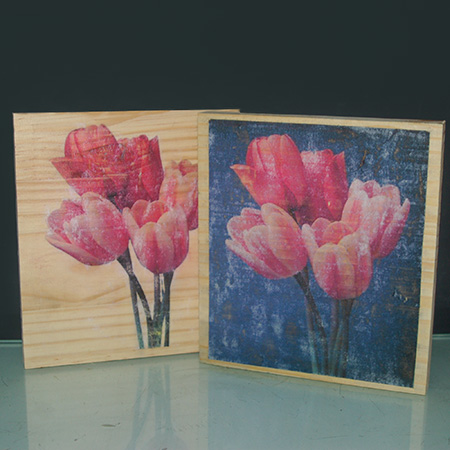
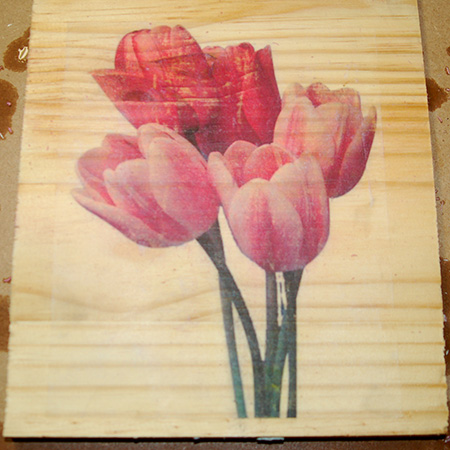
Being able to transfer an image onto wood is a great technique to know if you enjoy making your own furniture and decor projects. You can print out interesting or colour designs on a PC printer and then transfer these onto your project.
To transfer an image onto wood you only really need some clear acrylic sealer, or ModPodge, and it really is quite easy to do. I transferred two similar images - one with a dark background and one with the background removed - onto a piece of pine to show you just how easy it is to transfer any image onto a piece of wood.
YOU WILL NEED:
Clear acrylic sealer or ModPodge
PC printed image on standard white paper
Paintbrush
Plastic scraper - or old credit card
Cloth or sponge and clean water
Clear sealer - I used Rust-Oleum Ultimate Natural Matte Polyurethane
HERE'S HOW:
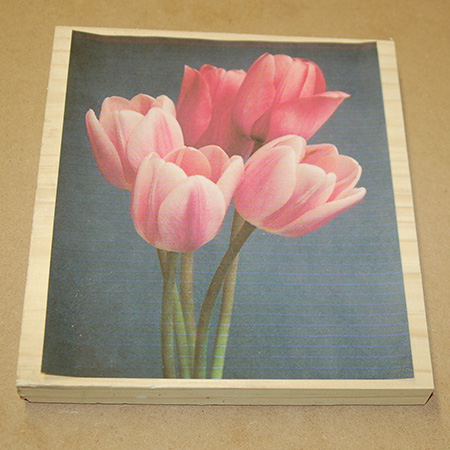
1. Go online to find a suitable image and print this out on your PC printer. If the image has wording, remember to reverse the image so that it comes out the right way on your finished project.
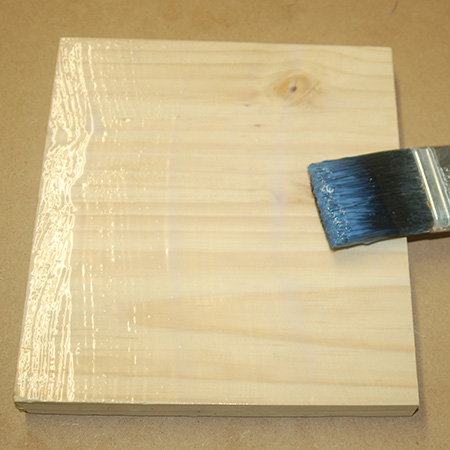
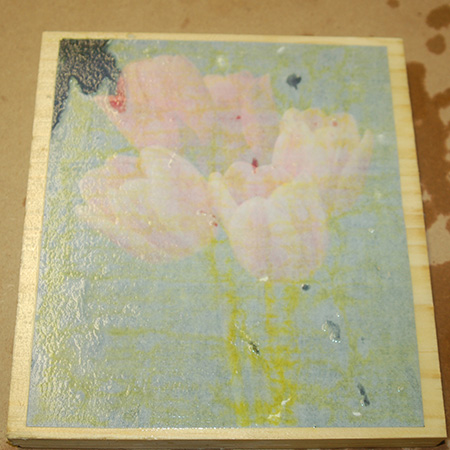
2. Apply a liberal layer of clear acrylic sealer or ModPodge to the area where the image will be transferred.
3. Place your image face down on the sealer and align the edges. Use your hand to gently flatten onto the surface - working from the centre outwards to remove air bubbles.
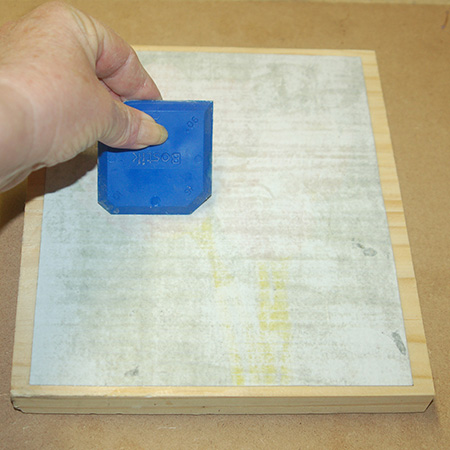
4. Use a plastic scraper to gently work from the centre outwards to remove any wrinkles or trapped air bubbles. Don't press too hard.
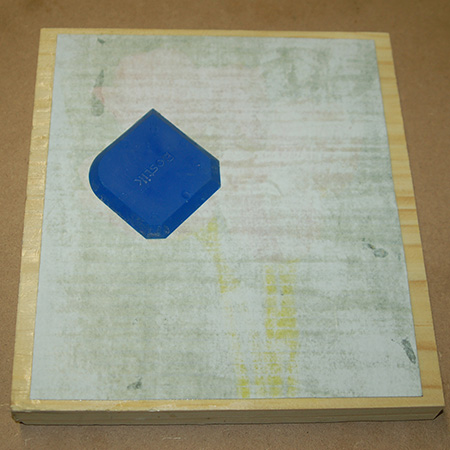
5. Continue to remove wrinkles so that the image will transfer perfectly onto your piece of wood. Leave to dry overnight.
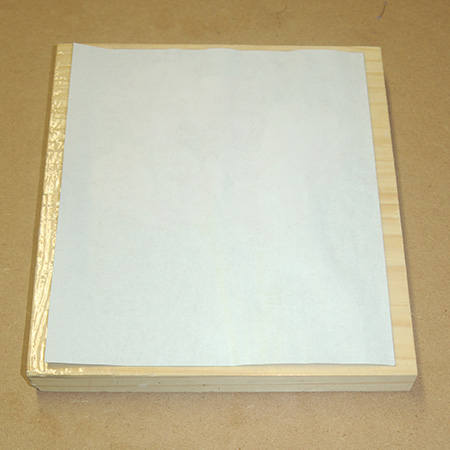
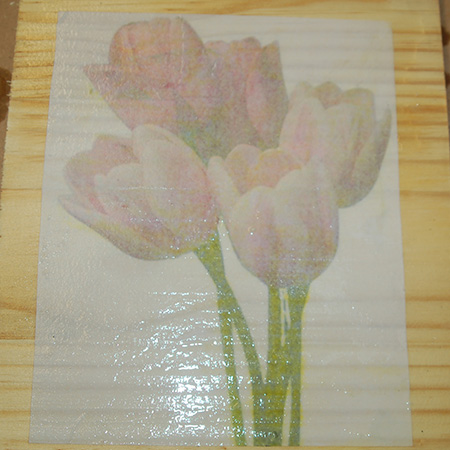
6. Wet the cloth or sponge and liberally flood the surface of the image with water. The idea is to completely wet the back of the image to make it easy to remove.
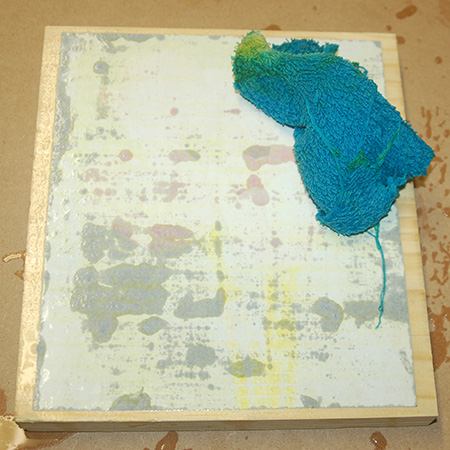
GOOD TO KNOW: Below you can see the wet and dry areas. You can use your finger to spread water over the dry areas to help them become saturated.
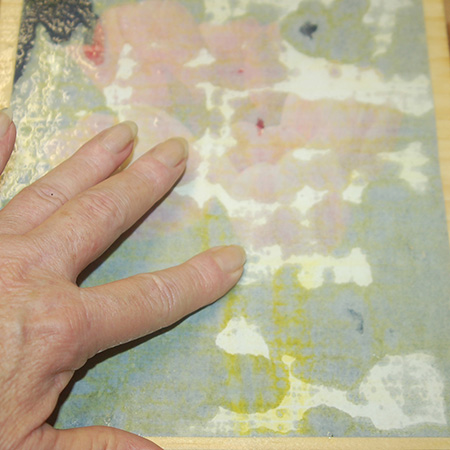
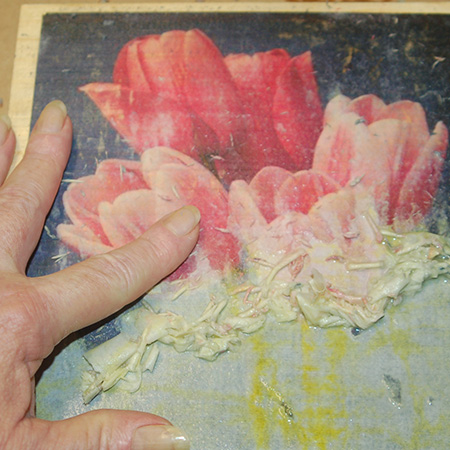
7. Use a finger to gently rub away the paper to reveal the image below. Work from the top downwards to the bottom. Don't rub too hard or you will remove the transferred image. Keep the surface slightly wet as you work.
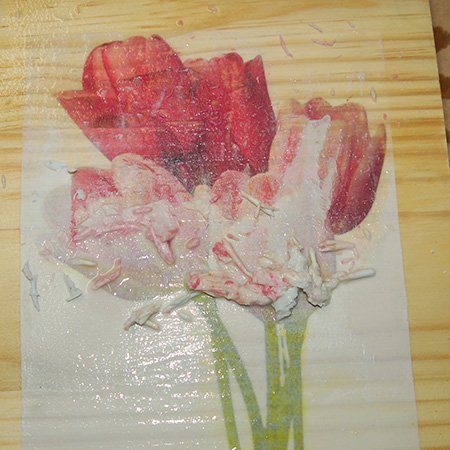

8. Apply sealer or ModPodge over the transferred image to protect and preserve.
