
Recycle a pool floater into hanging plant holder
You know me... I don't like to throw anything away until I have exhausted all my ideas for recycling or re-purposing. This time it's a way to recycle plastic pool chlorine floaters into hanging plant holders.
The idea for recycling plastic pool floaters took quite a while, and I am still looking for a way to turn these into a bird feeder as well. You can use Rust-Oleum 2X Ultra Cover spray paint to paint these in brilliant colours that would add a splash (excuse the pun!) of colour to a winter garden or patio.
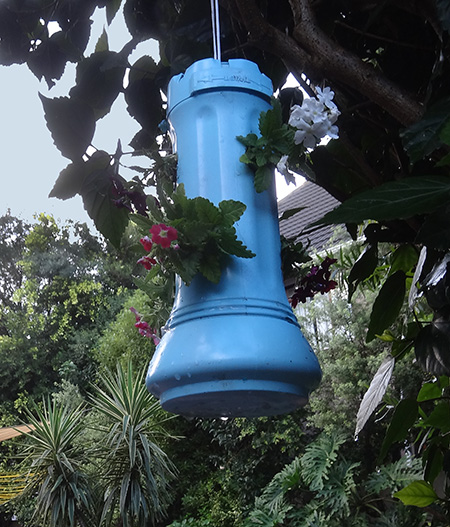
I filled mine with Verbena seedlings in rich jewel tones and this plant will eventually hang down and cascade over the container and into the garden.
YOU WILL NEED:
Plastic pool floater (the HTH ones shown here work the best)
Drill / Driver plus assorted bits
Rust-Oleum 2X Ultra Cover spray paint in your choice of colour
Soil, from the garden
Trays of colourful seedlings
*You will find all the supplies you need for this project at your local Builders stores.
HERE'S HOW:
If there is any way to cut down on the amount of plastic that goes onto our rubbish dumps, I'm all for it. This stuff never degrades and is one of the main pollutants of landfills (and our oceans). Finding ways to re-purpose and recycle plastic in any shape or form - if it cannot be recycled - should be top of the list if you are trying to become more green at home.
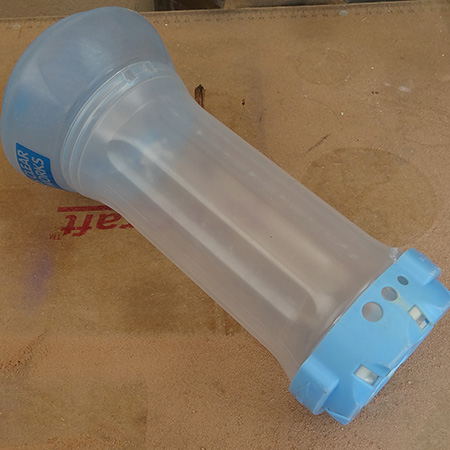
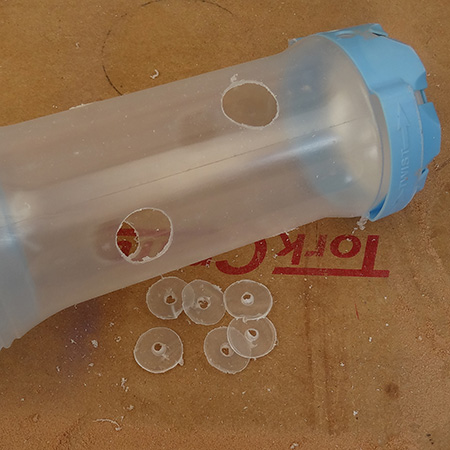
You need to use a pool floater than can have one end removed, albeit with a bit of fiddling around, so that you can fill up with plants and soil.
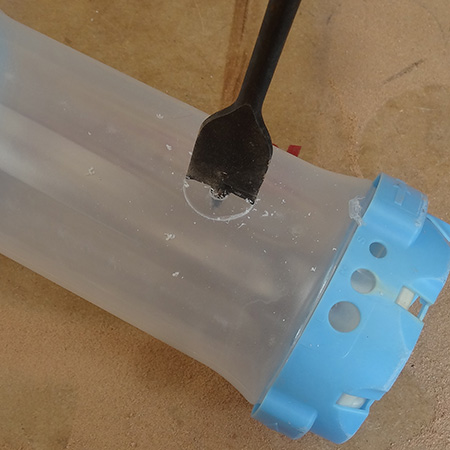
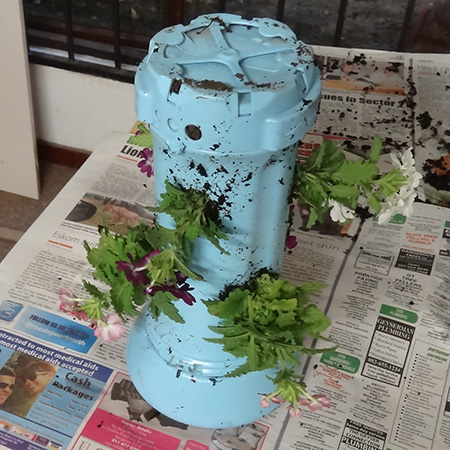
Use a 30mm Tork Craft spade bit to drill alternating holes around the floater from the bottom to the top.
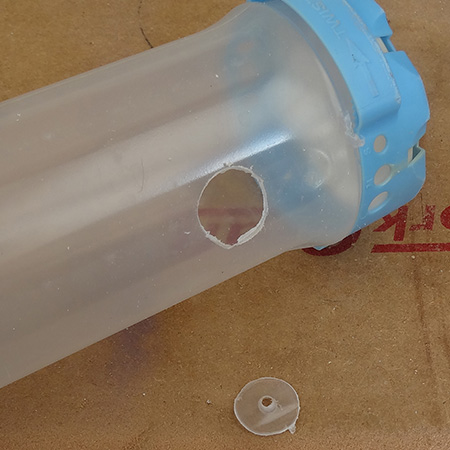
Don't apply too much pressure as you drill, just enough to break the surface of the plastic to cut out a circle.
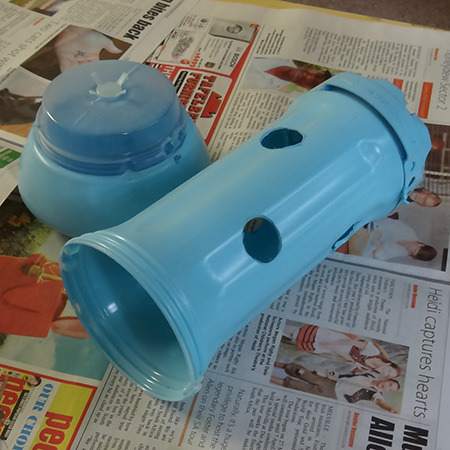
Although not shown here (since I only realised once finished !) you also need to drill a couple of 8 or 10mm holes in the top to allow for watering the hanging container.
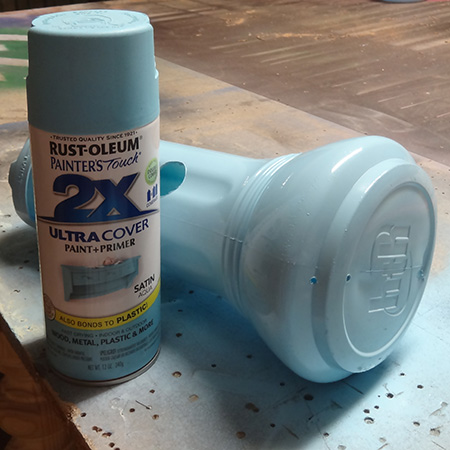
Use Rust-Oleum 2X Ultra Cover spray paint in your choice of colour to spray the entire floater. It shouldn't need more than 2 coats of paint. Visit your local Builders store to see some of the gorgeous colours they have in stock.
Remove the top (or base) from the floater so that you can add plants and soil.
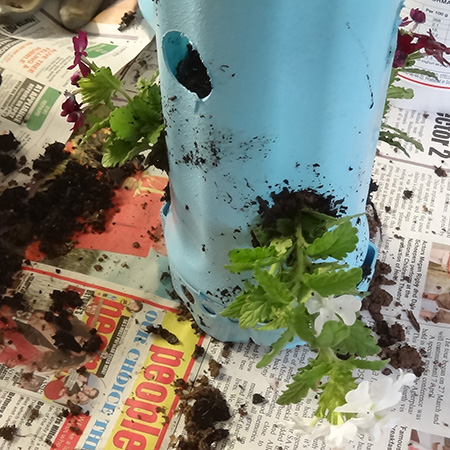
Add soil until level with the first hole and then pop in a seedling. You will need to remove some of the root ball, but that's OK, these babies are tough enough and will soon recover once settled in their new home.
Repeat the process of packing in soil and filling the holes with seedlings into you are done. Pop the base (or top) back on. A gentle rinse under water will remove all the soil on the outside of the floater.
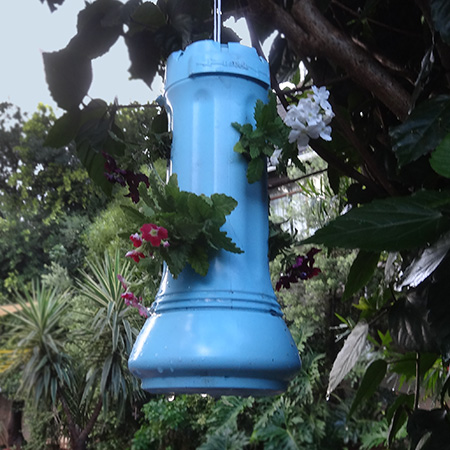
Thread some rope, string or wire through the top to hang wherever you want. Now all that's left is to wait for the plants to grow a bit more!