
Make A Heart Frame For Valentine's Day
This DIY Valentine heart frame is an easy project that you can do and one that will be appreciated by a loved one.
13/02/2021

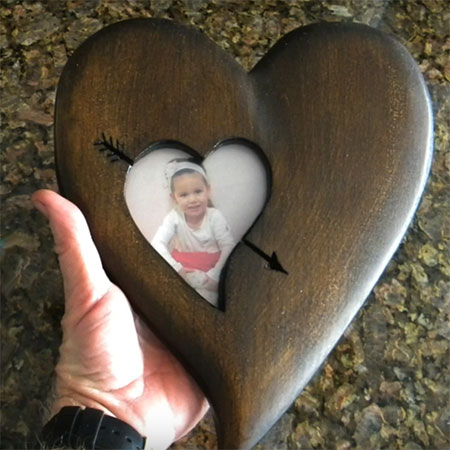
For those looking for an easy DIY gift idea for a loved one, this Valentine's heart frame won't take more than an hour or so and makes a lovely gift. The heart frame is made using a scrap piece of pine, like the one shown here, or any other wood you can get your hands on. You can make it as small or as large as you want, depending on the photo you want to place inside.
If you don't have any scraps at home, pop into your nearest Builders store for a selection of PAR pine and laminated pine shelving that you can use for this project.
YOU WILL NEED:
Scrap piece of pine or other wood
Piece of clear Perspex or acrylic sheet
Marker pen or thick pencil
Scrap piece of cardboard
400-grit sandpaper
Wood stain and wax, or tinted varnish and brush
TOOLS:
Drill/Driver plus assorted bits
Jigsaw
Router, Dremel Trio or Dremel Multitool
OPTIONAL: Dremel Multitool or Scroll Saw
Sander plus 80-, 120- and 240-grit sanding pads
Quick clamps
Tape measure and pencil
HERE'S HOW:
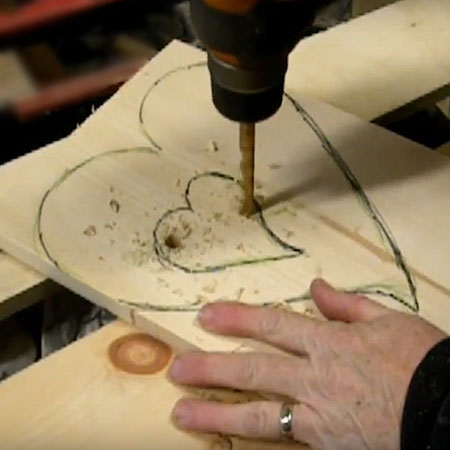
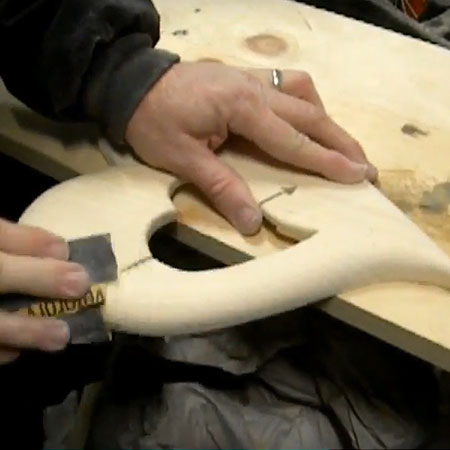
1. Draw out the shape for your heart frame on the scrap piece of wood. Use a 10mm wood bit to drill a hole in the centre heart shape so that you can insert the jigsaw blade to cut out.
2. Clamp the work piece firmly to your work bench with clamps and cut around the outside of the shape. Try to be as neat as possible to cut down on the amount of sanding you need to do later on.
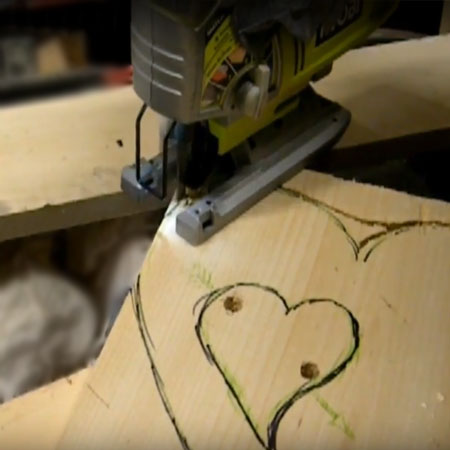
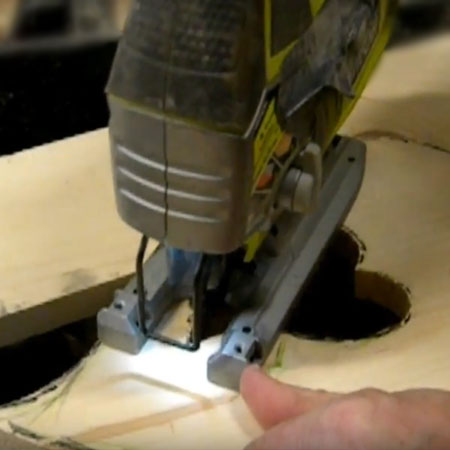
3. Insert the jigsaw blade into one of the drilled holes in the centre and cut out the heart shape.
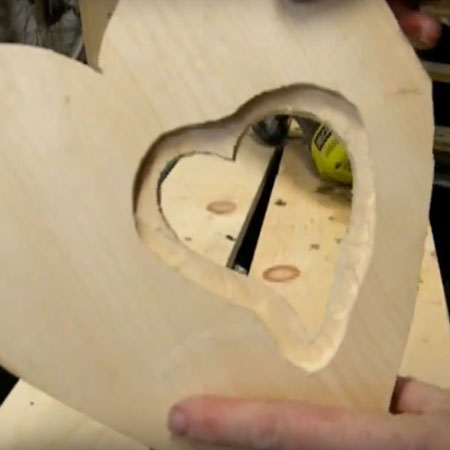
4. Use a router, Dremel Trio or Dremel Multitool and cutting bit to make a rebate at the back around the centre heart shape. This is where your photograph will be mounted.
OPTIONAL: Use a Dremel Multitool and engraving bit or scroll saw to cut out the arrow on both sides of the heart shape in the centre.
5. Starting with an 80-grit sanding pad, remove rough and uneven edges to get the heart shape as perfect as possible. Switch up the 120-grit to smooth the rough sanding and finish off this 240-grit to smooth the finish.
6. This step is optional, but for a silky smooth finish, sand over the piece with 400-grit sandpaper.
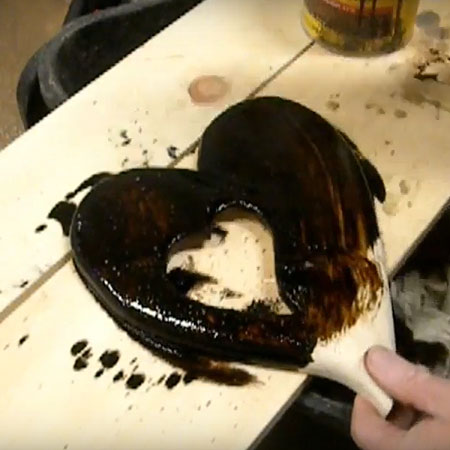
7. Apply your choice of wood stain or tinted varnish. For this project, a dark wood stain was applied before rubbing down with wax for a smooth satin finish.
FINISHING:
Cut a piece of Perspex or acrylic sheet to fit into the rebate cut out at the back, as well as your photograph. Also cut a piece of cardboard to fit snugly into the opening and hold everything in place.
www.diyeasycrafts.com