
How to Decoupage Pretty Easter Eggs
Decoupage is a fun and easy way to add pretty designs to a lot of items, but it's great if you want to create stunning Easter eggs, even at the last minute.
10/04/2020
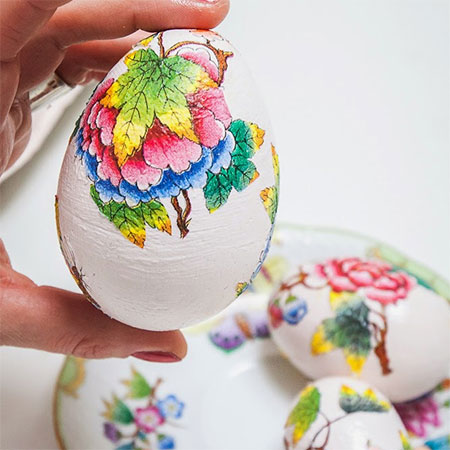
Decoupage is the art of applying pretty designs onto ordinary items and in this article we look at how easy it is to add some very pretty decoupage Easter eggs to your decor this weekend - and the good news is that you can get the kids involved as well.

Most homes have some eggs in the fridge, and it's easy enough to either blow these out or boil them for hardboiled eggs. If the kids are going to be doing this project, hardboiled eggs are the best option as they won't break as easily.
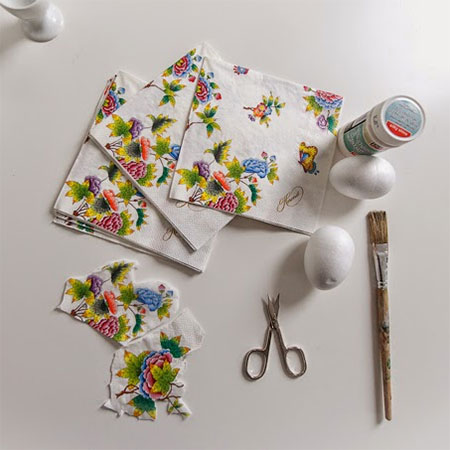
YOU WILL NEED:
Pretty patterned serviettes
Hardboiled or blown-out eggs
Egg carton or tray
White acrylic craft paint
Paintbrushes
ModPodge or clear acrylic sealer
Scissors
HERE'S HOW:
1. Paint your eggs with 2 coats of white acrylic paint. If you don't want to have any brushstrokes on the painted finish, have some 240-grit sandpaper on hand to sand between coats and after the final coat. This will smooth away any brushstrokes or marks.
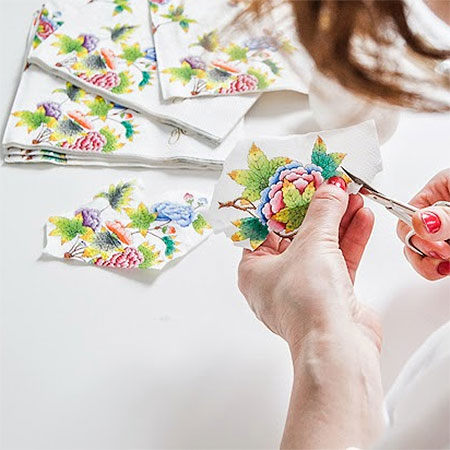
2. Carefully cut out your choice of designs from serviettes. Look for the best images to apply to your eggs.
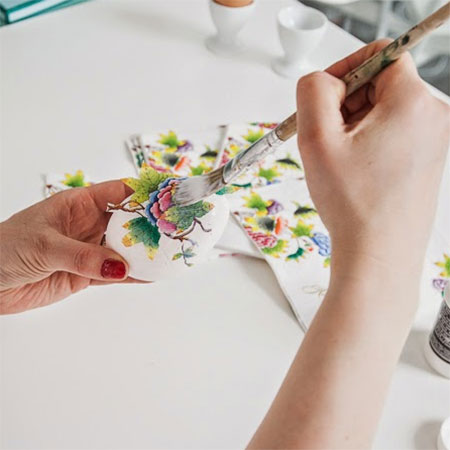
3. Apply ModPodge or clear acrylic sealer where you want the design to be placed on each egg and then very carefully position the cut out design on this area. Lightly press with your fingers to smooth out any air bubbles, but DO only press very lightly. It is so easy to tear the serviette and you want to avoid this.
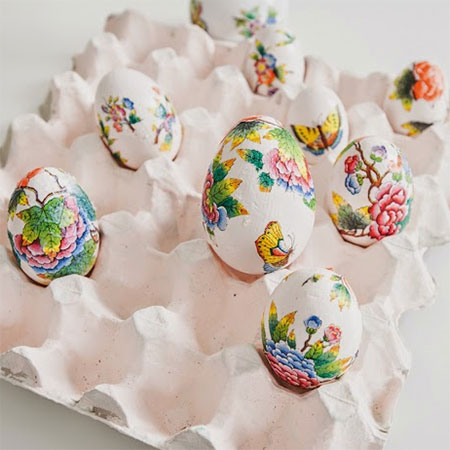
GOOD TO KNOW: Use an egg carton or tray to hold your eggs while the paint or sealer dries between coats.
4. Apply a light coat of ModPodge over the design, lightly pressing to cover the entire area. Let this dry and then apply a few more coats.
http://akicsihaz.hu/