
Cladding a Wall for Decorative Feature
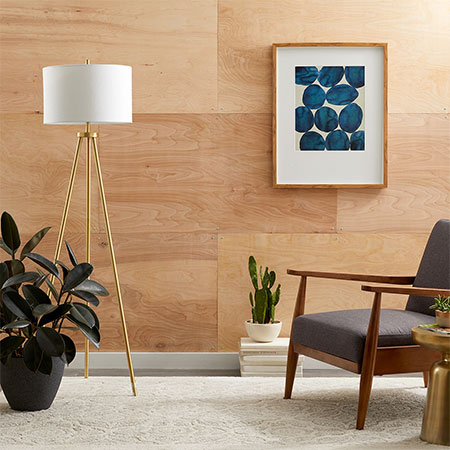
Wood adds a warm element to any room and this decorative plywood-clad feature wall looks great and brings warmth to a room.
19/04/2020
better homes and gardens
Wood furniture or accent pieces are excellent for adding texture and a feeling of warmth to any room, and this plywood-clad wall is an easy and inexpensive way to create a feature wall while making a cool room feel much warmer. You can apply this project to walls in a home decorated in traditional or country styles, and also in a more modern or contemporary setting.
This wall-cladding project is a great way to cover up wall imperfections.
The plywood used is veneered pine, which is not to be confused with shutterply or commercial plywood. While you can use the two latter types of plywood, they are a far inferior product that doesn't offer the same appeal as that provided by veneered plywood. Another reason for choosing to use veneered plywood for wall-cladding is the fact that these boards are straight and flat and you don't have to worry about curved, bowed or warped boards.
To calculate how many plywood panels you will need, measure the total area of the wall and divide this by the number and size of the panels you want to install. You don't have to keep it as basic as our design, you can also create a custom design with basketweave or herringbone patterns.
YOU WILL NEED:
Veneered plywood, 3mm, cut to the size required for your design*
Nylon wall plugs and 35mm or 40mm screws OR construction adhesive
TOOLS:
Drill / Driver plus assorted bits
Fine sanding sponge or orbital sander and 240-grit sandpaper
Spirit level
Tape measure and pencil
* The size of the plywood boards used in this project are 500mm wide x 1 metre long.
HERE'S HOW:
Preparation
Before any work begins, take the time to make sure the panels are nice and smooth. Use a fine sanding sponge or orbital sander and 240-grit sanding pads to lightly sand the surface of the panels to remove any splinters or loose bits of wood.
GOOD TO KNOW: You have a couple of options for installing the plywood boards: An easy option is to use construction adhesive to glue the panels to the wall, or, as in this project, you can secure the panels to the walls with screws. The only downfall of the first option is that the panels are permanently affixed and difficult to remove should the occasion arise. However, this method works best if you want to create detailed patterns with plywood board and also helps to reduce the risk of warping or bowing later on.
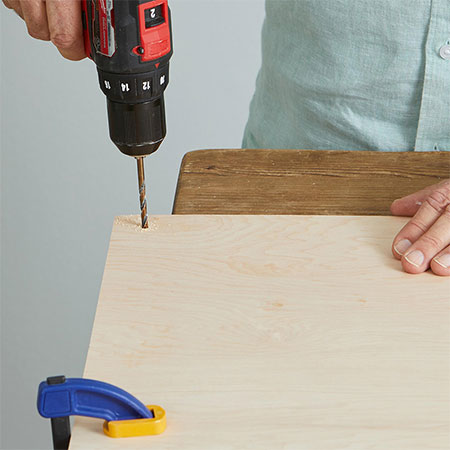
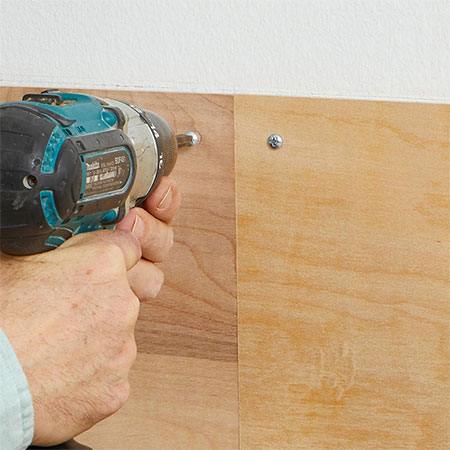
1. In this project, the boards are mounted to the wall with screws and wall plugs. To do this you need to measure and mark to drill 4mm holes in the corners of all the boards.
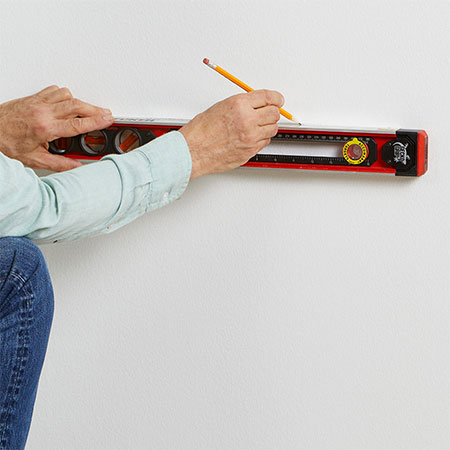
2. To ensure a straight board formation on the wall, use a spirit level and pencil to draw a line where the top edge of the first row of plywood boards will be mounted. If you have skirting boards, use this as a point to measure from, since not all floors are absolutely level.
GOOD TO KNOW: I know from personal experience that walls, floors and ceilings are rarely plumb and what is important when affixing cladding to the wall is to ensure it is installed perfectly level - even if the corners or edge of walls are not.
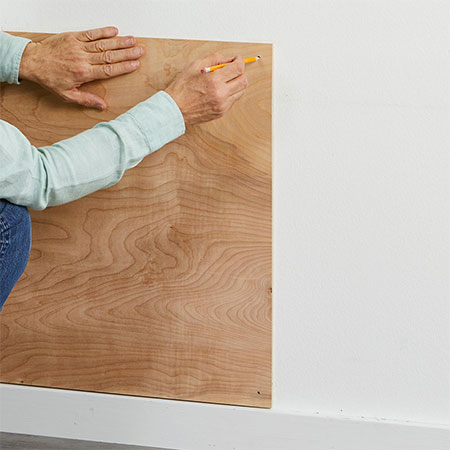
3. You will need someone to assist you with this step. Mark the wall where holes are to be drilled for the wall plugs. Hold the first piece of plywood against the wall to mark where to drill. You will repeat this for every single piece of board.
4. Drill the holes and insert the wall plugs - do this only for the first piece of plywood.

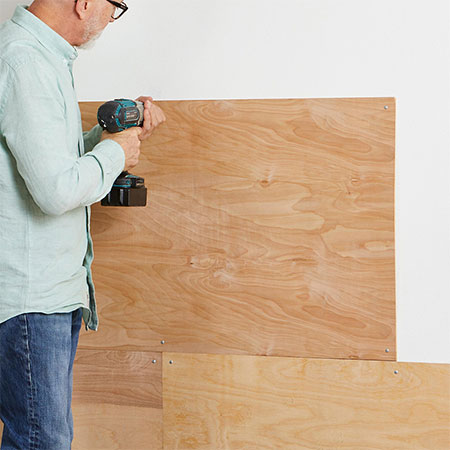
5. Now you can secure the first piece of plywood to the wall and continue to add the remaining pieces in the same way.
GOOD TO KNOW: Make sure that each board is flush against the next board, and continue to check as you finish off the wall.
Finishing
This step is optional, but adding a clear polyurethane sealer over the top of the boards will protect them and provide an easy-to-clean finish. You can choose a matt, satin or gloss sealer for the finish and will find a wide selection of products at your local Builders store.