
Christmas Lantern made with Recycled Plastic Bottle
This Christmas lantern is made by recycling a plastic juice bottle with some added embellishments.
04/12/2018
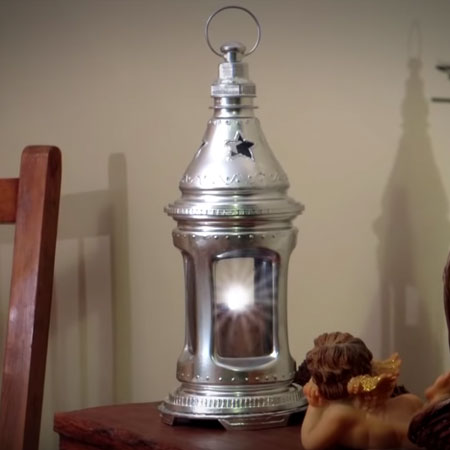
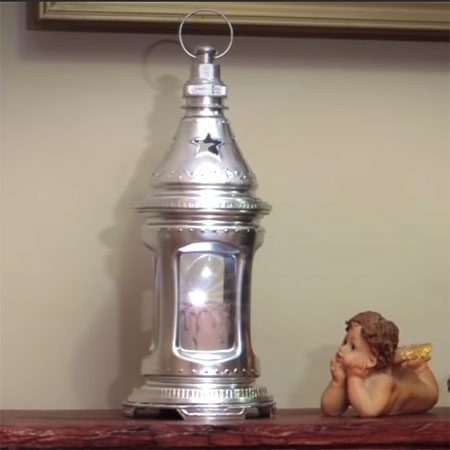
If you're feeling crafty this festive season and love to recycle, this Christmas lantern is made by recycling a plastic juice bottle and a hand wash or shower gel bottle - with some added embellishments.
The finished lantern is sprayed with Rust-Oleum metallic or universal spray paint, and you can choose whether to go with silver, gold, copper or brass, or spray in your choice of colour.
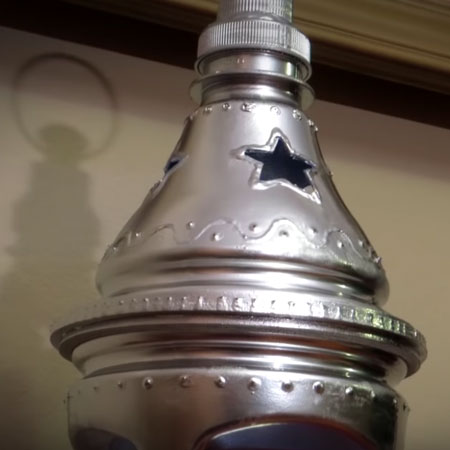
Detail is added to the Christmas lantern with a hot glue and clever use of foam insulating strips. Bet you never thought that something so simple could look so good!
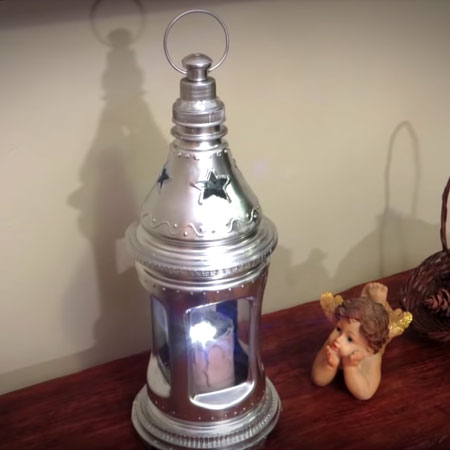
Add festive flair to your holiday decorating with this Christmas lantern and combining recycling and crafts into one fun project.
YOU WILL NEED:
Plastic bottle with lots of detail
Plastic bottle with interesting top (hand wash or shower gel bottles are ideal)
Masking tape
Cardboard
Craft knife and scissors
Hot glue gun
Rust-Oleum Metallic or Universal Metallic spray paint
Toilet roll tube
Small flashlight or battery-operated tea light candle
Small piece of thin wire
Craft paintbrush
Permanent marker
HERE'S HOW:
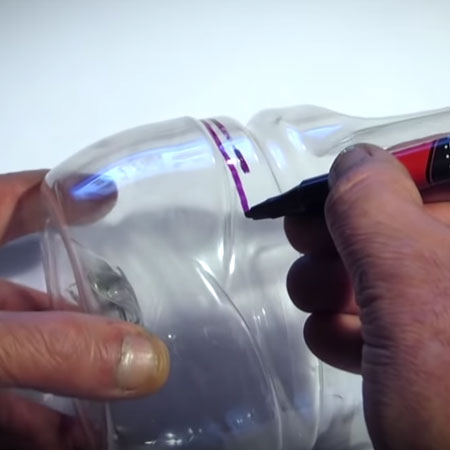
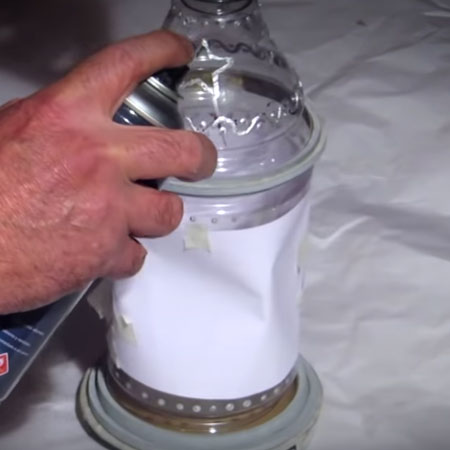
1. Mark and cut off the base of the plastic bottle.
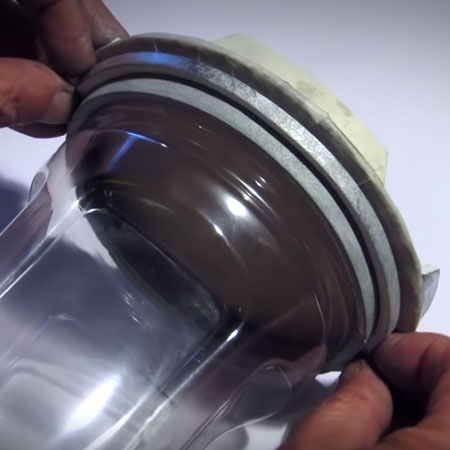
2. Cut a cardboard circle that is slightly larger than the base of the bottle and hot glue this in place.

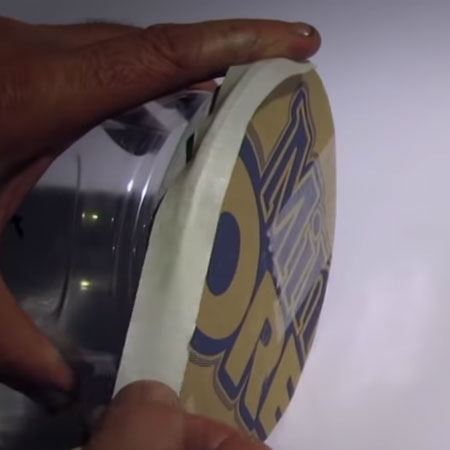
3. Cut a piece of foam insulation to cover up the join between the bottle and cardboard base and wrap around. If the self-adhesive foam strip does not stick on its own, use hot glue to secure in place.
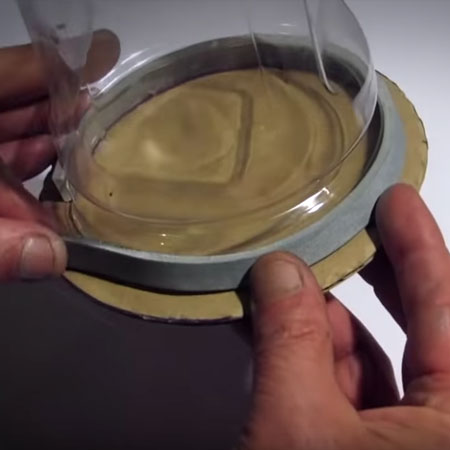
4. Wrap masking tape around the edge of the base and fold over.
5. Cut [4] small pieces of foam insulation, angle the edges and hot glue these onto the underside of the cardboard base. These are the 'feet' for the lantern.
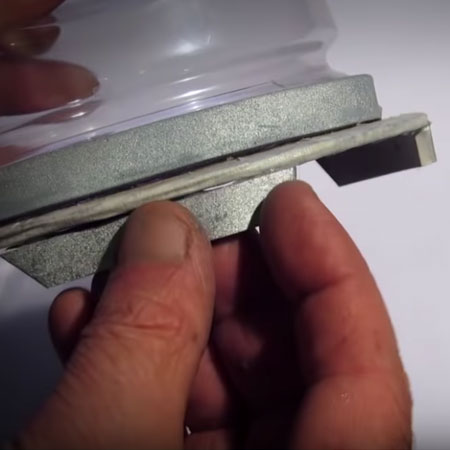
6. Also cut more foam strips to stick around the bottle to add detail - see top images for more information on where to stick these.

7. Continue adding more foam strips to the lantern to build up detail.
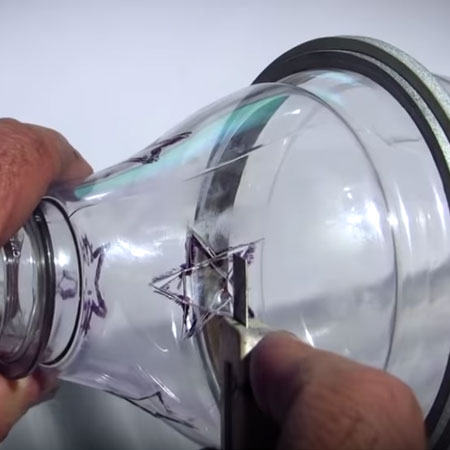
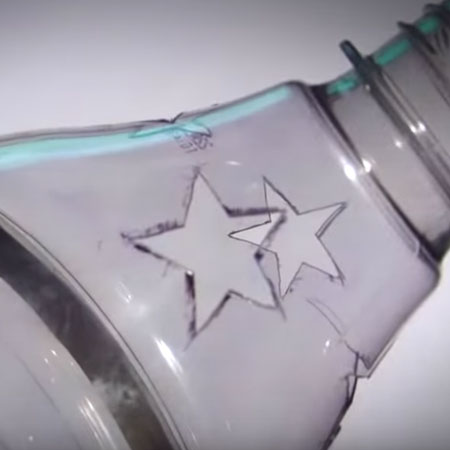
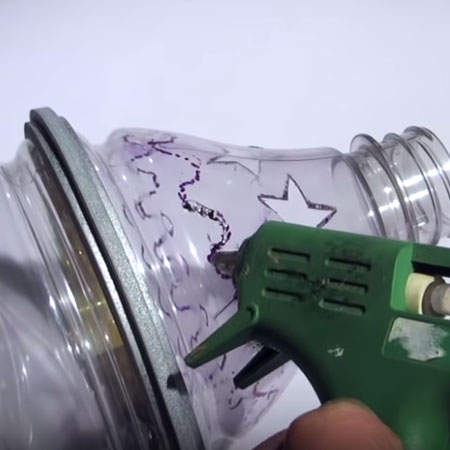
8. Use a permanent marker to draw stars or detailing for the top of the lantern. Cut these out with a craft knife or scissors.
9. Add extra details to the lantern using hot glue. Mark out a design with a permanent marker and then go over this neatly with a hot glue gun.
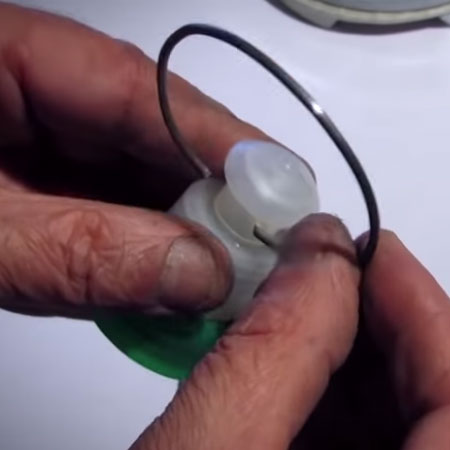
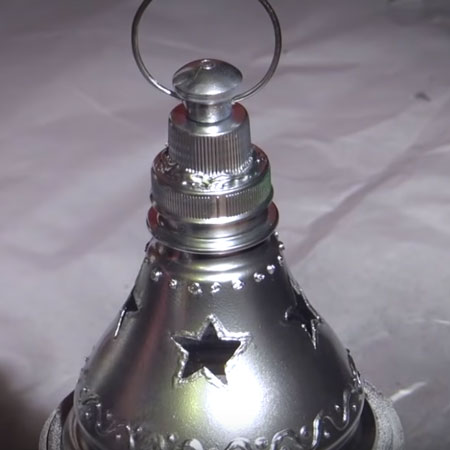
10. Remove the top from a hand wash or shower gel bottle. To fit this onto the top of the lantern, hot glue to the plastic bottle lid so that it can be screwed on top. Cut a small piece of wire and make holes in the top to mount this onto the lantern.
11. Use scrap paper and tape to mask off the 'panes' in the bottle and then spray with light, even coats of metallic spray paint.
GOOD TO KNOW: Only spray light coats to avoid drips and runs. Apply as many coats as required to completely cover the lantern.
12. Spray some spray paint into a container - the can lid works well for this - and apply to the area around the 'panes'.

13. Now you can pop in a battery-operated tea light, or see the video below for instructions on how to make a candle using a cardboard toilet roll tube and a small flashlight.