Visually Enlarge a Small Bedroom with Paint
Discover how easy it is to use paint to make a small bedroom visually larger than it is.
17/04/2022
instagram.com/matheusilt/
White has always been a popular choice for
painting rooms in the home. Not only is white
considered a clean colour, but it also
complements all other colours used in
decorating. White is also known for its
reflective properties and its ability to make
even the smallest room feel open by reflecting
light around the space and visually enlarging a
room.
It is not only white that is great for making
a small room feel bigger than it is, but all
lighter colours have the same effect, but white
is a great choice for children's bedrooms since
it can be painted over when necessary, without
having to worry about having the painted tinted
for a specific colour. White paint is also a
standard colour for paint manufacturers, which
means it is cheaper than paint that is custom
mixed.
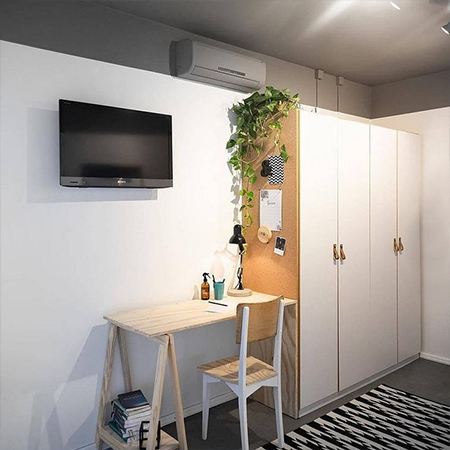
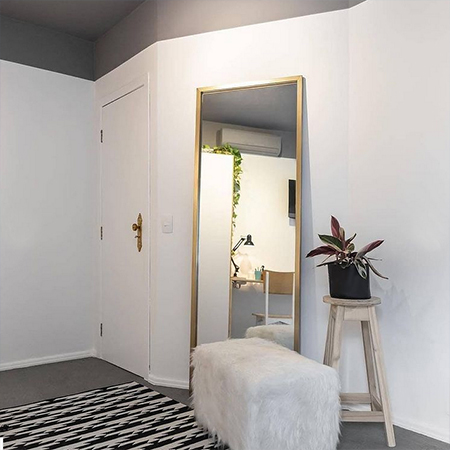
The girl's bedroom shown on this page is typical of many children's bedrooms in the home. It's not large a large room but it isn't too small. However, with a little creativity, any space can be improved upon with the right paint tricks. Parents tend to like painting children's bedrooms with colours and there is nothing wrong with that, but it is far easier to keep walls neutral and bring colours into the room via fabrics, textiles, and accessories. Plus, when the kids want to change the room as they grow up, all you need to do is change the accessories.
Don't just pick
any white paint off the shelf - make sure you
select a brilliant white satin or sheen paint
for the cleanest finish and best reflective
surface. Many other whites contain a hint of
yellow, red, or blue and don't give quite the
same effect.
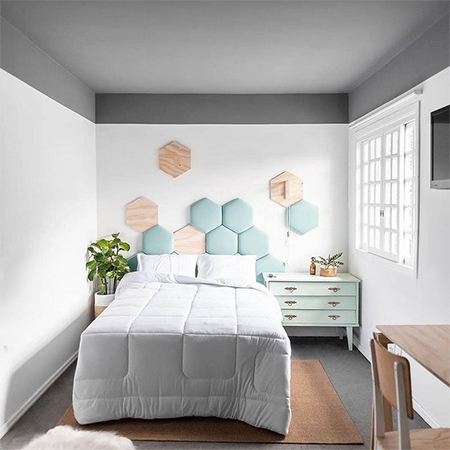
When deciding on accessories for the room, if you have just a few basic tools you can make your own accessories that are custom for the bedroom. The honeycomb shapes for the headboard are super-easy to make and you won't find them in any home store plus, you can choose the fabric and colour that you want to use.
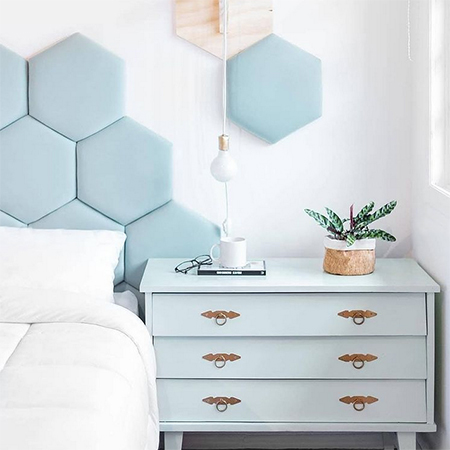
Get The Look:
If you love the honeycomb headboard shown
above, follow the instructions below to make it.
YOU WILL NEED:
Plywood, cut the shapes using a jigsaw
Medium-weight batting
Fabric to finish
Staple gun
Double-sided tape for mounting onto a wall
Spray adhesive
Heavy-duty-stapler
HERE'S HOW:
- Cut out all the shapes required for the headboard design. It is easy to cut these out using a jigsaw. Draw one shape and then use this as a template for all the other shapes that need to be cut. That way, all the shapes will be exactly the same. Lightly sand the cut edges to remove splinters.
- Cut the batting and fabric slightly larger than the cut shapes, large enough to wrap over and be stapled to the back of the fabric. Don't make it too bulky or you will struggle to mount the wrapped shapes on the wall. I like to use my fingers to pull the edges of the batting to make it thinner and less bulky when wrapping to the back. Apply spray adhesive to the shapes, wait 5-minutes and then wrap with batting.
- Place the fabric face down on a clean surface and place the wrapped shape on top of this. Pull the fabric over and fasten to the back with staples, making it as flat as possible. Work slowly as you wrap with fabric to ensure there are no pleats visible on the front or sides.
- Use double-sided tape to secure the shapes on the wall and create the honeycomb design.
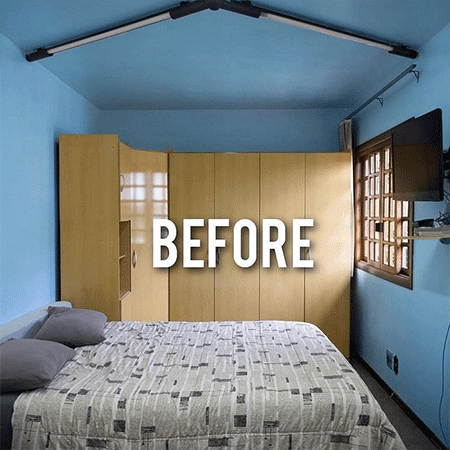
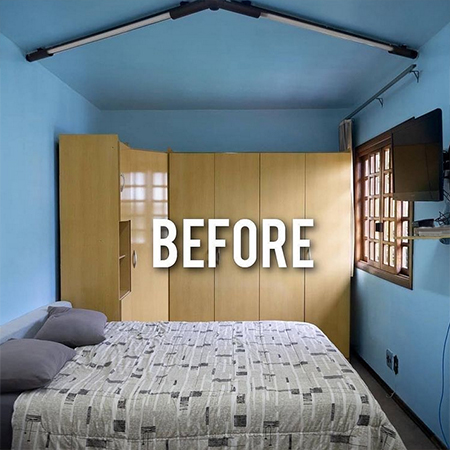
Before and after: Moving and replacing the
wall of built-in cupboards at one end of the
bedroom with a smaller, more modern unit frees
up a lot of space.