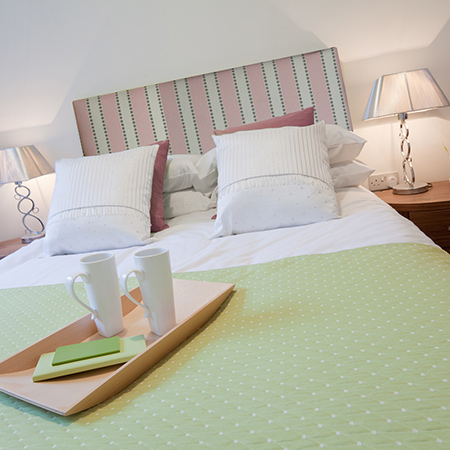
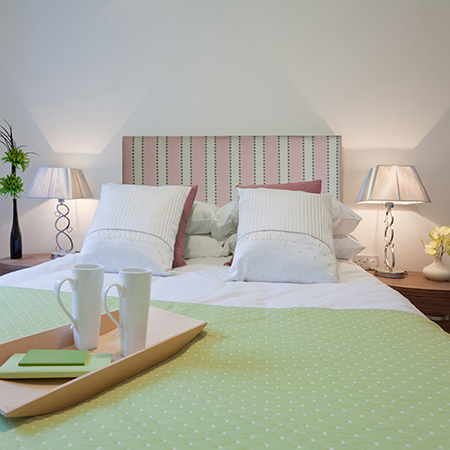
How to Make a Headboard for any size of Bed
Making an upholstered headboard is an easy DIY project that adds a stunning feature to the bed and you can make this headboard for any size of bed.
22/06/2026
To make a headboard for a twin or single bed allow yourself around 2 to 3 hours to make the headboard if you have all the supplies, including upholstery fabric. Before you even start this project, shop around for the perfect complementary fabric to be used to upholster the headboard. The fabric does not need to be upholstery fabric but it should be durable.
YOU WILL NEED:
Chipboard or particle board cut to the required size for your headboard (*see below)
Heavy-weight batting cut to the same size as the board.
Fabric for covering headboard - add 10cm all round for folding over
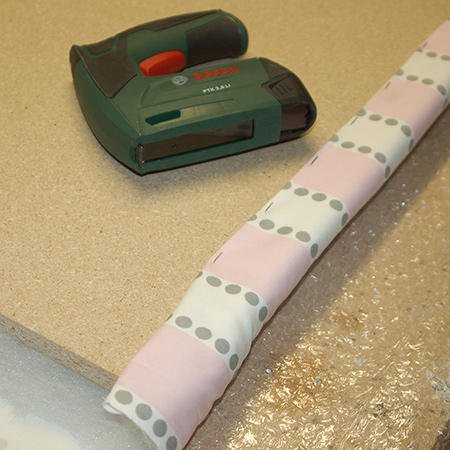
Bosch Tacker or heavy-duty staple gun and staples
Scissors
Tape measure and pencil
Standard Headboard Dimensions:
Allow extra if you want the headboard to be slightly larger than the bed
Single 920mm
Three-quarter 1070mm
Double 1370mm
Queen 1520mm
King 1830mm
HERE'S HOW:
1. Measure the fabric so that it is 10cm on all sides. This is especially important if you are using a fabric that frays easily.
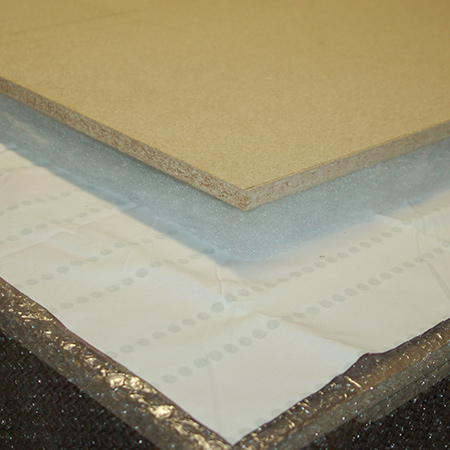
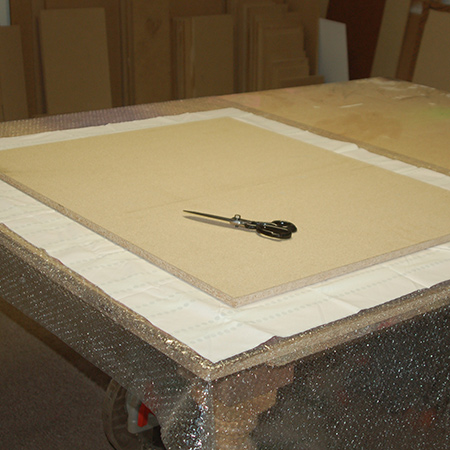
2. Cover your work surface to prevent damaging the fabric. Place the fabric face down, place a double layer of batting on top of this and then put the board on top of this. Make sure that the batting and board are lined up and that both are equally placed on the fabric.
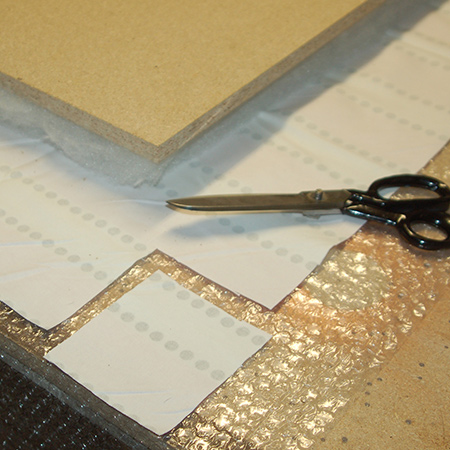
3. Cut out a 5cm x 5cm square at each corner. This will prevent the fabric from being bulky when folding over the corners.
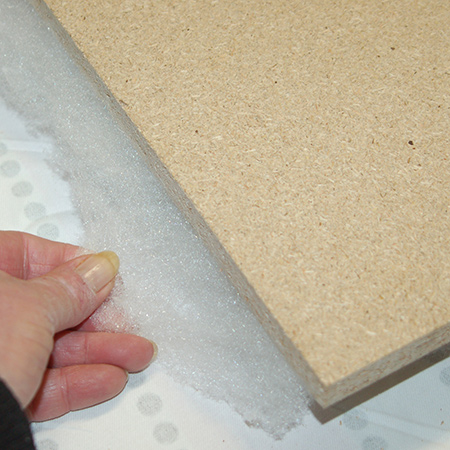
4. Use your fingers to tease the top layer of batting out from the edge all the way around. This will soften the hard edges when wrapping the board with fabric.
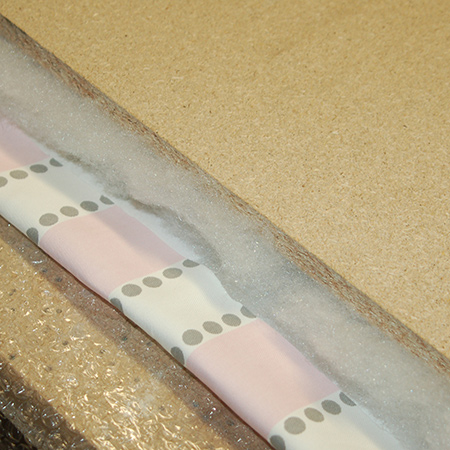
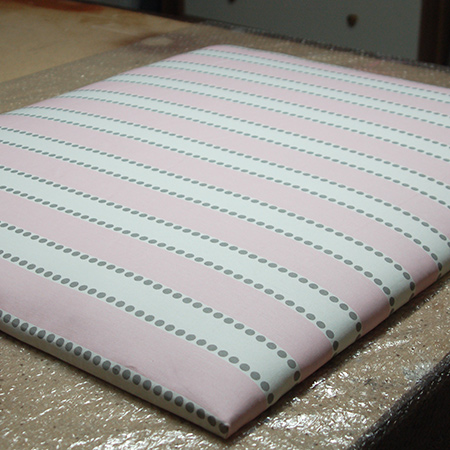
5. Starting on the longest side, fold over the fabric and test to see that it fits nicely over the side and onto the back.
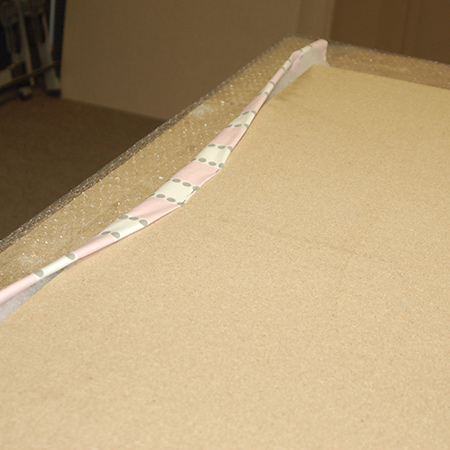
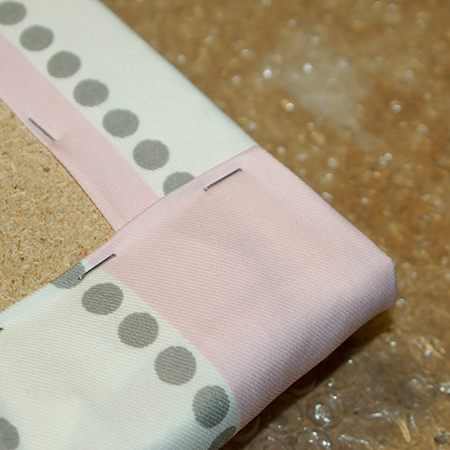
6. Lift and fold the edge of the fabric over the sides and onto the back of the board. Staple twice at the centre. Staple from the centre towards the sides, teasing and folding as you work along.
Leave at least a 10cm gap from each end on all corners so that you can work on the corners later on.
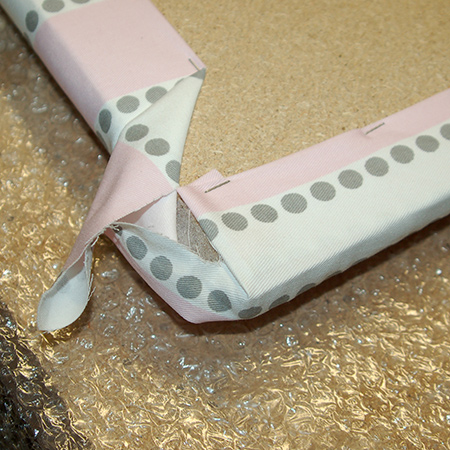
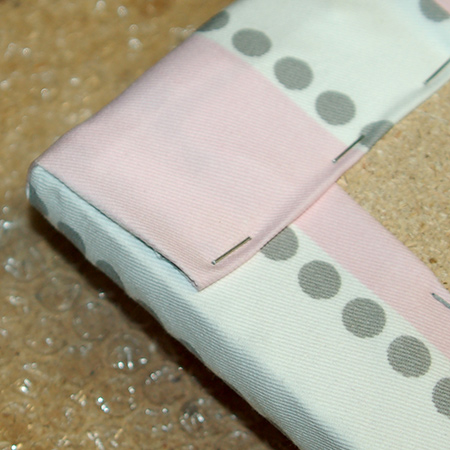
7. At each corner fold and tuck the fabric. When using batting rather than foam, I have found the easiest and neatest method for making perfect corners is to pull the centre over first and the do one and then the other side.
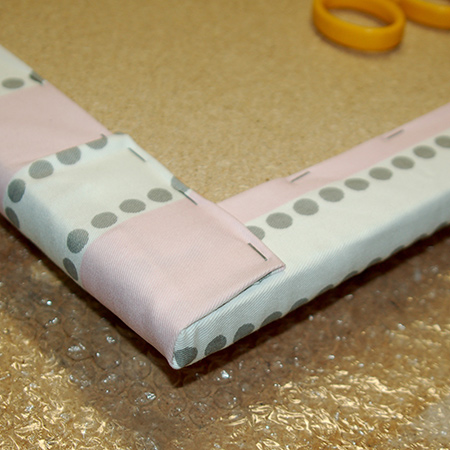
Spend time playing around with the first corner to perfect the method, so that all your corners are neat and square.
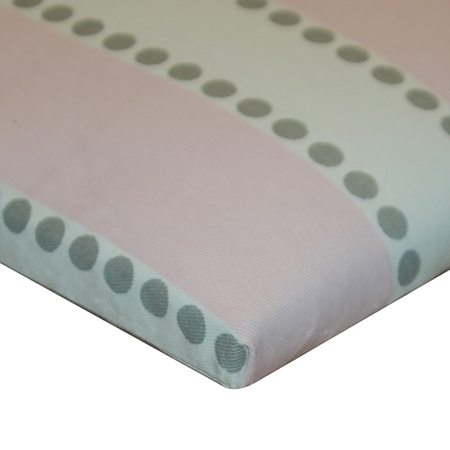
You ideally want perfectly folded and square corners for your headboard. These will be visible once the headboard is mounted, so time spent fiddling around the get it right is not time wasted.
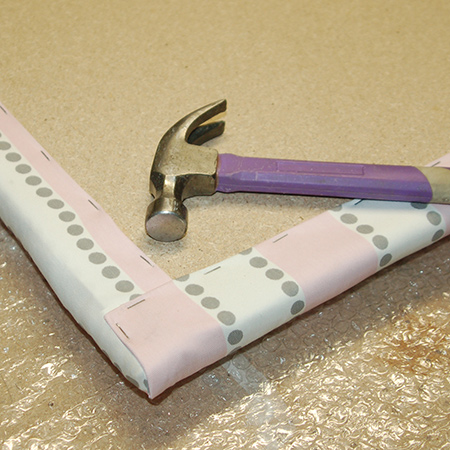
A pair of needle nose pliers and a small flat head screwdriver come in handy when you need to remove a staple.

Sometimes staples need to be given a light tap with a hammer if they don't go in properly.
Mounting your headboard
There are various methods for mounting a headboard.
A. You can add legs to the headboard for a freestanding design, or if you want to screw into an existing base.
B. Use a French cleat to mount the headboard to the wall. Attach two small cleats at the top and bottom at the back of the headboard. In this way you can easily remove the headboard for cleaning or re-upholstery.
C. A simple method is to mount keyhole brackets at the back of the headboard and slip these into screws in the wall. DO use fischer wall plugs for a secure mounting.