
Make Pine Storage Crates for Easy Bedroom Organisation
Children's bedrooms, living rooms or playrooms soon become a minefield of toys without proper organisation, and these pine storage crates are affordable and easy enough to make.
03/10/2021
leroymerlin.fr
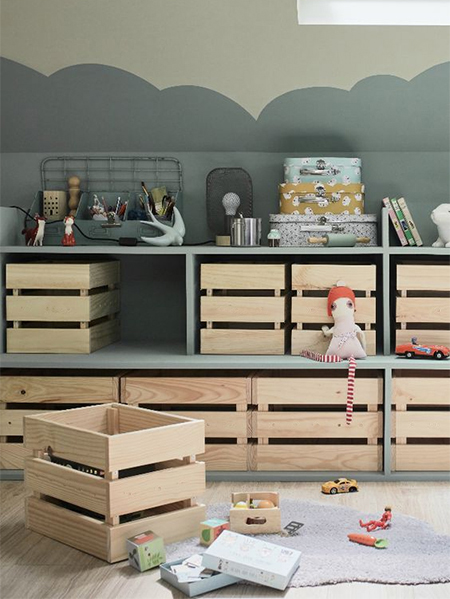
Having an organised bedroom or playroom without toys and games strewn all over the floor makes for a much better play space. It lets you teach your children about being neat and tidy in their habits, which will serve them well when they start school. This affordable storage solution of cubbies and pine storage crates is easy enough to do that you can make up quite a few crates over a free weekend. We haven't included instructions for the cubbies themselves, but they are pretty basic to assembly using either laminated pine shelving, veneered plywood, melawood or supawood.
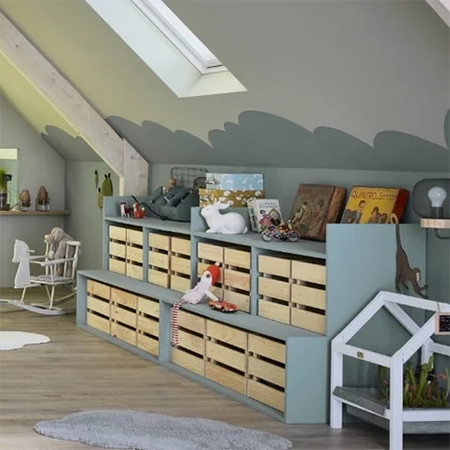
For the storage crates you can use 12mm-thick pine. This is thinner than the usual 19-22mm-thick PAR pine for a much lighter design, which is important if children are going to be moving the pine storage crates around. Alternatively, you can leave out the storage cubbies and add caster wheels to the base of the storage crates and a length of nylon rope at one end so that the kids can move the crates from room to room.
YOU WILL NEED:
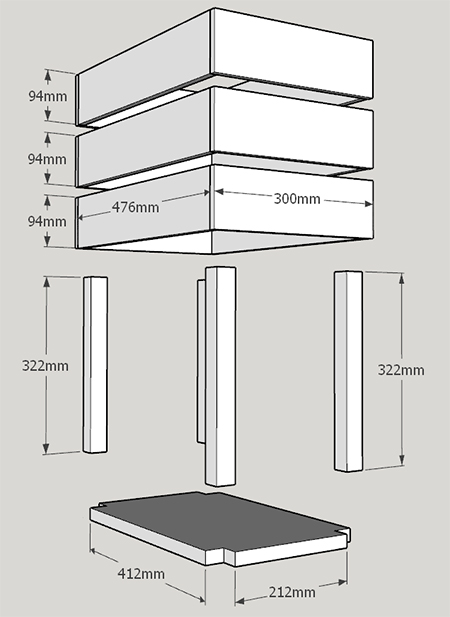
6 of 12 x 94 x 476mm PAR pine - front and back slats
6 of 12 x 94 x 300mm PAR pine - end slats
4 of 32 x 32 x 322mm PAR pine - supports
1 of 412 x 212mm base - use bisonbord, plywood or supawood
Wood glue
120-grit sandpaper
TOOLS:
Air Nailer (pneumatic nail gun) OR Heavy-duty stapler OR hammer and panel pins
Jigsaw
Tape measure and pencil
Safety gear
HERE'S HOW:
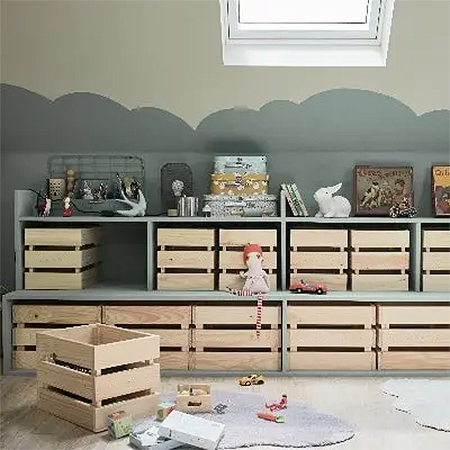
The most practical and easiest way to make these storage crates is using 12mm-thick PAR pine. After making the pine storage crates, you can leave them as is, give them a whitewash, coloured stain or wood stain and then apply a varnish or clear acrylic sealer such as ModPodge. This ensures you can wipe down the crates when they get full of grubby fingerprints.
Preparation
Have all the components cut to size at your local Builders store so that all you need to do is gather the tools and supplies you need to assemble the storage crates.
The only advance preparation you need to do is to cut 32 x 32mm corners in the base to allow for inserting the upright supports.
It is easier to sand all the component before assembly with 120-grit sandpaper to remove any loose splinters or rough edges.
Step 1
Secure the front and back slats to the end slats as shown in the diagram below. Apply a bead of wood glue to the ends of the front and back slats before nailing, stapling or using panel pins to assemble the pieces. If you have corner clamps in your toolbox or tool kit, these are handy for holding the corners firmly in position while you staple or nail the pieces together. Allow a 20mm gap between the slats.
Step 2
Use a jigsaw to cut out squares at each corner that are 32 x 32mm. These will allow the [4] uprights to be glued into position.
Step 3
Insert the base inside to slat frame using wood glue and nails/staples/panel pins around the bottom outside edge to secure firmly in place.
Step 4
Position the uprights, applying wood glue around the base of each upright and place in the cut opening in the base. Also, use staples/nails/panel pins to secure through the outside frame.
leroymerlin.fr