Quick Project: DIY Headboard for Children's Beds
It isn't easy to find a custom headboard for a children's bed, but this DIY headboard is easy and inexpensive to make and can be made in any size with a little modification.
19/03/2022
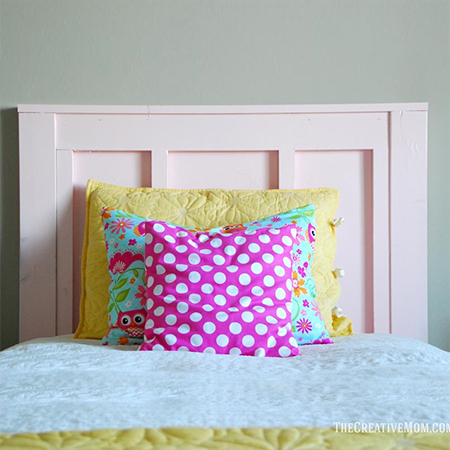
Adding a headboard to a child's bed is not only a good way to keep walls clean and protect from damage but adding a headboard to a child's bed also gives the bed a personal touch and helps to finish off the bedroom. The headboard shown below from buildsomething.com is an easy project that won't take you very long and you can buy all the materials you need at your nearest Builders store and have them all cut to size for quick and easy assembly.
Finding the right headboard for your child's bed isn't easy. There aren't many companies that supply custom headboards so this is definitely a project you are going to have to do yourself. But before you get yourself all worked up, you only need a few basic tools and accessories, and the board can be cut to size so that all you need to do is assemble the headboard.
YOU WILL NEED:
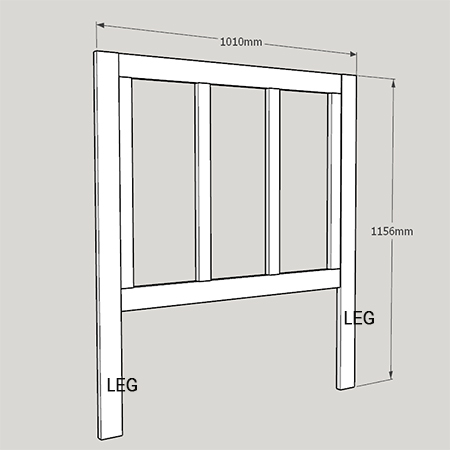
2 of 22 x 69 x 1156mm PAR pine - legs
2 of 22 x 69 x 772mm PAR pine - top and bottom
4 of 22 x 44 x 638mm PAR pine - slats
1 of 22 x 44 x 1010mm PAR pine - ledge
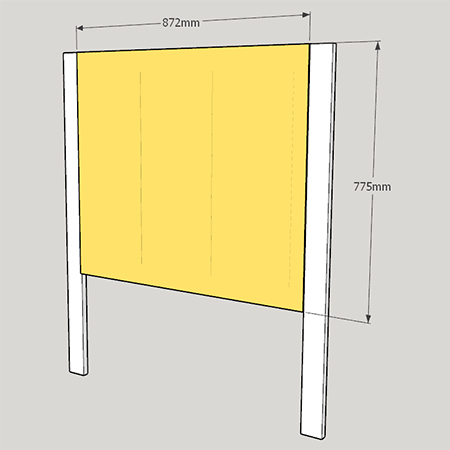
1 of 3 x 872 x 775mm Masonite, hardboard or supawood - backing
Wood glue
32mm coarse thread screws
120-grit sandpaper
TOOLS:
Drill plus assorted bits
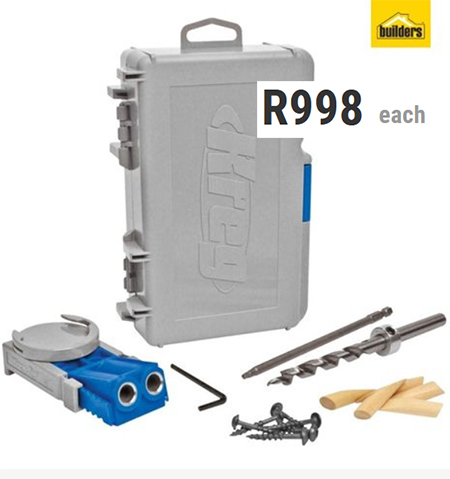
Kreg Pocket Hole Jig
Heavy-duty stapler OR nail gun OR hammer and small panel pins.
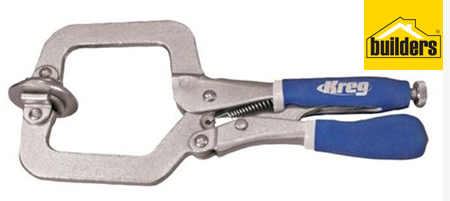
Kreg Clamps
Tape measure and pencil
Safety gear
The Kreg R3 Pocket Hole Jig System is priced perfectly for anyone who wants to get started with pocket hole joinery - and ideal for this headboard project.
HERE'S HOW:
Preparation
Sand all the pieces before assembly. You don't need a sander for this, just use a piece of 120-grit sandpaper and run this along the sharp edges to round them off slightly. This will make the headboard child-friendly.
Step 1
Set up the Kreg pocket hole jig for 22mm-thick material. Drill [2] pocket holes at both ends of the top and bottom pieces. Also, drill [2] pocket holes at both ends of all the slats.
Step 2
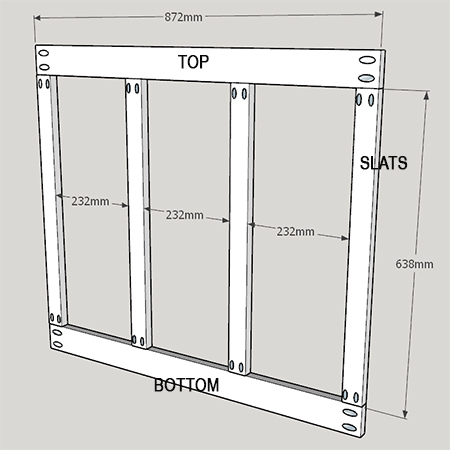
Use wood glue and pocket hole screws to join the slats onto the top and then the bottom, as shown in the diagram below. Use a damp cloth to wipe away any excess glue before you continue to the next step.
Tip 1: Using a Kreg Clamp to hold the pieces firmly in place and flush along the edges will ensure you have perfectly aligned sections and eliminate any heavy sanding.
Step 3
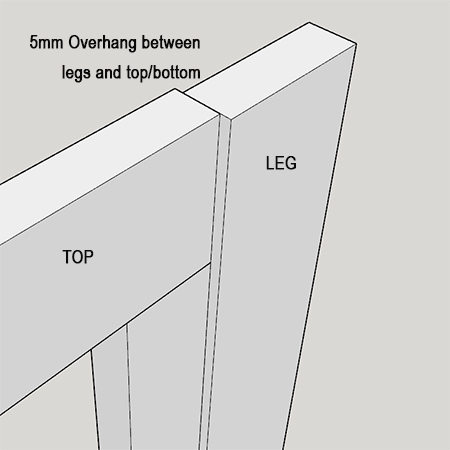
Now you can add the legs to the completed centre section. Use a 5mm-thick spacer to raise the legs when joining these onto the centre frame. This will give the headboard a bit more dimension once finished. Use wood glue and screws to secure the legs in position.
Step 4
Position the backing board equally over the centre frame and secure this in place with a heavy-duty stapler OR nail gun OR hammer and small panel pins.
Step 5
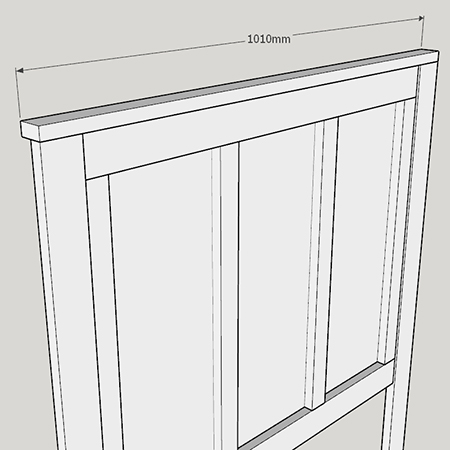
To complete the headboard, secure the ledge on top of the frame using wood glue and leave overnight to dry.
Finishing
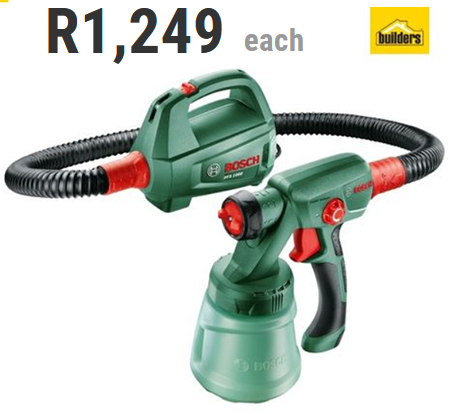
The easiest and most efficient way to paint the headboard is using a paint spraying system such as a Bosch PFS 1000 or PFS 2000, both models available at Builders stores. Paint with washable acrylic paint.
If you don't think it is worth investing in a spray system, use a paintbrush and foam roller combination.