How to make an upholstered headboard
I love making upholstered headboard and have made quite a few upholstered headboards in different shapes and styles, and upholstered in different fabrics.
I love making upholstered headboard. Having made quite a few upholstered headboards in different shapes and styles, and upholstered in different fabrics, I have realised that this is a good business opportunity for anyone wanting to change careers. There aren't many companies that make custom upholstered headboards...
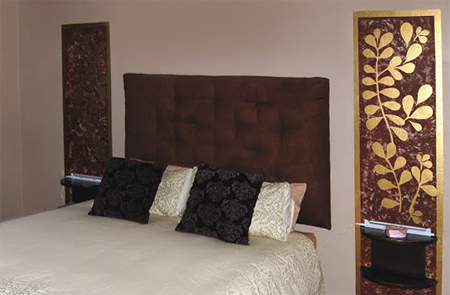
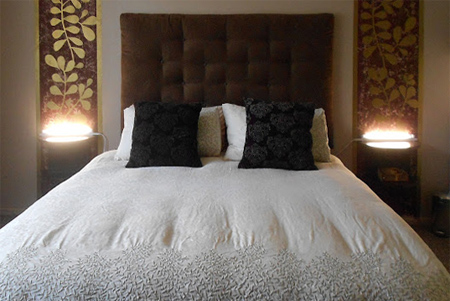
This upholstered headboard is one that I made for Easy DIY magazine and is now mounted on the wall above my bed. It probably won't be there long, I'm sure I will soon see another headboard I prefer...! It is so easy to make an upholstered headboard. After your first one you will be itching to make another.
YOU WILL NEED:
BisonBord cut to the required size - see below*
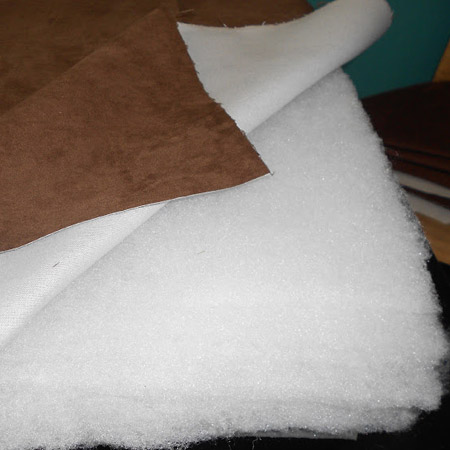
Thin foam - cut to size
Medium-weight batting
Fabric for covering headboard - add 200mm to width and height for folding over
Staple gun and staples
Scissors
*Headboard sizes:
Single 950mm wide
Three-quarter 1100mm wide
Double 1400mm wide
Queen 1550mm wide
King 1850mm wide
HERE'S HOW:
Step 1
Place your cut bisonbord where you can easily work around it. I normally work on my dining table, which needs some work, so if you do use a table be sure to put down a tablecloth or protection to avoid scratching the finish.
Step 2
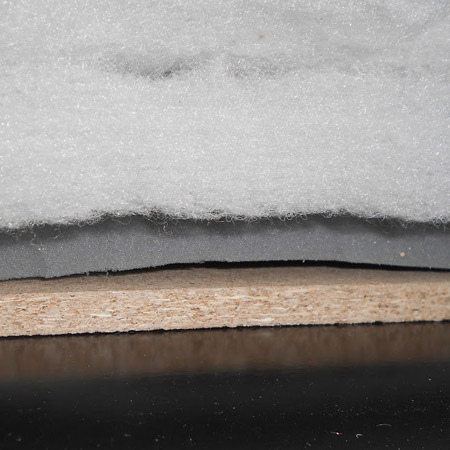
The fabric needs to be 20cm bigger than the size of the headboard. This extra fabric allows for folding over to the back and a small fold-under hem. Place the fabric face down on your table and then add batting, foam and plywood over the top.

Step 3
Starting at the bottom, tease the batting so that it covers the sharp edge of the board and then lift and fold the edge of the fabric under. Staple twice at the centre. Staple from the centre towards the sides, teasing and folding as you work along. Leave at least a 10cm gap from each ends so that you can work on the corners later on.
Step 4
Move around the table to the opposite side and repeat the process. DO NOT pull the fabric too tight, only pull enough to make sure there are no creases or folds.
Step 5
Repeat steps 3 and 4 for the sides, again stopping at least 10cm before the corner.
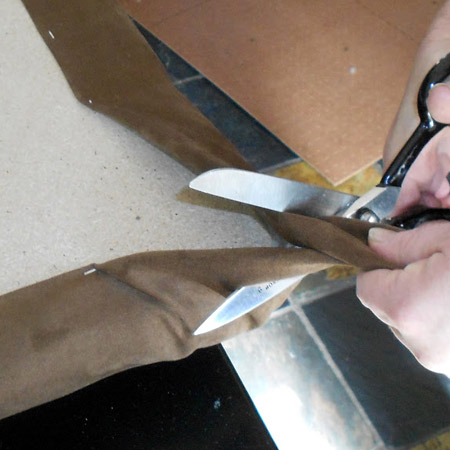
Step 6
Cut off the 'bunny ears' at each corner. Start with a small amount and if the fabric is still too bulky to make a nice, neat corner, cut off more.
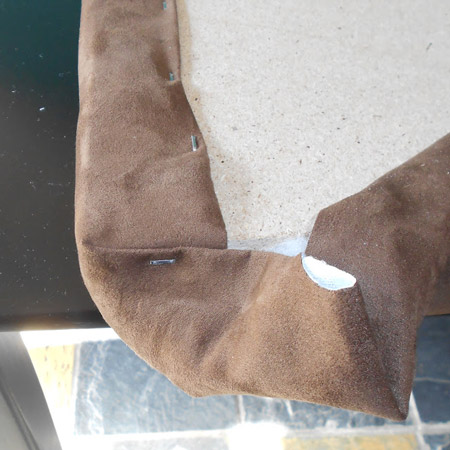
Step 7
At each corner fold and tuck the fabric as if you were making a bed or wrapping a present. You can staple down sections as you work to make it easier.
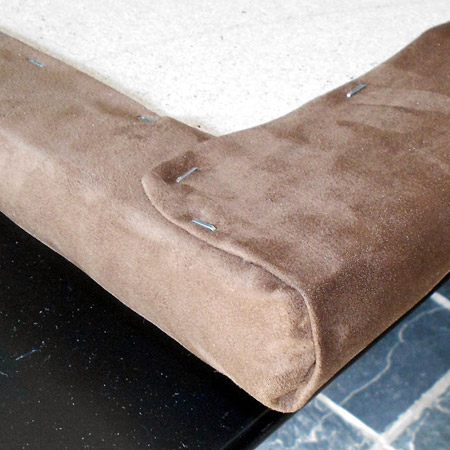
Step 8
Play around as much as necessary to have corners that are not too bulky and nicely squared off. You're done. That wasn't so difficult, was it...!
To mount the headboard to the wall, drill holes and insert nylon wall plugs and screws and mount hangers onto the back of the headboard.