
Mirror closet door
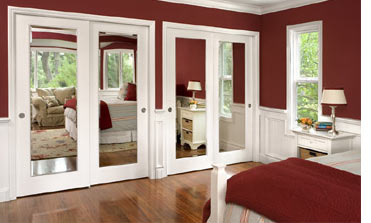
Whether you closet is in your bedroom, or in a small walk-in, adding a full length mirror to the doors will increase the amount of light in the room and add the illusion of space.
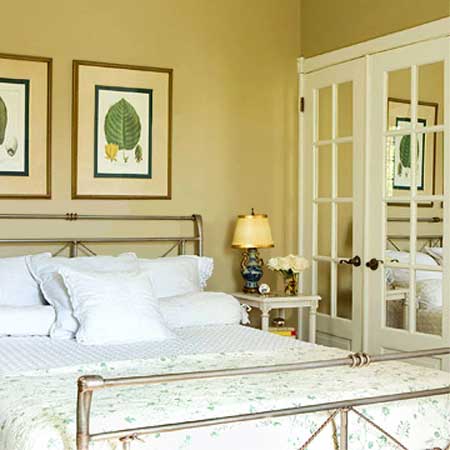
Closet doors were replaced with standard, timber, panelled doors. The individual panels were fitted with cut mirror panels to hide closet clutter and give the room more visual space.
In many bedrooms, closet doors take up a significant amount of wall space. Why not replace the boring, melamine doors with something you'll enjoy waking up to every day?
YOU WILL NEED:
Mirror - cut to size required
Steel tape measure
Pencil
Drill/Driver and assorted drill and screwdriver bits
No More Nails
Gloves
Mirror brackets and screw fixings*
HERE'S HOW:
1. Have your mirrors cut to size, allowing a 5cm border around the outside of the mirror for safe mounting. A 3mm or 4mm mirror is sufficient for mounting onto the door - anything thicker will be too heavy.
2. Measure and mark the position to centre the mirror on the door. Have someone to help you hold the mirror flat against the door as you outline it with a pencil. Remove the mirror. Place marks within an inch from the edges of the four corners, as well as halfway up both sides, to indicate where to insert the screws. Distributing the weight of the mirror in this manner provides an additional level of support.
DIY Tip:
*Before buying fixings for your mirror, you will need to determine the type of door.
3. Most closet doors are melamine coated chipboard. However, in an older home you may find that closet doors may be hollow-core doors. When buying your fixings you will need *chipboard screws for a chipboard door, and *drywall (expanding) screw fixings for the hollow-core door.
4. There are two options to consider for mounting the mirror to the door:
Put some newspaper down, position the mirror face down and apply a generous layer of No More Nails to the entire back of the mirror, paying special attention to the edges of the mirror. Immediately apply the mirror to the door, twisting and pressing into position for a firm, flush fitting. You have no more than 2 minutes to ensure that the mirror is in position before the glue starts to set. Any excess can be wiped away with a cloth and mineral spirits.
DIY Tip:
If you are attaching a full-length mirror, place some blocks of wood at the bottom of the mirror to hold in place until the glue is completely set, normally 24 hours.
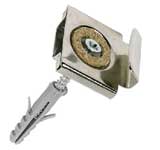
Using mirror brackets allows you to remove and replace mirror or glass panels easily and quickly. The adjustable brackets are affixed to the door with screws and the brackets opened - simply by pulling down - to allow easy insertion of the glass or mirror panel.