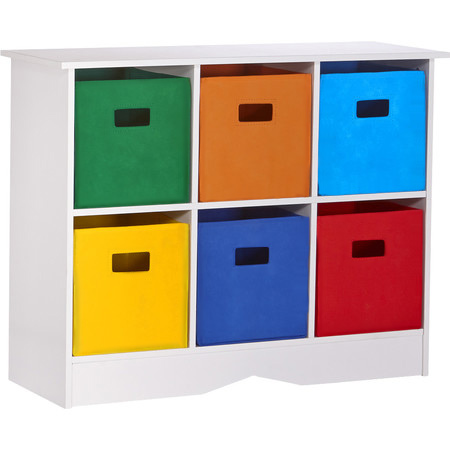
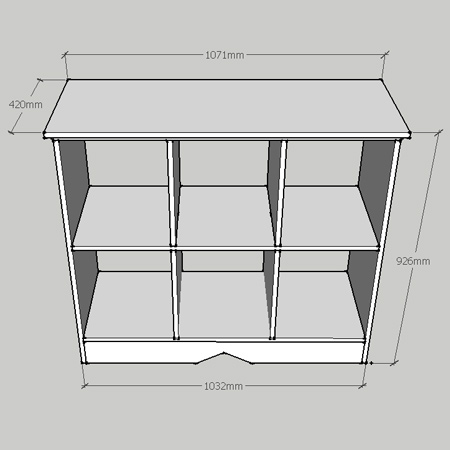
Colourful Storage Unit for a Child's Bedroom
Make a simple storage unit and then add some colour to recycled cardboard paper boxes as storage containers. Or modify the dimensions of the unit for plastic storage bins or custom baskets.
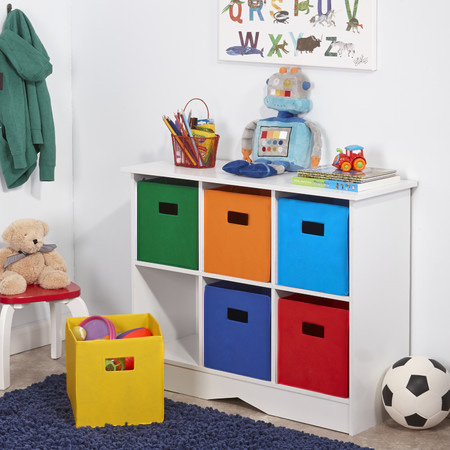
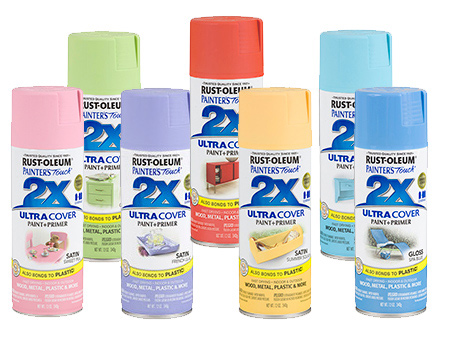
Recycle cardboard boxes (printer paper boxes) into storage containers by reinforcing them with duct tape and spraying in bright colours with Rust-Oleum 2X spray paint. You will find a wide selection of brilliant colours at your local Builders.
YOU WILL NEED:
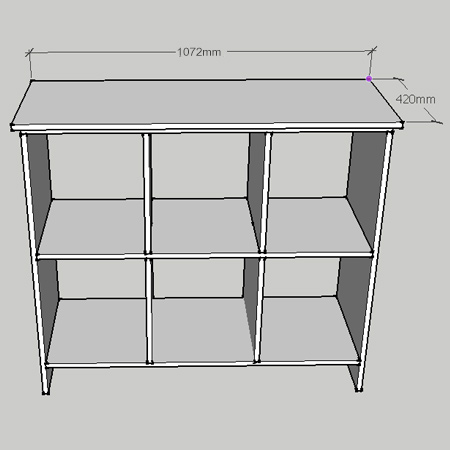
1 of 420 x 1072mm 16mm MDF - main top
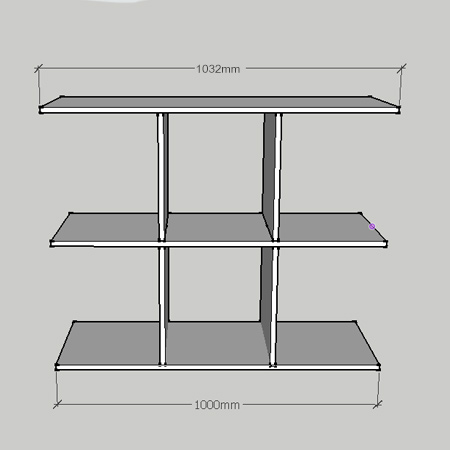
1 of 400 x 1032mm 16mm MDF - top
2 of 400 x 1000mm 16mm MDF - bottom / shelf
2 x 400 x 776mm 16mm MDF - uprights
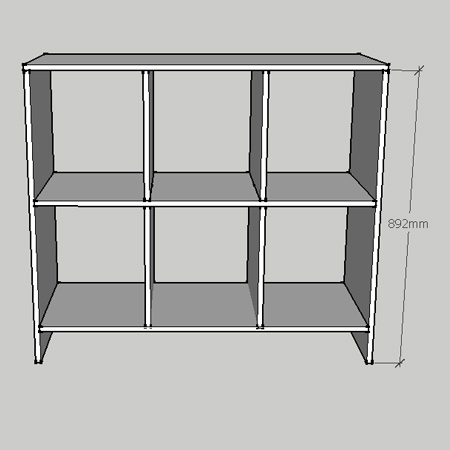
2 of 400 x 892mm 16mm MDF - sides
1 of 100 x 1000mm 16mm MDF - base apron
Wood glue
Wood filler or screw caps
4 x 45mm screws
TOOLS:
Drill / Driver plus assorted bits
Jigsaw
Orbital sander plus 120- and 180- / 240-grit sanding pads
CONTINUES BELOW
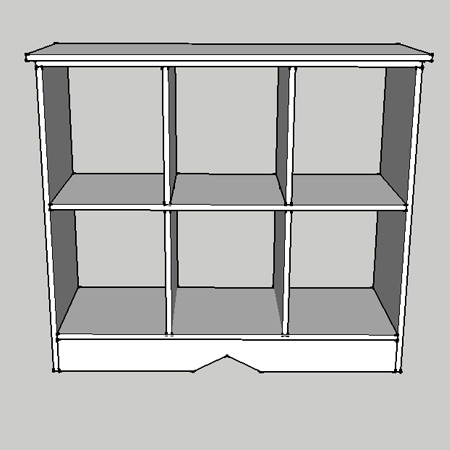
HERE'S HOW:
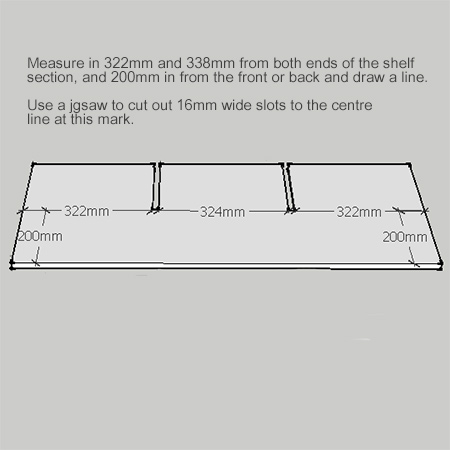
1. On the middle shelf measure in 322mm and 338mm from both ends of the shelf and mark a line. Also mark the centre of the board (200mm).
2. Use a jigsaw to cut out 16mm wide x 200mm long slots.
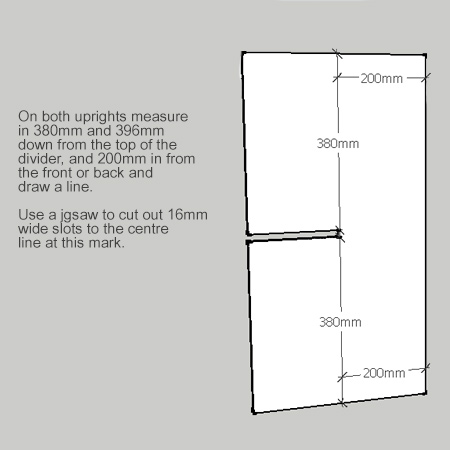
3. On both uprights measure down 380mm and 396mm and draw a line. Also draw a line down the centre.
4. Use a jigsaw to cut out 16mm wide x 200mm long slots.
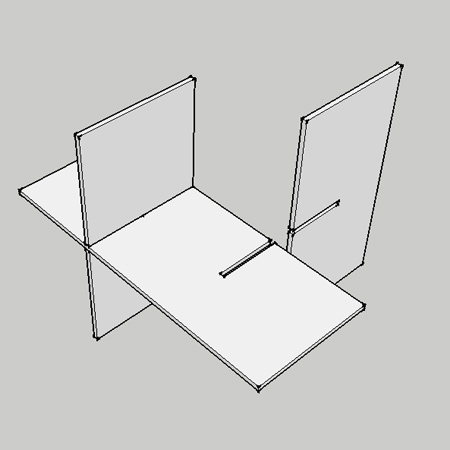
5. Slot the shelf into the groove cut out on the uprights. Have a rubber mallet handy in case you need to tap in the boards.
6. Attach the top and bottom sections to the centre frame by drilling 3mm pilot holes through these sections into the frame uprights and secure with 45mm screws.
7. Attach the side sections through the top into the sides via pilot holes and screws, and through the sides into the middle and bottom shelf. These holes can later be covered with wood filler to hide, or pop on some screw caps.
GOOD TO KNOW:
Use acrylic sealer (cartridge
and caulking gun) to seal any gaps around the
slotted sections in the centre frame.
8. To hide the screws on the top, glue on a main top section that has a 20mm overhang at the sides and front.
9. Glue or screw the base apron at the bottom of the unit. If you don't want any visible screws you could also secure with steel angle braces at the back.