Heart mirror for little girl's bedroom
This adorable heart-shaped mirror with storage shelf is easy enough to make and you can use Rust-Oleum 2X spray paint to finish in your choice of colour.
03/12/2020
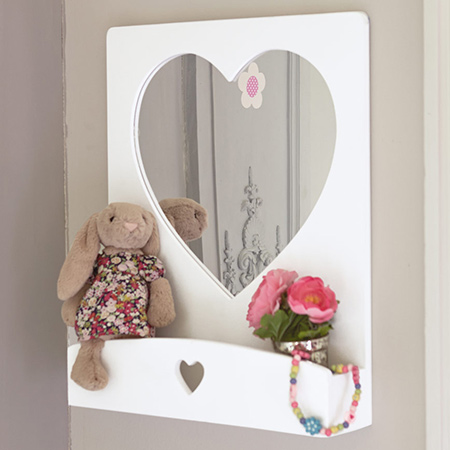
This adorable heart-shaped mirror with storage shelf is just the thing to add extra storage to a little girl's room. Plus, it is easy enough to make and you can use Rust-Oleum 2X spray paint to finish in your choice of colour. Follow the simple instructions below to make this heart-shaped wall shelf for your daughter or granddaughter. You will find more girls bedroom mirrors at this store.
YOU WILL NEED:
1 of 500 x 600mm 12mm MDF - back
1 of 150 x 500mm 12mm MDF - front of shelf
2 of 80 100mm 12mm MDF - sides of shelf
1 of 80 x 500mm 12mm MDF - base of shelf
Mirror cut to 400 x 450mm*
Heart template
Wood glue
Wood filler
120- and 240-grit sandpaper
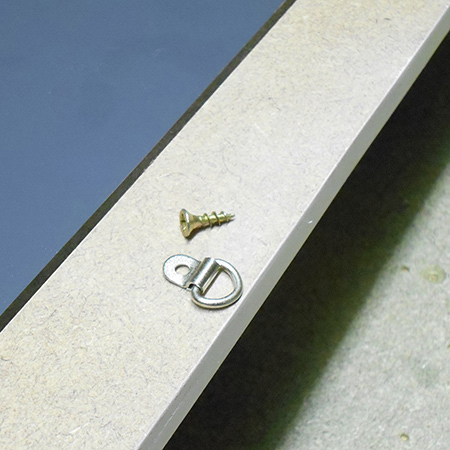
4 mirror brackets and 12mm screws
2 picture hangers and 12mm screws
Rust-Oleum 2X sating blossom white - or your choice of colour
TOOLS:
Drill / Driver plus assorted bits
Jigsaw
Hammer and medium panel pins
Quick clamps
Tape measure, steel ruler and pencil
You can buy everything you need for this project at your local Builders, plus they *cut mirror and glass to size while you wait. If they don't stock 12mm substitute with 16mm and adjust the measurements to allow for this.
HERE'S HOW:
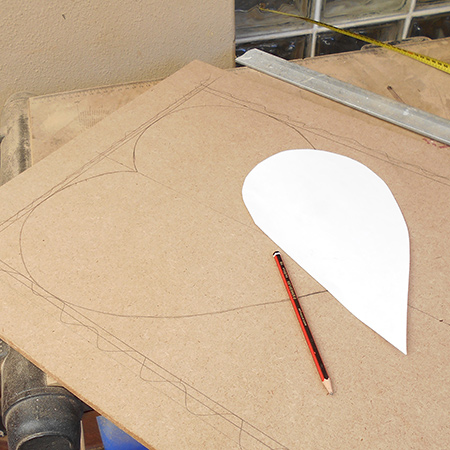
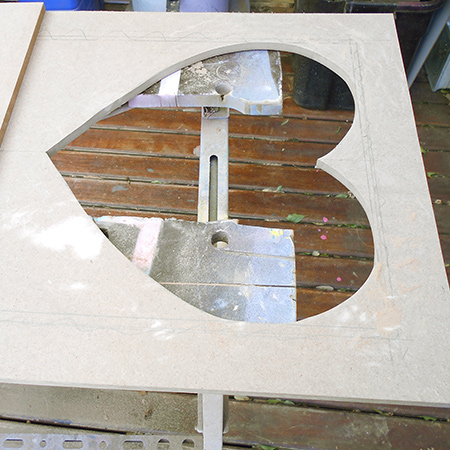
1. Cut out a heart shape that is approximately 470mm wide and 500mm long and draw this onto the board. Make sure the shape is placed exactly in the centre.
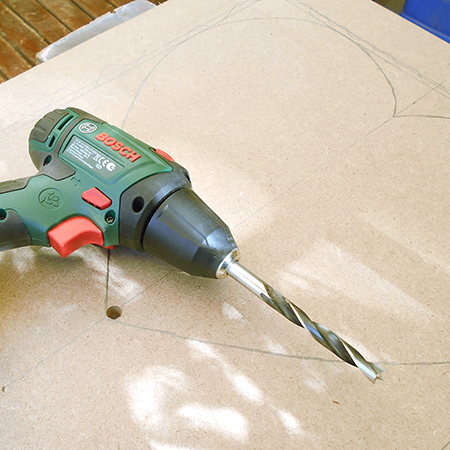
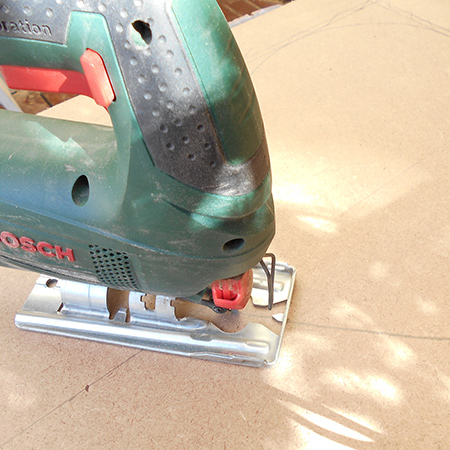
2. Drill a 10mm hole to allow you to insert a jigsaw blade to cut out the heart shape.
3. Sand the cut edges on all sections with 120-grit sandpaper to remove any irregularities and then sand smooth with 240-grit.
4. Glue the shelf sides and shelf base onto the main back, clamp in place and leave for a couple of hours.
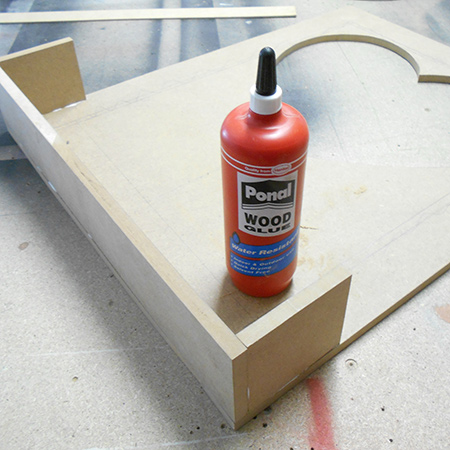
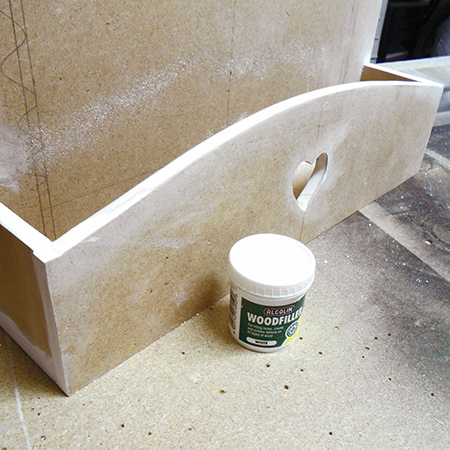
5. Cut the front section with a curve that bows down to 116mm (height of the sides) at both ends. Cut out a heart in the centre and then glue this onto the shelf assembly. Clamp and leave overnight.
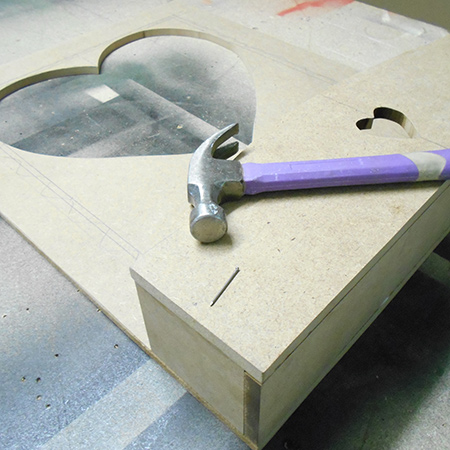
6. Hammer in a couple of panel pins at the front and back.
7. If you are going to be using Rust-Oleum spray paint on your project, rub a thin layer of wood filler over the cut edges on the frame sections. This prevents the edges from absorbing too much paint and cuts down on the amount of paint you need to finish the project.
8. Once dry, sand the wood filler smooth with 240-grit sandpaper.
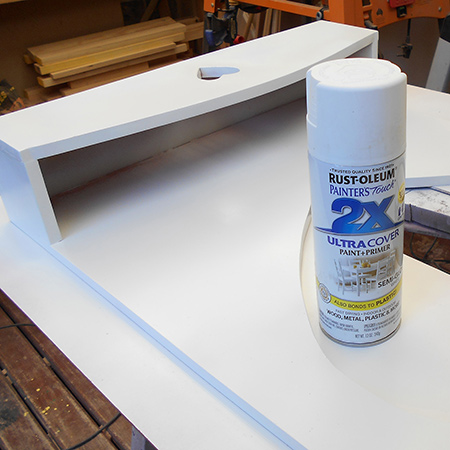
9. Take outdoors and place on newspaper and spray on two light, even coats of spray paint. If you need to apply more to the edges, allow each coat to dry before touching up with more spray paint. Allow the paint to dry completely before moving.
GOOD TO KNOW:
Shake the can well and hold
approximately 30cm away from the surface. Too
close and you will end up with runs, so take the
time to do it properly.
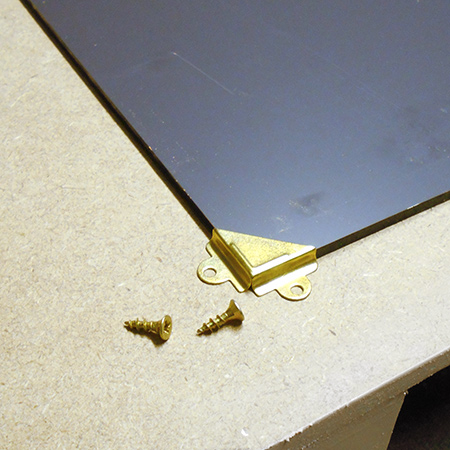
10. Place the frame face down on a surface, cover with a cloth or old towel to protect and then mount the mirror to the back with mirror brackets.
11. Attach a couple of picture hangers at the top. Measure in from both sides and mount at equal distance so that the heart frame sits straight.