
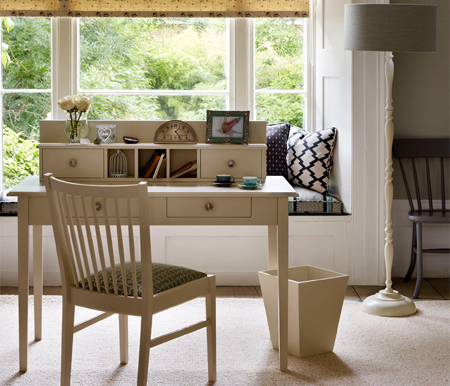
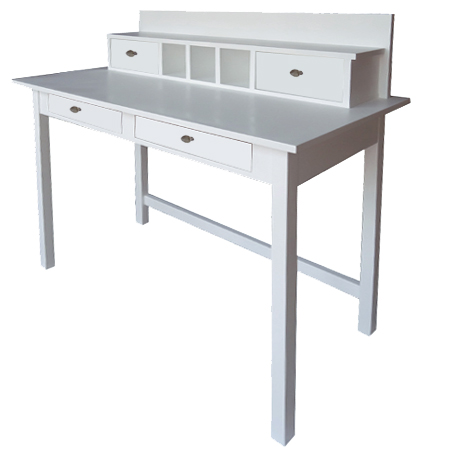
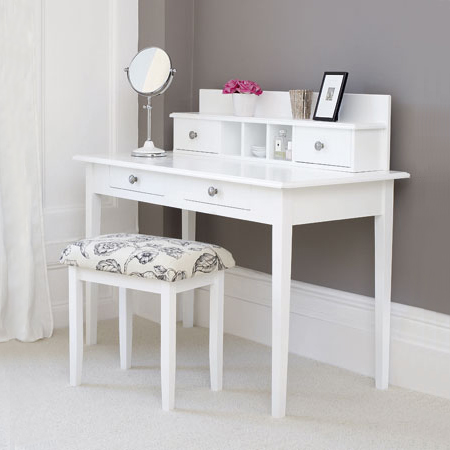
DIY dressing table or study desk
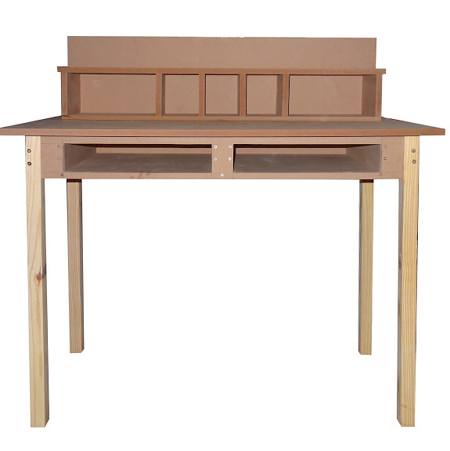
I have just finished making a desk for a little girl that can also be purposed into a study desk for a child or adult, or a dressing table. This desk / dressing table can be painted in your choice of colour and even distressed if you are looking for a more cottage or shabby chic finish.

YOU WILL NEED:
QTY W L Material Item
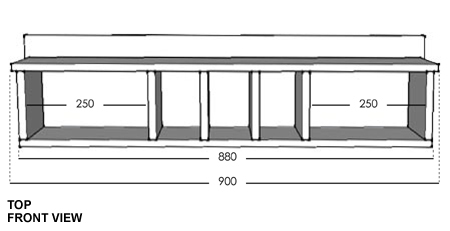
1 120 880 16mm SW Cubby base
1 120 900 16mm SW Cubby top
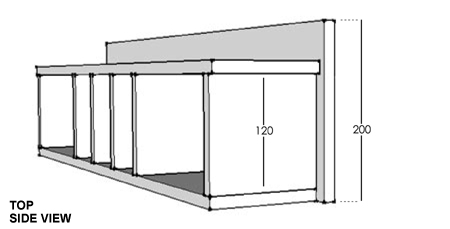
6 120 120 16mm SW Cubby sides
1 200 860 16mm SW Cubby back
1 500 1000 16mm SW Desk top
1 500 1000 16mm SW Desk base
4 110 408 16mm SW Desk inner supports
2 110 352 16mm SW Desk sides
2 110 840 16mm SW Desk front/back panel
4 44 x 44 760 pine Legs
4 118 248 12mm SW Cubby drawer front/back
4 118 96 12mm SW Cubby drawer sides
2 224 96 12mm SW Cubby drawer base
4 338 68 12mm SW Desk drawer front/back
4 384 68 12mm SW Desk drawer sides
2 314 384 12mm SW Desk drawer base
16mm SupaWood (SW)
12mm SupaWood (SW)
44 x 44mm PAR pine
Wood glue
Wood filler
Medium panel pins
4 drawer pulls or knobs
Plascon Polvin - white
Acrylic sealer or antique wax
400-, 1200-grit sandpaper
TOOLS:
Drill/Driver + assorted bits
Countersink bits
Orbital sander + asstd sanding pads
Jigsaw and clean-cut jigsaw blades
Tape measure and pencil
HERE'S HOW:
Step 1
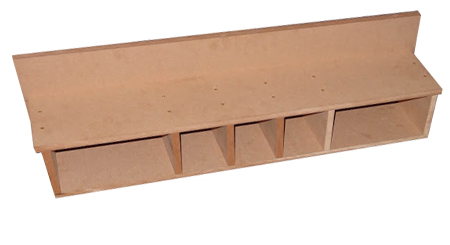
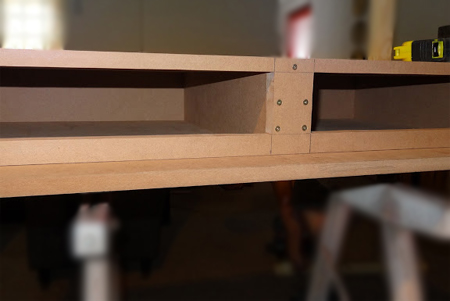
Measure and mark all the pieces for the cubby section of the desk to drill pilot holes for quick and easy assembly.
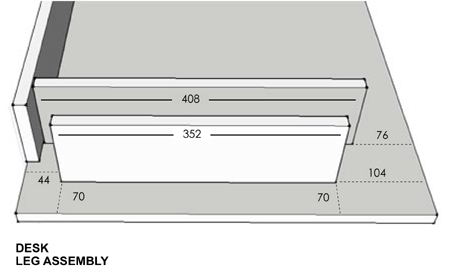
Step 2
On the underside of the desk top, measure and mark the top section as shown below. The guides and supports are mounted by drilling pilot holes, countersinks and driving screws through the top.
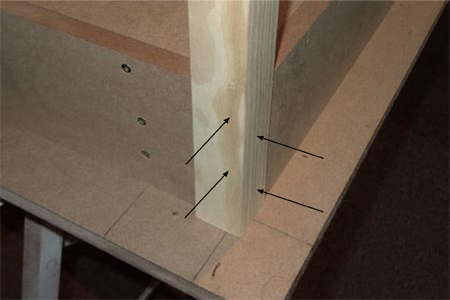
Step 3
Attach the legs to the guides with wood glue and screws. Drill pilot holes through the pine legs and board and countersink.
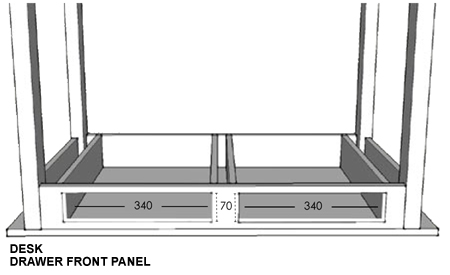
Step 4
Before mounting the front desk panel, measure, mark and cut out openings for the drawers.
Step 5
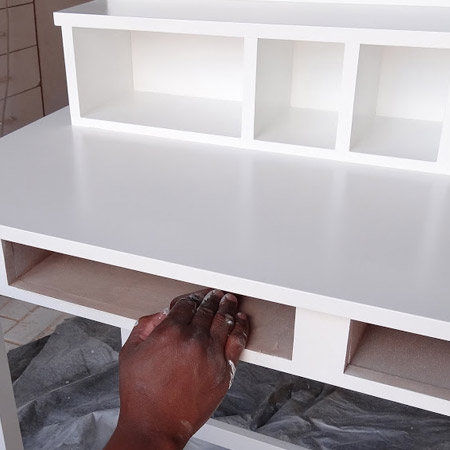
Cut the desk base out to fit around legs and then mount and secure; drill pilot holes, countersink and drive screws through the desk base.
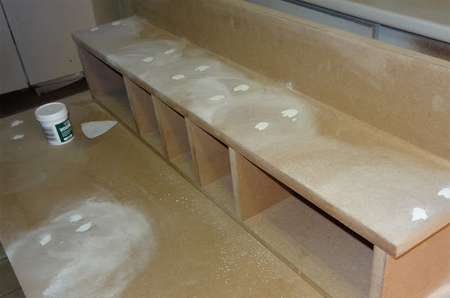
Step 6
Fill all holes with wood filler; leave to dry and then sand smooth with 180-grit sandpaper. While waiting for wood filler to dry, sand all cut edges with 240-grit sandpaper until smooth and shiny.
Note: I didn't taper the legs, but you can easily do this with a jigsaw or table saw.
Step 7
The drawers are made by gluing together all sections and tapping in a few panel pins for added strength.
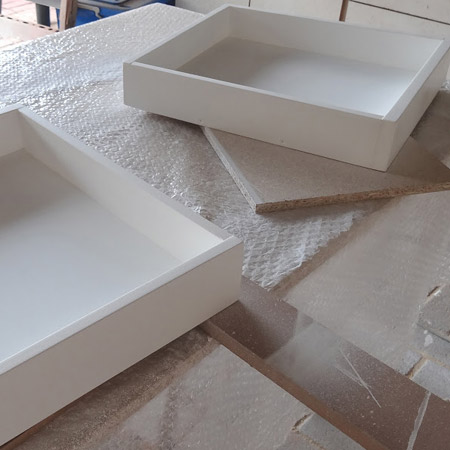
If you are using a Bosch PFS spray system, paint the drawers separately, placing them on a board to raise them and make it easier to spray all around in one go. The drawer bottoms are not sprayed, as this needs to be smooth for easy sliding in and out of the drawers.
After spraying the desk, use 180-grit sandpaper to remove paint overspray from inside the drawer cavity.
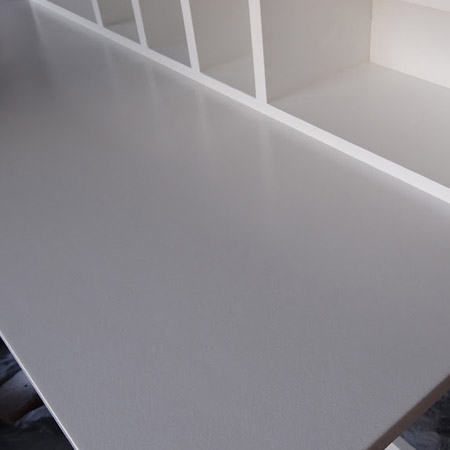
For a professional finish I normally apply a slightly watered down base coat, followed by two coats of paint. Once dry, this is sanded down with 400-grit sandpaper before two more coats of paint are applied. Once dry, the surface receives a further sanding with 1200-grit sandpaper and then a final coat of clear acrylic sealer.
FINISHING
After spraying the desk, use 180-grit sand-paper to remove paint overspray from inside the drawer cavity. For a professional finish I normally apply a slightly watered down base coat, followed by 2 coats of paint. Once dry, this is sanded down with 400-grit sandpaper before two more coats of paint are applied.
After that the surface receives a further sanding with 1200-grit sandpaper and then a final coat of clear acrylic sealer. Alternatively, if you prefer a matt finish, apply Woodoc antique wax.
dormy house